


Farmhouse Industrial Dollar Store Light

I wanted to decorate my wall and do it economically so I made these wood shutters with working lights for an amazing farmhouse look. I spent about $15 for both. Take a look below to see how I made them!

Hometalk Recommends!
Want to save?
Get your 30-day free trial of Amazon Prime today before the biggest sales of the year start July 16th-17th!
What you’ll need:
Wood (I made mine 36”x10” but you’ll also need 4 10”x 3.5” pieces)
2 black funnels
2 push light bulb lights
2 plungers
8 sm screws
2 black screws
nail gun
stain (old English)
paint (black & white)
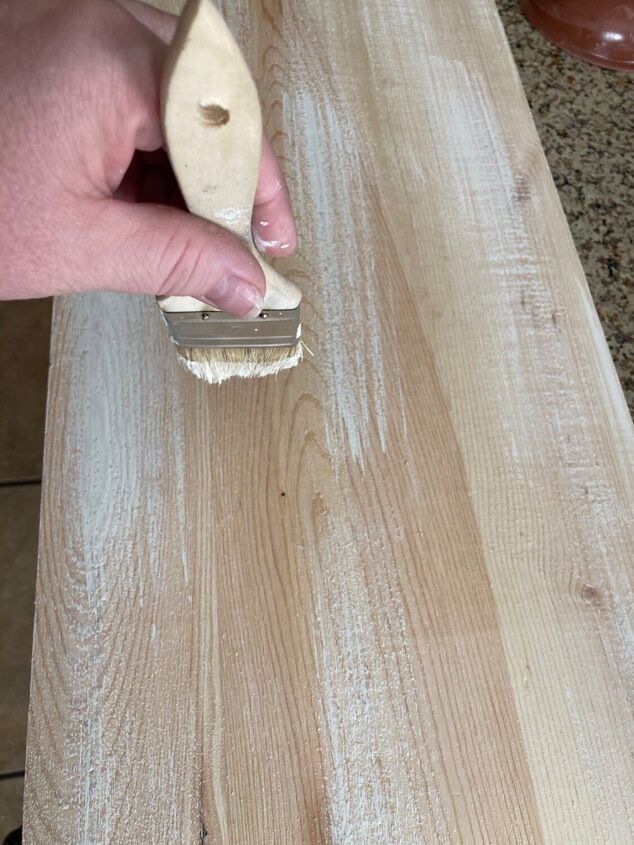
To start with, take a chip brush and lightly brush up and down with your white paint onto all of your pieces of wood.
This will help give your wood that "Farmhouse" look.
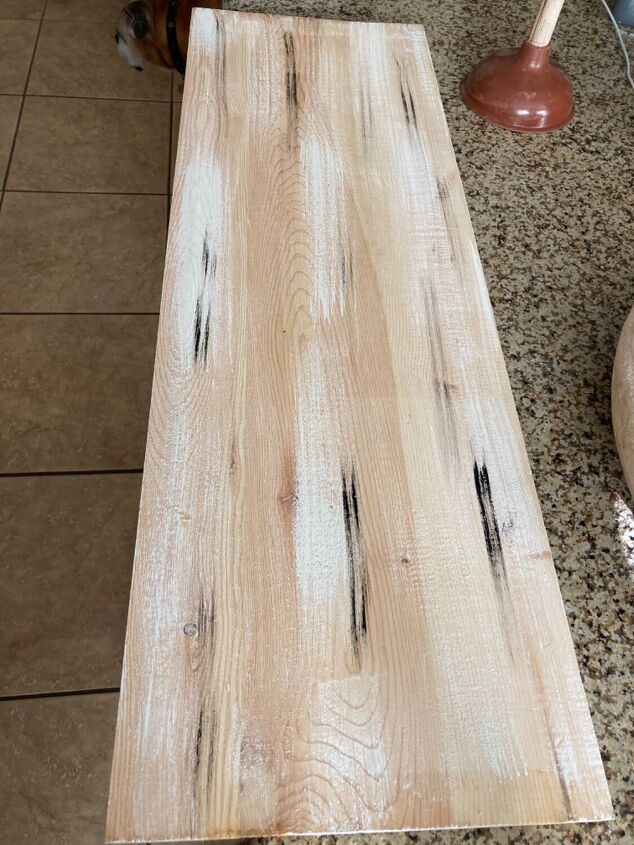
Then, add some streaks with your black paint.
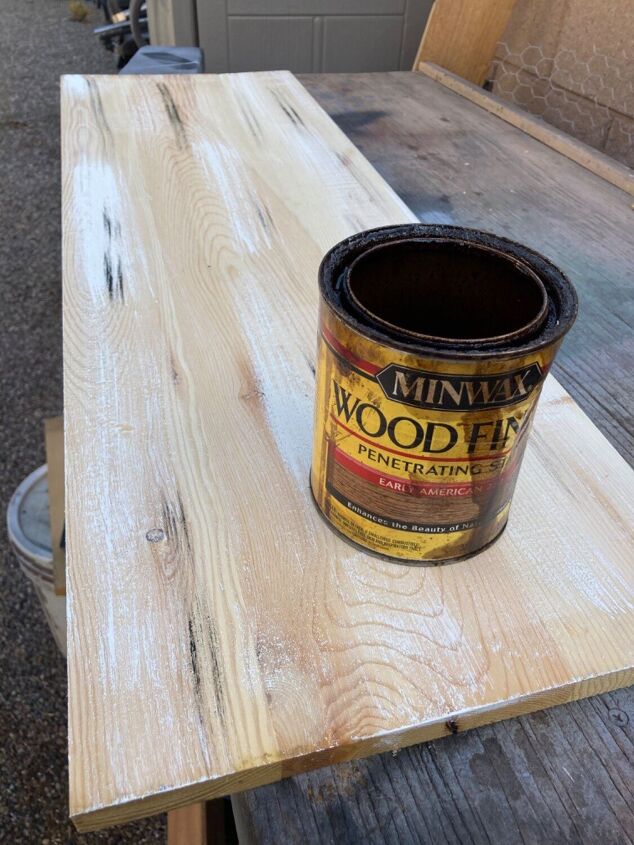
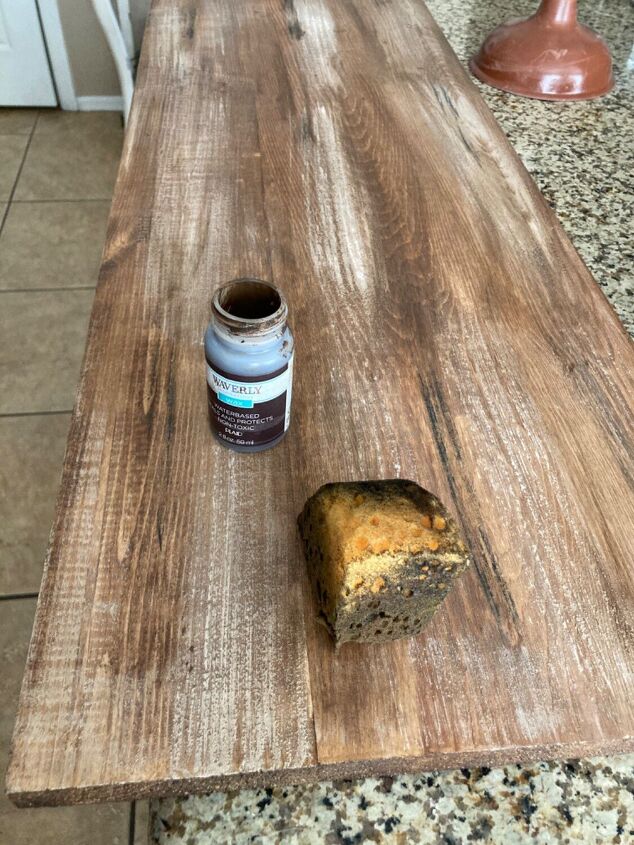
Once the paint dries, you can add your stain over the top. I just used an old rag to do this.
The stain covers the paint perfectly to give it a weathered look.
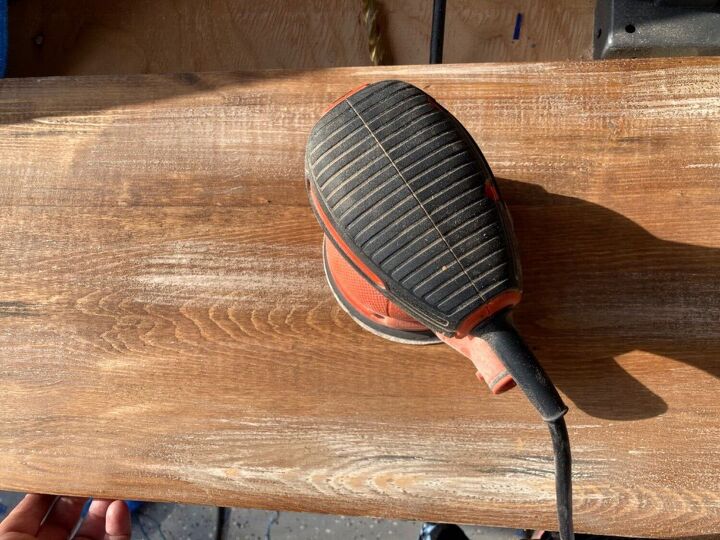
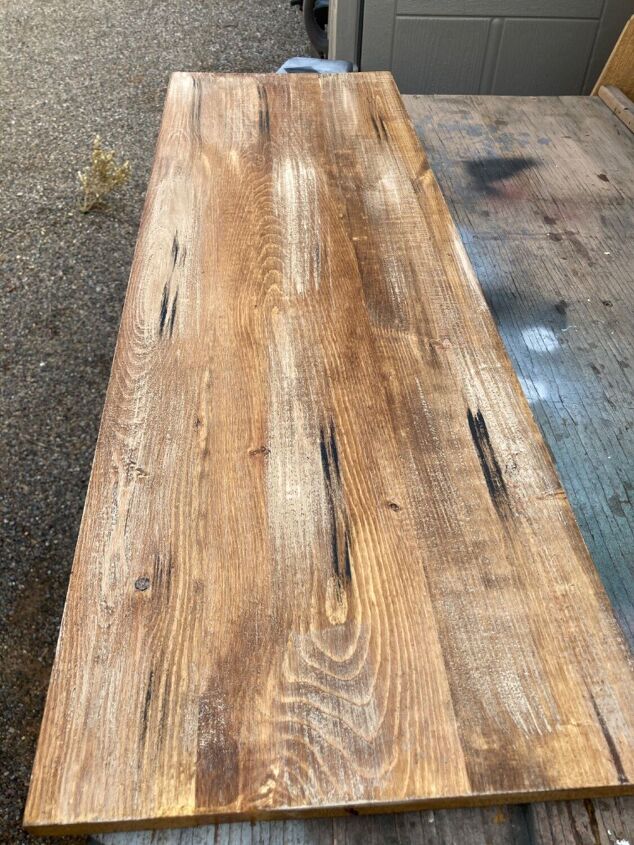
Now, sand lightly to blend the colors.
Add some more brown stain if you think it needs.
Then, staple the two shorter pieces of wood to the top and bottom of the large piece.
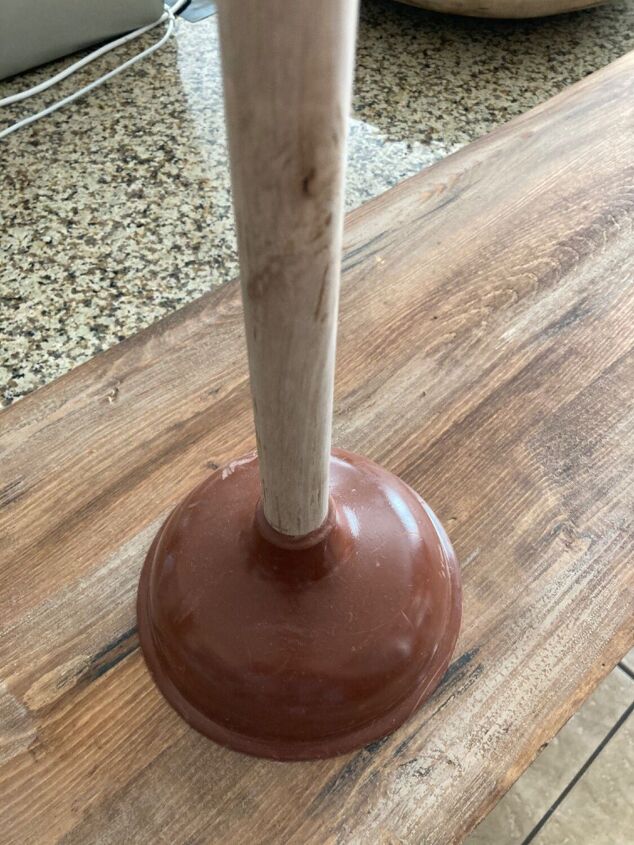
Once you have prepared the base, we can start working on the light. For this, you will need your plunger.
Unscrew the handle and turn the plunger inside out.
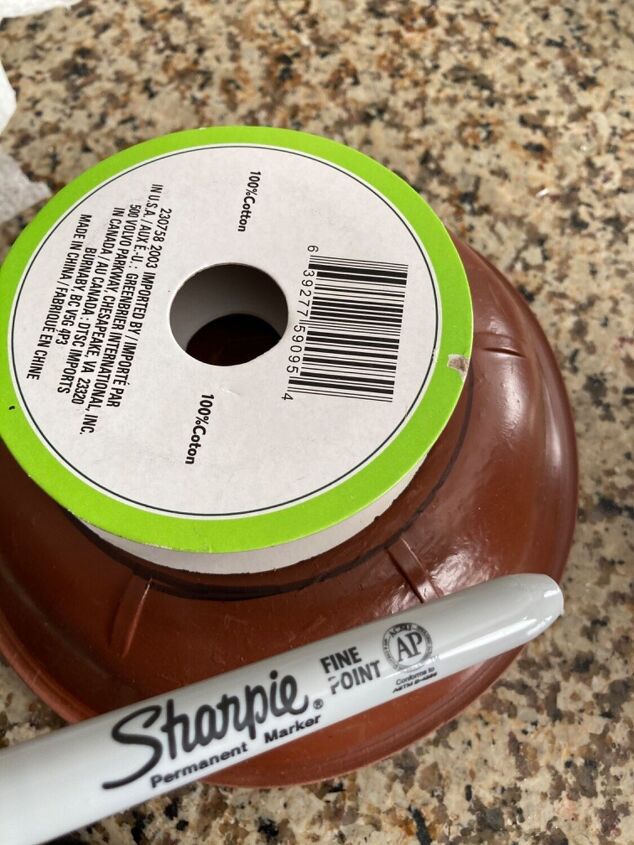
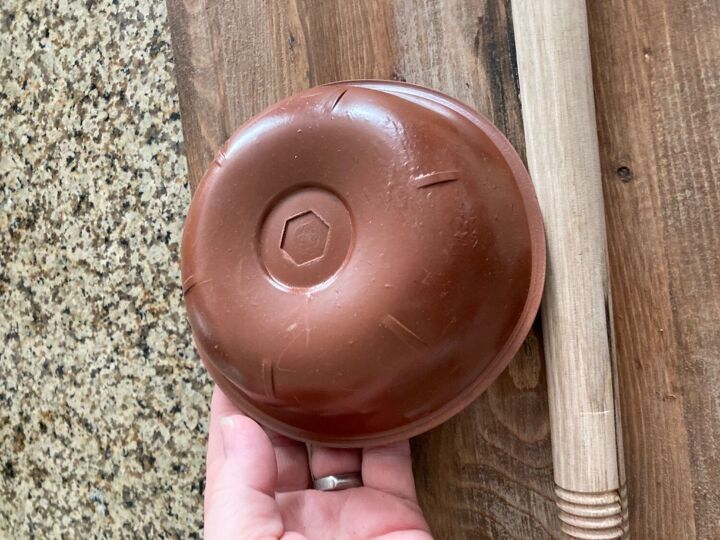
Use something round and trace around it.

Then cut the circle out that you traced on.
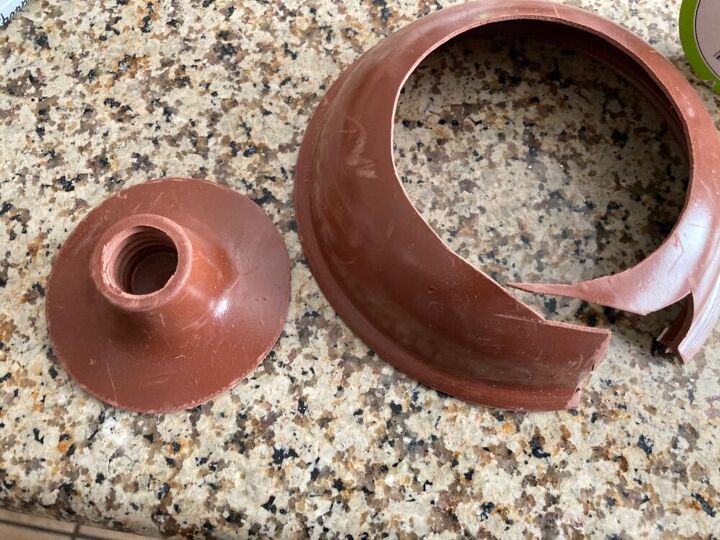
You will be left with this small flange. You can throw out the outer circle.
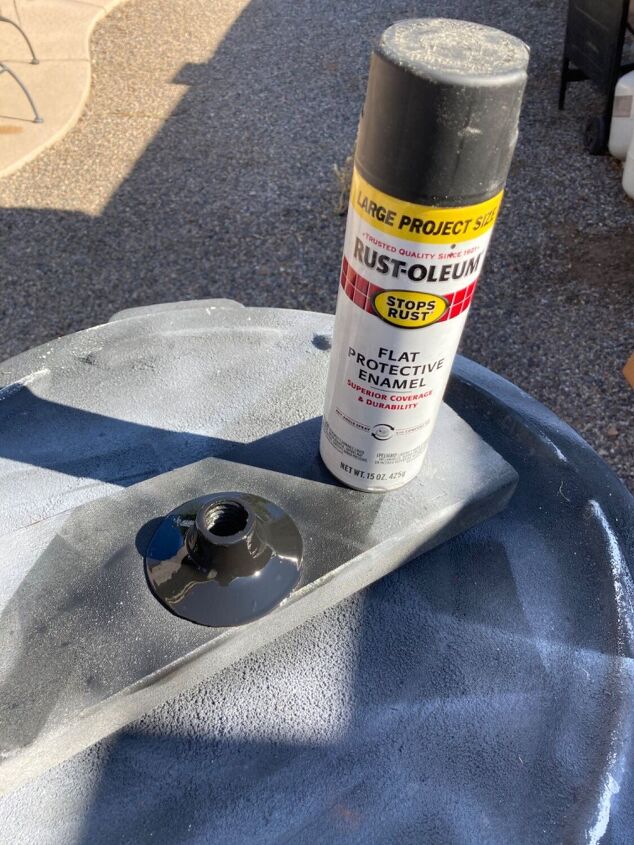
Spray paint it black.
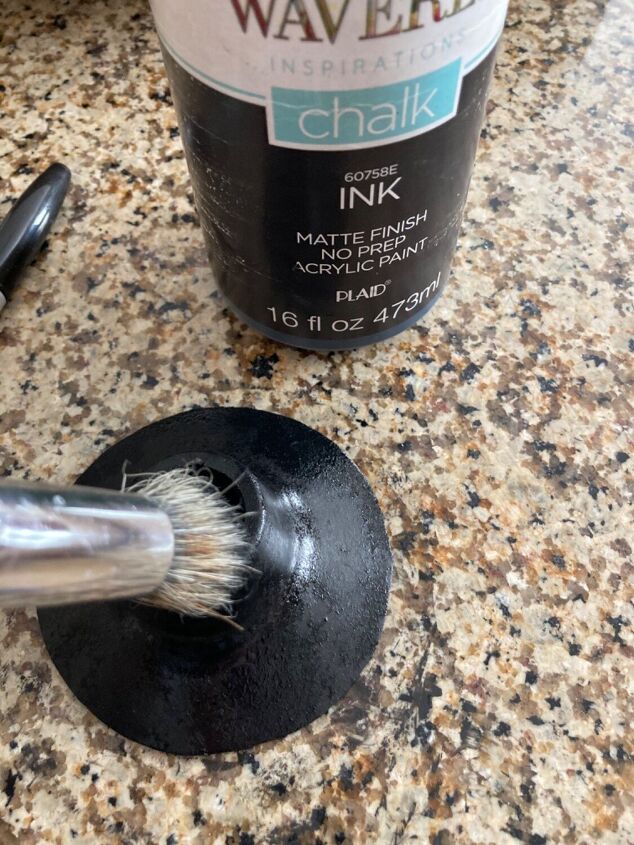
Then use some chalk paint to add texture to it.
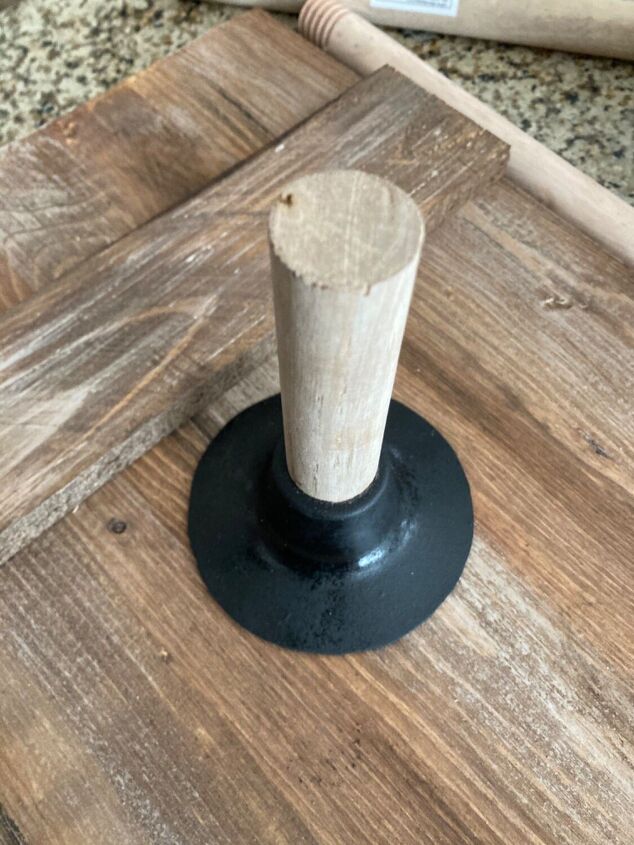
Cut the plunger pole to 4” and screw it back in to the small flange.
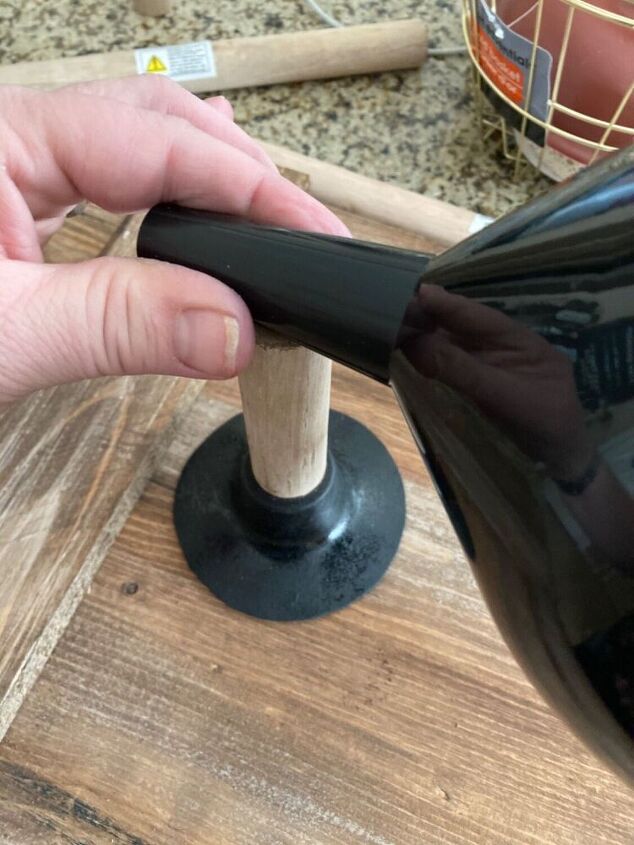
Put the black funnel centered at the top of the wooden handle and use your black screw to screw it on.
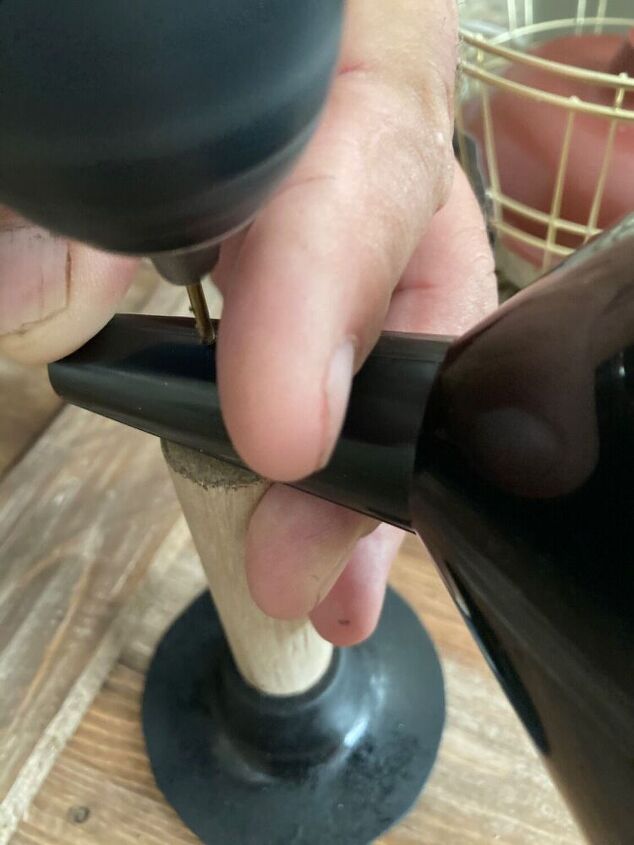
Like this. Make sure you also paint the handle so it all looks like one piece.
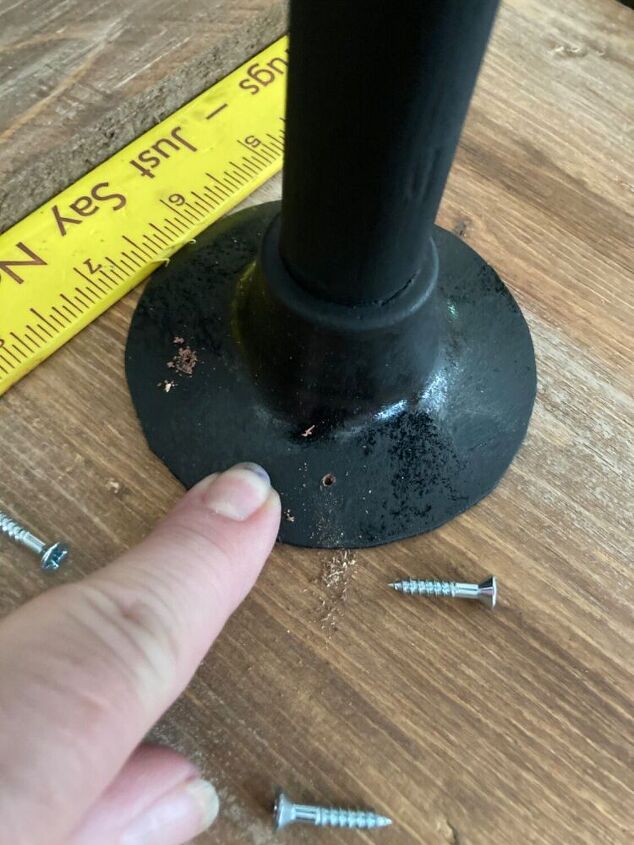
Center the flange where you would like it and screw it onto the board.
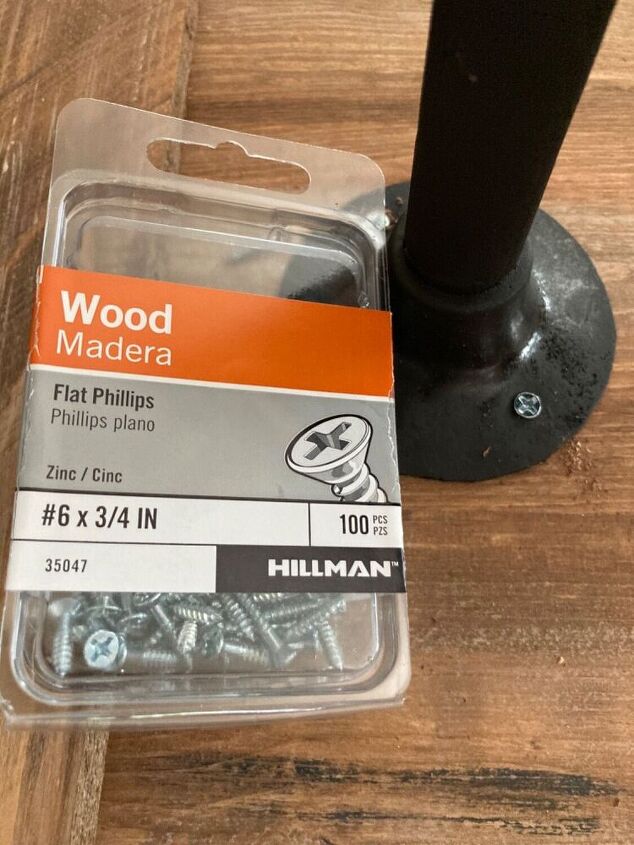
I used 4 of these screws.
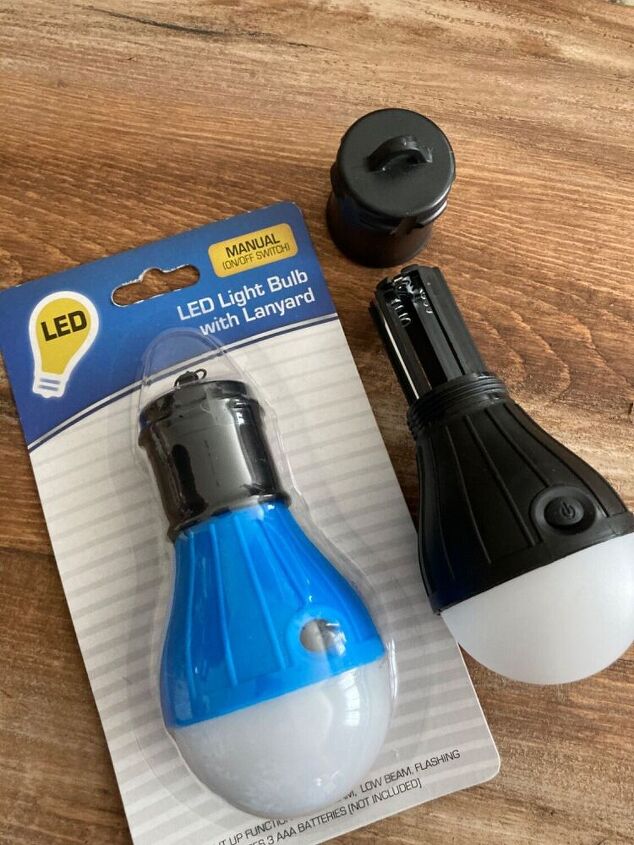
These are the lights that I used. I couldn't get 2 black ones so I just painted the other one black.
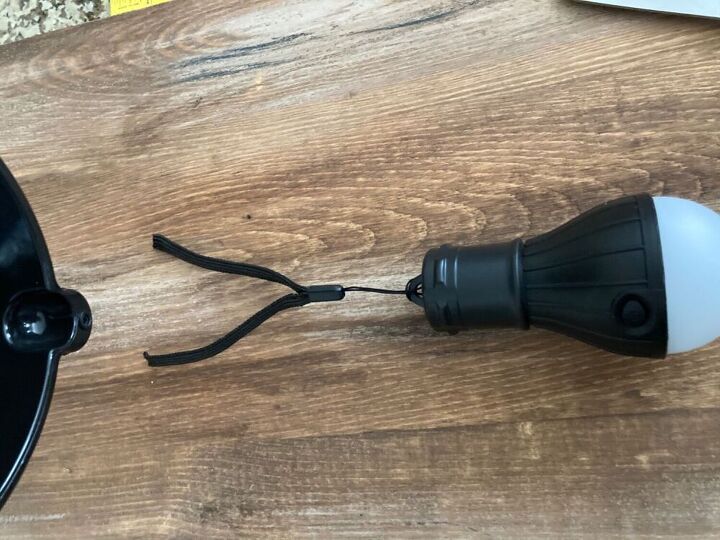
Cut the string and feed it up through the funnel.
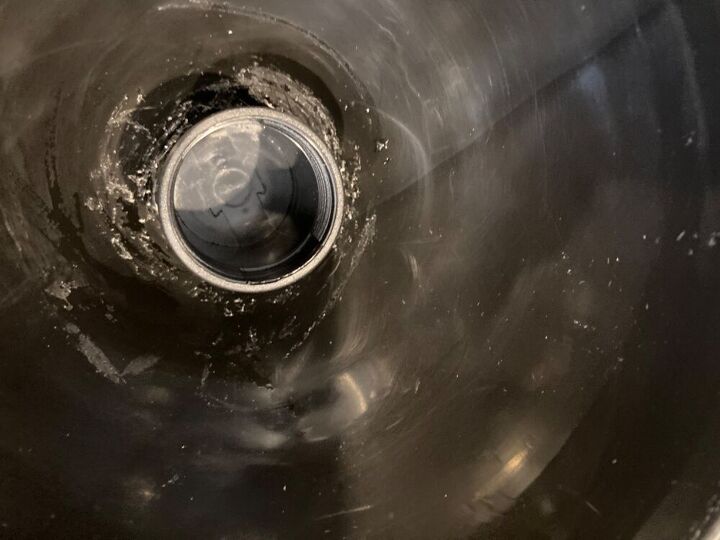
Now put e6000 and hot glue in the top of the funnel and glue the light inside. Let it dry over night.
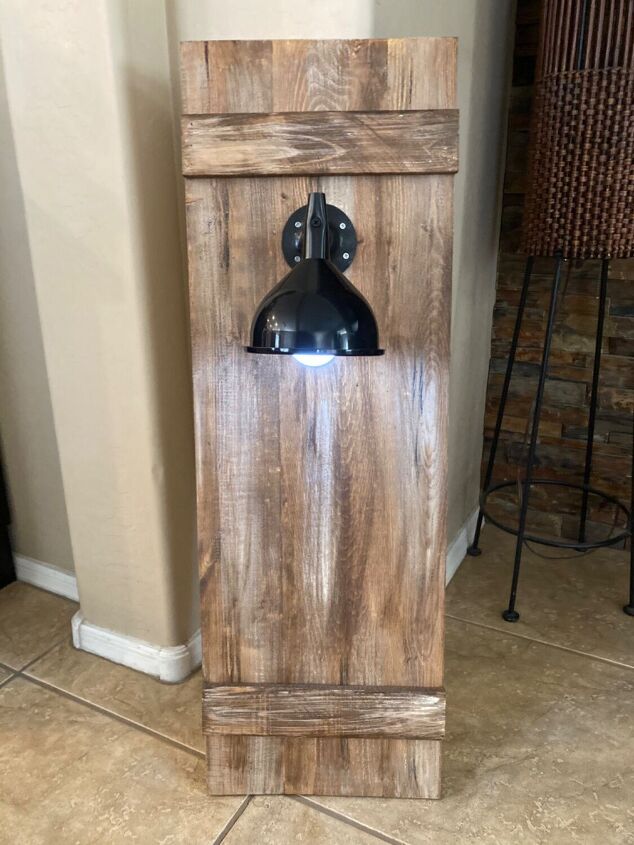
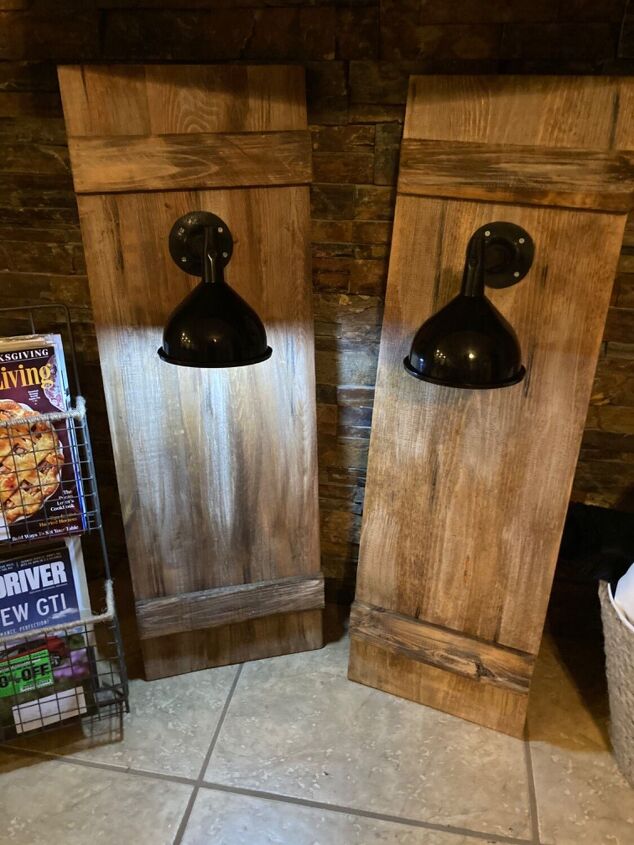
The next morning I added my battery and switched it on. Wow! I had made two beautiful lamps!
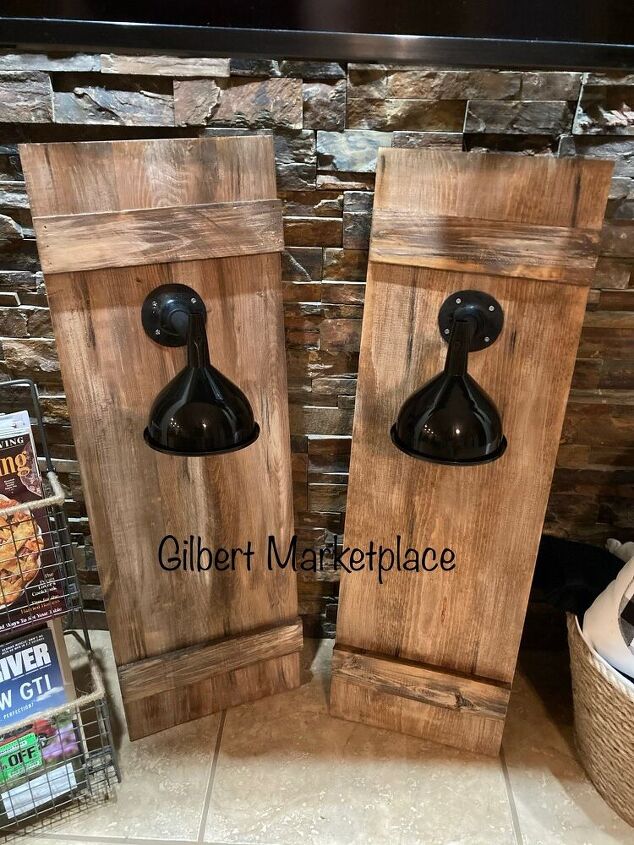
Look how great they look!
For more details, watch my youtube video here. Make sure you subscribe to my channel!
Thanks for reading!


Comments
Join the conversation
-
Clever idea. I love your imagination!
-
Thanks


Frequently asked questions
Have a question about this project?
You seemed to leave out some information - such as the batteries. What size? Watt? How to attach & plug light into them? Not my style but good job!
Curious if heat from bulbs may afffect the rubber plunger heads.
Is it possible to use solar?