How To Tie A Christmas Bow in 3 Easy Steps

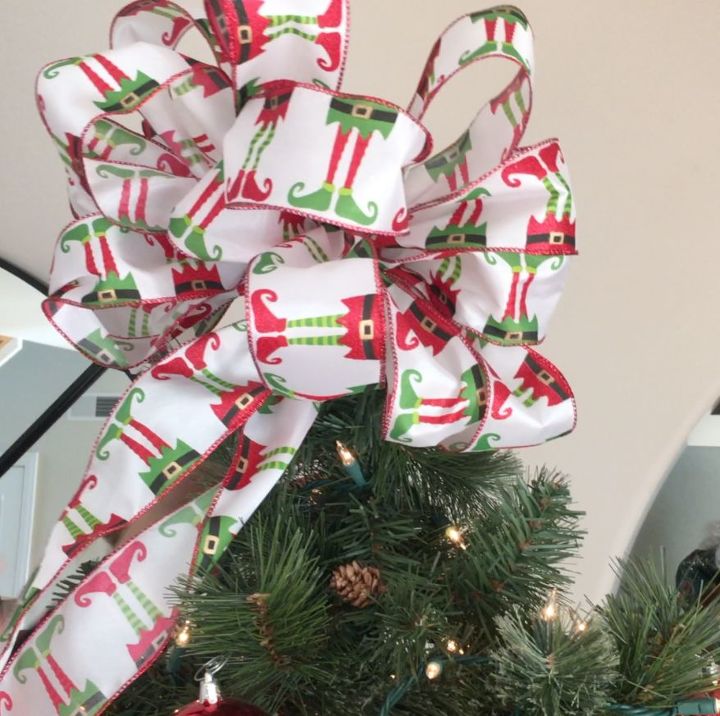
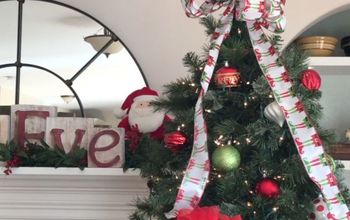
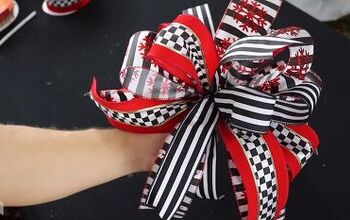
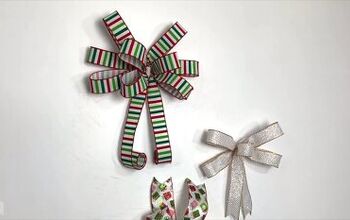
I don't know about you, but I'm busy planning out my Christmas decor. This Christmas bow has been around for years and this Christmas, I decided to use it as the topper of my tree. I love the look of a nice full bow; it really sets the mood for the holidays. Now don't be intimidated, in just 3 easy steps you will be making Christmas bows like a professional gift wrapper at Macy's!
Step 1. Fold your ribbon into an accordion shape. I went back and forth 5 times. This is where you decide how big you want your bow to be!
Step 2. Place your pipe cleaner in the middle of you folds and twist. This is closing the bow and keeping it in place. You can also use wire for this step, but pipe cleaners are easier to handle in my opinion.
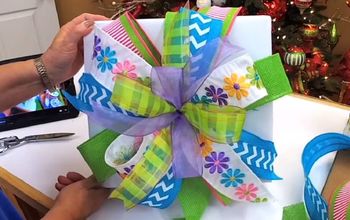
Step 3. Fluff! This is where you give your bow shape. Pull the loops side to side to achieve your desired fullness. This ribbon does not have wire, but if yours does this is the step to mold it to your desired shape.
To secure the bow to your tree, use the left over pipe cleaner ends and twist them around a branch.
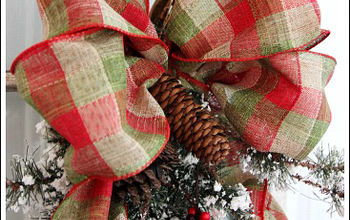
Ahhh, don't you just love Christmas? The possibilities are really endless with this bow. You could use it on a wreath, presents, your dog's collar, go crazy!
 Video processing...
Enjoyed the project?
Comments
Join the conversation
-
 27524803
on Dec 08, 2017
A tip to get the wire really tight... Go twice around the center of the bow with the wire, with both ends of the wire to the bottom. Hold the bow in the center of one hand with the 2 ends of the wire between your first and middle fingers (like holding a wine glass) .. with your other hand, put your first knuckle of your first finger against the bottom of the bow and pull hard on both wires... use the bow hand to turn the bow and twist the wire several times.
-
-









Frequently asked questions
Have a question about this project?