Faux Vintage Christmas Ornaments

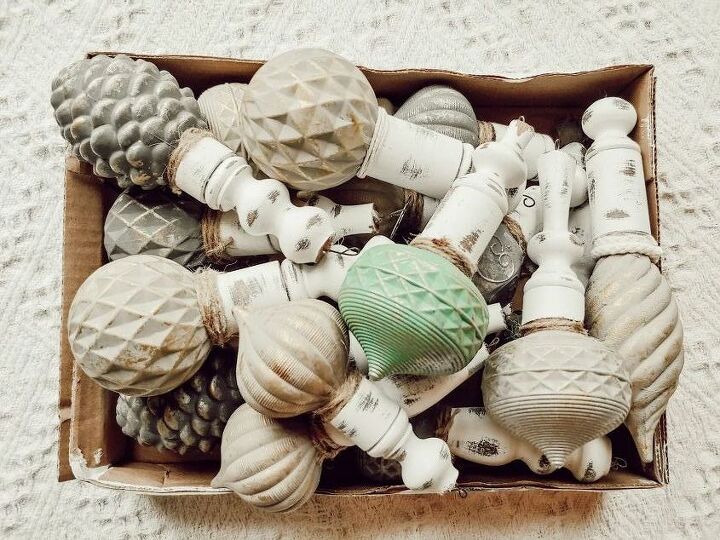
I love vintage ornaments but let's be real, they are hard to find and pricey when you do so why not make your own?!!
Hometalk Recommends!
I can't stop staring at them!!
Materials:
- Wal-Mart ornaments
- Old spindles
- Folk Art Home Decor Chalk Paint
- Folk Art Metallic Paint
- Twine
- Hot glue
- 20 gauge wire
Tools:
- Circular Saw
- Drill
- Paint brushes
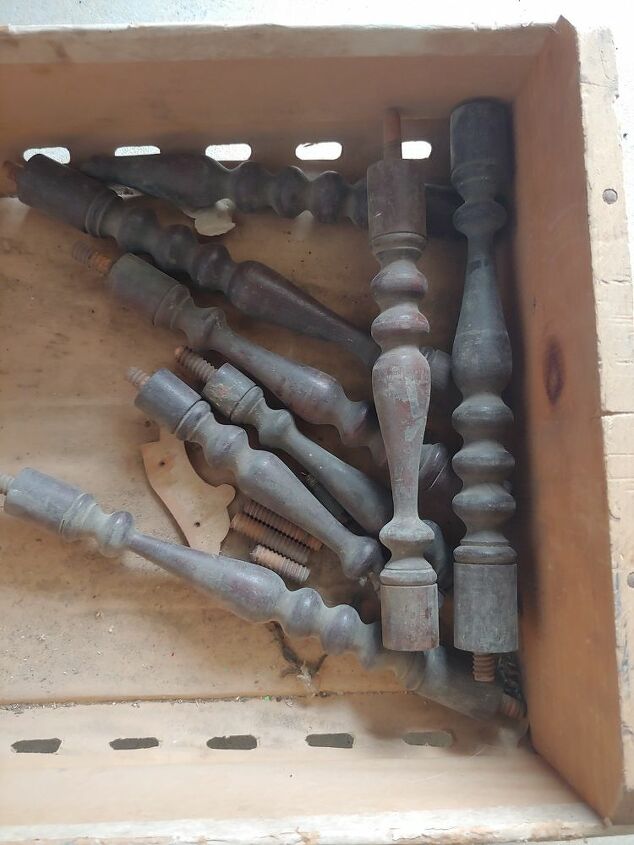
I happened to have a box of old spindles lying around. But you could use old chairs legs or chair spindles. Don't be afraid to grab those chairs by the road!!
I picked those ornaments up at Wal-Mart last year on clearance for $5.00 but you could find cheap ornamnts even now. Try the dollar tree or any of the dollar stores.
Step 1: Paint your spindles
Paint your spindles. I used a matte chalk paint in white.
Step 2: Paint your ornaments
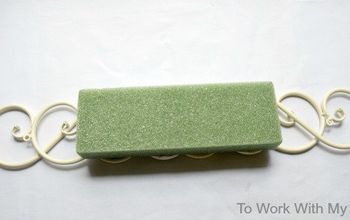
Next, paint your ornaments. I rigged up this little drying station so that I could paint all of the sides at once and let each dry completely.
Step 3: Cut spindles
I then cut my spindles down in different sizes using my circular saw.
Step 4: Drill holes in spindles
I used a drill to make holes for the ornaments to fit into. I checked the width of the ornament "stems" and matched them to a drill bit.
I drilled a much smaller hole at the top for the hook.
Step 5: Glue the ornaments to the spindles
I used hot glue to put the two pieces together. Don't worry about any glue that seeps out, because the twine will rescue is there.
Step 6: Cover gap with twine
I wrapped twine around the gap and distressed the wood a bit.
Step 7: Add some metallic paint
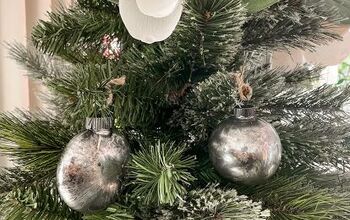
I then dabbed some metallic paint on the ornaments to give them some texture. Especially with the more shapely ornaments, this made all the difference.
Step 8: Add the wire hanger
I stuck a small piece of 20 gauge wire in the hole on top. Hot glued it in and looped it around.
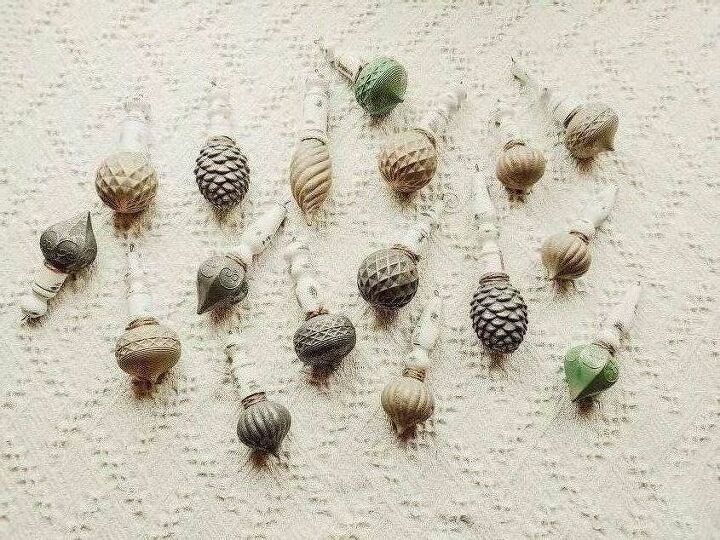
I am loving these!!
I'd love a whole tree of these!!
Hope you enjoyed this diy!!
Enjoyed the project?
Resources for this project:
See all materialsComments
Join the conversation
-
 Dlelsnerhr
on Oct 28, 2024
I never ever mentioned touching my ornaments! They are very precious to me. I simply was commenting on the fact that I thought the project was very interesting and was complimenting the writer! She clearly mentioned that she used plastic ornaments. I was intrigued by the shape That's all!!
-
-
-
















Frequently asked questions
Have a question about this project?
do the tops of the ornaments pop off like the glass ones or are they one piece and if so, how did you remove them?
Hi Laura I have one question please. Since you made these how has the paint held up on the plastic / glass ornaments? Do you suggest using a bonding primer under the paint so that the paint doesn't chip off? I know there are spray paints for plastic but not sure if the chalk spray paint can be used on plastic or glass without a bonder. Thank you for taking the time to answer :)
Is that garland cotton coil?