DIY Abstract Art Plate Wall

Plates walls will always be in style. And creating Abstract Art on my white plates from Dollar Tree was so easy. And when it comes to designing them there are so many color possibilities.
Hometalk Recommends!
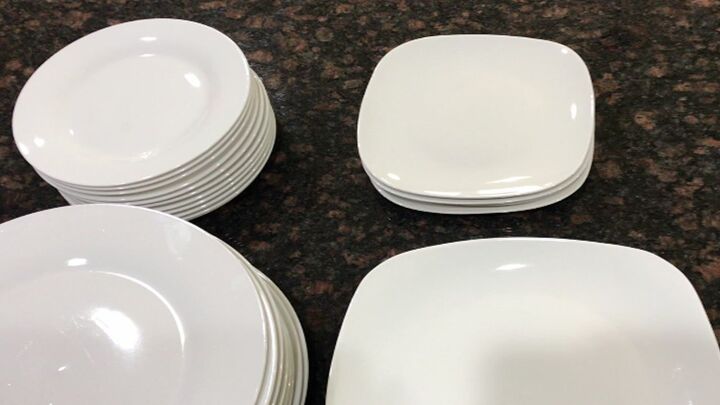
I only needed 22 plates for my project, but I purchased extras just in case I decided I wanted to pretend I was in Greece. Who wants to wash dishes especially when you didn't get them dirty? Well washing these plates is a must. When purchased they are dusty, dirty and sometimes a little oily. Rinse them well.
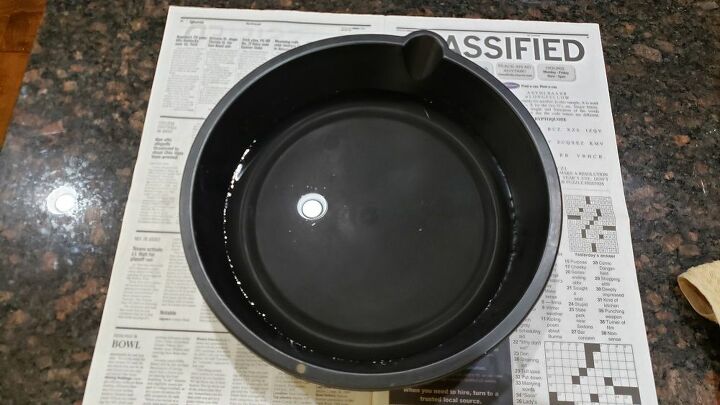
If you watch the video it will seem like I intentionally put the adhesive hangers on the back of the plates before I painted them. I was planning on installing the white plates in my kitchen. Then my whole world turned BLUE! I had an idea. I filled an oil changing pan that I had gotten from Dollar Tree below the spout area with water. Make sure the water isn't too cold. It was freezing in my garage.
If you want to use a larger pan or deeper tote go right ahead. I added more water to this pan. You simply want a container that is deep enough and large enough for your plates to be submerged under water. Just make sure the water isn't too cold.
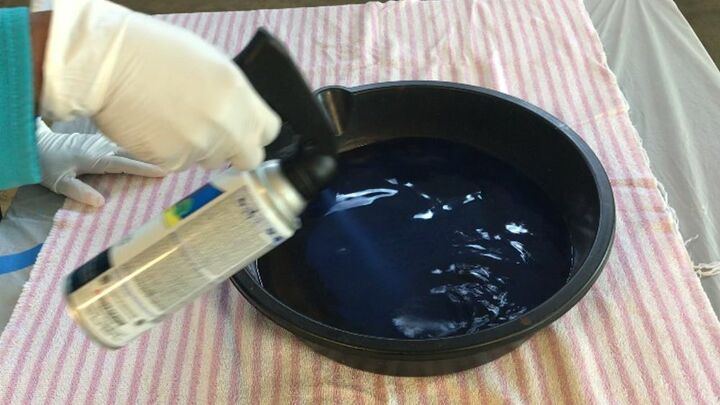
Next QUICKLY AND LIGHTLY spray any gloss colored spray paint in the water. Quickly swirl the paint around with the skewer for about 2-5 seconds.
Place your hands under the plate to handle it with ease. Dip the plate diagonally and right side up into the water from the corner. I have determined that this is the best way because my hands stay away from the top to the plate and edge. See how I dipped this plate.
You can clearly see the marble design in the paint floating on the water. Slowly tilt the plate and lift it out of the water.
I decided to dip some of the plates multiple times. And WOW I got a heart on this one. How beautiful!
Water bubbles will form under the paint while the plates are drying. While the plate is drying, tilt the plates to see if the water will run from underneath the paint. Allow the plates to dry for 24-48 hours or until they are fully dry. The water bubbles will eventually evaporate. Don't rush the drying process.
Use a dry SOS pad to remove the paint from the back of the plate where you will apply the adhesive plate hangers. These adhesive plate hangers were purchased at Hobby Lobby. You apply the adhesives like you would apply a stamp to an envelope. Add a few drops of water to the back and the glue becomes tacky.
After the plates are fully dry apply a clear acrylic to the top of your plates. Even though the clear acrylic is quick to dry wait 24 hours regardless. These are the best clear acrylic sprays. They may look cloudy but they will dry clear.Once the plate is dry clean up the back of the plate.
I made paper plate templates and put them on the wall. If you fold your templates in half and in half again you will have 4 equal sections. Place a dot in the center and you can easily create a grid for arranging the plates.
The marble effects on these plates are stunning. Here are a few close-ups. They are so beautiful.
The paint will form a skin if you don't move quickly. The dark lines are from that skin and caused a lace effect. They make the plate beautiful!
I just love looking at the different plates on this wall. Each plate tells a different story.
Don't like the paint on the plate? Let the paint almost dry. Rub off the paint with the SOS pad. You cannot remove the paint from the plate after the spray acrylic is applied.)
Suggested colors: navy, green, black, dark gray, red, burgundy/maroon, magenta, purple, orange, dark yellow. Thanks for stopping by! Cathryn
Enjoyed the project?
Resources for this project:
See all materials
Comments
Join the conversation
-
 Leanne C Powers
on Sep 21, 2024
I think the idea was great and looks very nice hanging on the wall
-
-









Frequently asked questions
Have a question about this project?
Could you use metallic paint, like silver or gold?
This is amazing and beautiful! I have been looking for something like this. Great idea. I am going to use square plates.
Hi Cathryn. I know it’s been awhile since you did your absolutely amazing beautiful plate wall. I am really looking forward to doing one of my own in my kitchen. I am wondering if you have ever done more than one paint color on a plate and/or on the wall with mixed plate colors??? I would love to see some pictures if you have. I know I asked about different colors but as I’m looking at your post, I can’t imagine a more beautiful plate wall. I really can’t wait to do my wall before the Holidays…all of my children and grandchildren will be here. 💕💕💕