Modern Slat Window Planter

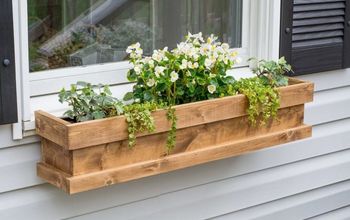
As we've worked to transform the front of our home, we decided we wanted to add a window box. After doing a fair amount of searching, we realized there wasn't anything out there that fit our style. So, we designed and created this modern slat planter that extends all the way to the ground and fits well with the other updates we've done. It doesn't cost much and can easily be completed in a few hours.
Hometalk Recommends!
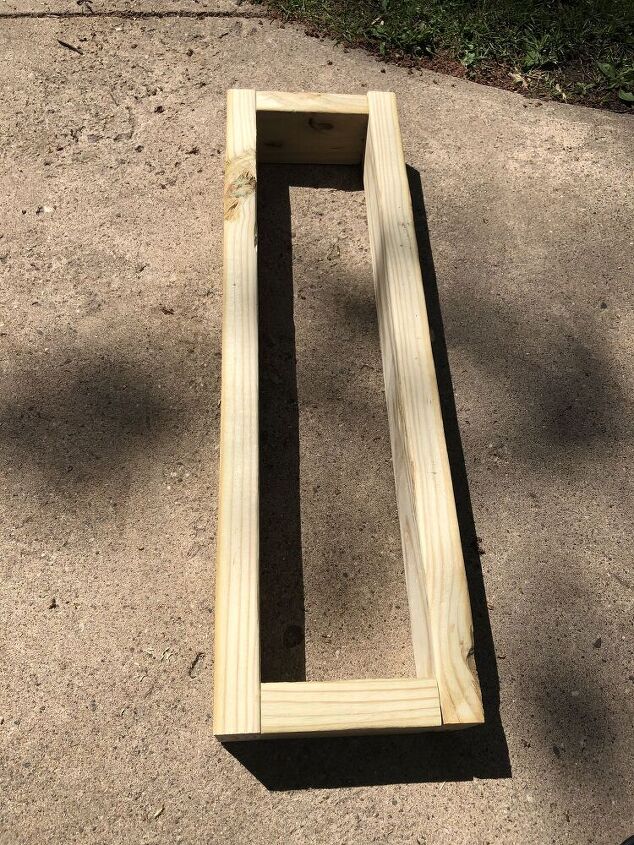
Build Frame
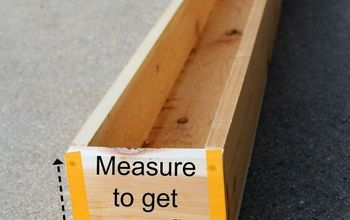
I started by building the frame for the planter. I used pressure treated 2x4s and made the box the width of our window and 6 inches deep.
Attach to House
After building the square box, I cut 4 pieces of 2x4 to run from the frame box all the way to the ground. Before cutting the pieces, I dug out the loose dirt beneath the box and tamped down the ground. I then measured and cut the four side boards and added another 2x4 to connect the supports on the bottom. I used lag bolts to connect the top of the box to our house, right below the window.
Build Box Sides
My next step was to complete the planter area of the box that will eventually hold the dirt. I added a second row of 2x4s on each of the four sides at the top of the box, leaving a small gap for drainage.
Build Box Bottom
Then, I put two 2x4s side by side underneath those top two rows to make the bottom of the box - once again leaving small gaps between the boards for drainage.
Add Slats
Next, I added 1x4 cedar tone boards around the outside of the box to give it the slat look. I used pencils for spacers between the boards and mitered the front corners.
Add Landscape Fabric
I added two layers of landscape fabric to the inside of the box to hold the dirt.
Add Plants and Enjoy!
We're pretty happy with how the planter turned out.
It gives us the modern look we wanted.
One step closer to the curb appeal we're working towards! Follow me on Instagram at @woodyworking for more simple woodworking DIY or home improvement projects, and share your photos with me. Happy building!
Looking for more ways to enhance your home's curb appeal?
Enjoyed the project?
Comments
Join the conversation
-
 Aud62616903
on Dec 19, 2024
Well done. You could have made it two-tier constructing another planting box half way down.
-
-










Frequently asked questions
Have a question about this project?
What keeps it from tipping forward?
I like where you are going with your unique design. Have you considered painting the two porch support posts black? They would match the base and stair railing - and "disappear" into the background.
Where did you build this? Code here is anything attached to a house, or structure MUST HAVE 4" to 6" GROUND CLEARANCE for termite, water, and bug protection! My experience has been in Hawaii, California and Nebraska.