Easy & Affordable DIY Office Desk

by
Ana Ochoa - Sunrise Valley Farm Co.
(IC: blogger)
14 Materials
$225
3 Hours
Easy
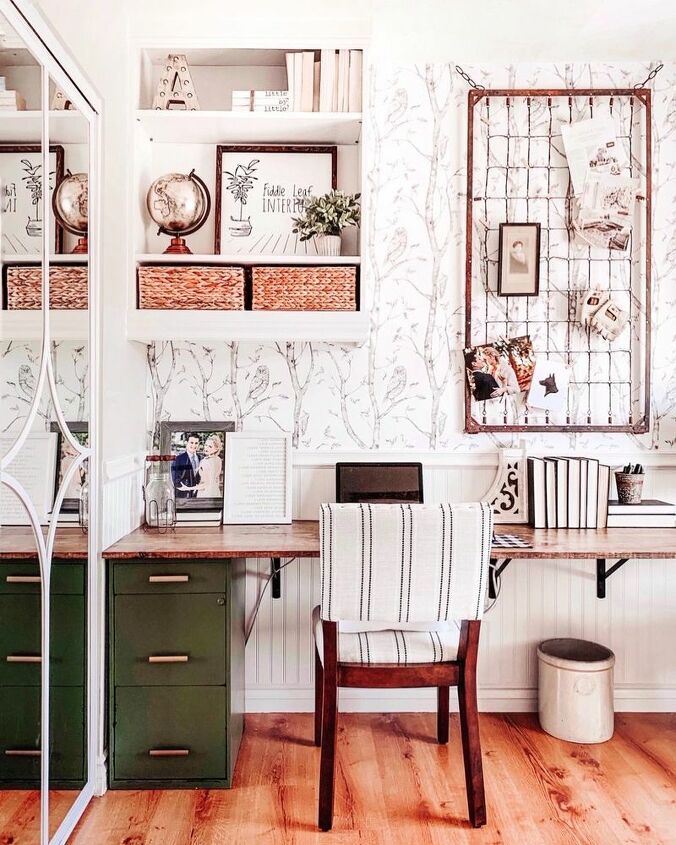
Create an easy and affordable custom office desk out of a few pieces of wood, some filing cabinets, and a couple of heavy duty brackets!
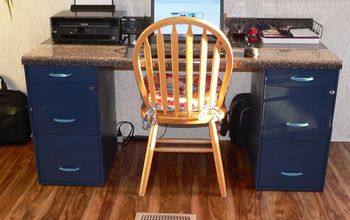
Hey friends! This tutorial has been a long time coming! I’m so excited finally be able to tell you about our super easy DIY office desk! We made it out out of two file cabinets, two pieces of wood, and some brackets!HOW TO:1. Sand and stain your boards. Seal them with 1-2 coats of Matte Polycrylic.2. Place your file cabinets on opposite ends of your wall space. Lay your two stained and sealed wood boards out on top of your cabinets (if you purchase these exact cabinets, there will be about 2″ of space behind your cabinets if you make the front of the desk flush with the front of your cabinets; don’t worry about this – it’s not noticable and is a great place to hide cords).
3. Decide where you want the holes for your cords (we have 5 – one at either end, one in the middle, and one each in between). Mark where you’ve chosen, and use your hole saw drill attachment to drill holes into the back board for your cords. I intentionally cut only half holes by placing the head of the drill as close to the edge of the board as possible.4. Sand your hole cut and stain the raw wood area you just exposed.5. Move both boards back into place. Make sure your boards are level. If not, you can place a shim underneath one or both boards and on top of either file cabinet to help level. You’ll be able to remove the shims later, as the file cabinets are not actually what are supporting your desk – rather, the brackets are.
6. Use your stud finder to mark where your studs are in your wall. You might have to play around with bracket location here. Initially I planned for 3 brackets, but there was not a stud in the middle of our wall. So we chose 4 brackets instead, with two brackets straddling the middle of the wall, and two on either end on the inside of each file cabinet. The brackets should be placed with the 12″ side facing your boards and the shorter side on the wall. This way, the very end of each bracket can grab the second board. Otherwise, the second board will not have support.
7. Once you’ve located your studs, hold up your bracket and mark where your bolts will go into the wall (2 per bracket).8. Drill a pilot hole for each hole.9. Once the pilot holes are drilled, you will use a wrench from your wrench set (that matches the size of your bolt head) to screw the bolt into the wall/stud. This takes some elbow grease, but it’s what makes your desk super sturdy!
10. Repeat for all brackets, making sure that when you mark your holes, the brackets are supporting the wood, but not pushing them upwards.11. Once all of your brackets are screwed into the wall, it’s time to anchor them into the wood boards with your short 1″ screws. Be sure these screws have a large enough head to catch the bracket.12. Use a thin piece of cardstock in between your two boards as you screw the top of the brackets into the boards. Wood will expand and contract with temperature, so you want to have a very slight space between your boards so they are able to do that without any issues.PRO TIP: Having an extra set of hands to hold your boards steady as you screw the top part of the bracket into the boards is very helpful here!
13. Repeat until all of your brackets have been screwed into both boards.14. And that’s it! You’re DIY office desk is complete! Enjoy!
We love having a space big enough for both hubby and I to work at!
Would you consider building a DIY office desk for your home? And as always, if you loved this tutorial, please visit me ove on my blog: www.fiddleleafblog.com and Pin It to share with your friends!
Enjoyed the project?
Resources for this project:
See all materials
Any price and availability information displayed on [relevant Amazon Site(s), as applicable] at the time of purchase will apply to the purchase of this product.
Hometalk may collect a small share of sales from the links on this page.More info

Want more details about this and other DIY projects? Check out my blog post!
Published February 27th, 2020 11:04 PM
Comments
Join the conversation
2 of 20 comments
-
-
 AliceB
on Apr 21, 2021
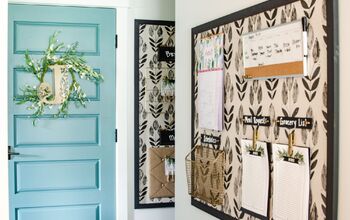
It turned out very fresh, and I especially like the wallpaper with a natural print. A home office made in a white tone will add more light and more disposes to the working environment. Because of this quarantine, I had to set up an office at home in an accelerated mode. I purchased a good quality office desk and chair on https://www.office-furniture.com.au/, they are very comfortable, but boringly simple. I wouldn't want to get rid of them, but if I redesign the room a little in the style of industrial chic, such modern pieces of furniture should fit perfectly. They trace laconically clear lines and are made in metallic black color. A little doubt about the color of the walls, maybe you have some suggestions.
-












Frequently asked questions
Have a question about this project?
This is a really great-looking space, but why didn't you use white brackets?? These metal brackets are not, at least in this case, meant to be seen and detract from the look of your nice space. Please go back and paint them white.
Is it hard to do this
I want to know about the bird print on the wall? Is it wallpaper?