DIY Wood Step Stool

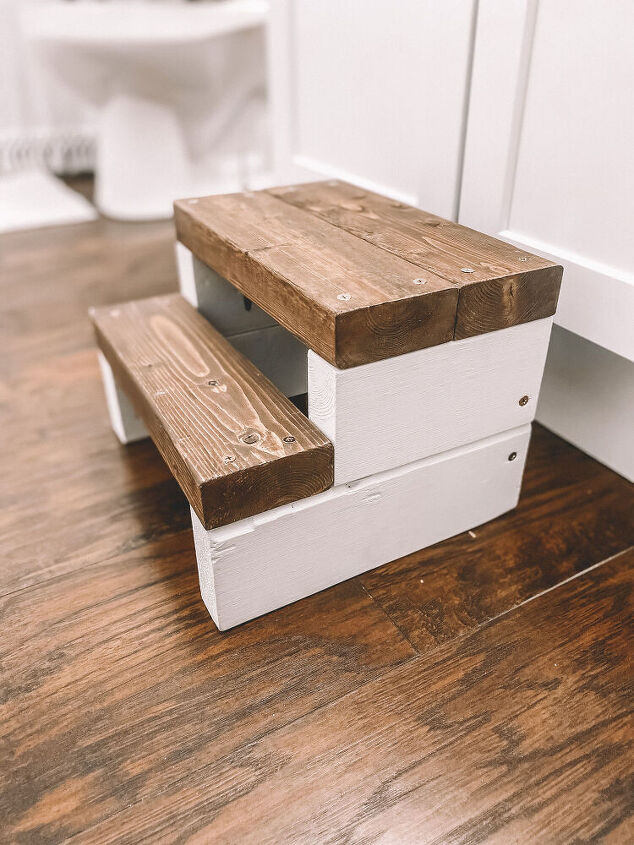
We had just recently remodeled our children's bathroom and we had a plastic step stool that just didn't match. Since we are turning our house into a "faux" farmhouse we have been making a ton of DIY wood projects. You can follow my Instagram with all the DIY's we have done @ourlitte_humblehome . So I decided to make a DIY step stool out of scrap 2x4 boards that we had in our barn.
I am all for DIY projects and making things myself.
DIY Wooden Step Stool
What you will need to build this project:
- One 2x4-8ft long
- Kreg Jig pocket hole system & Kreg Jig screws
- 2 1/2 inch wood or multi purpose screws
- Wood Glue
- Drill
- Sand paper
- Miter saw
- Paint or stain of choice
Cut List
- Three 12" pieces (steps)
- Two 10 1/2" pieces (side bottom)
- One 9" piece (back-support)
- Two 7" (side top)
Once you get all your materials gathered and your boards cut, you will wants to make sure you sand down your boards really good. You can use whatever kind of sander you have.
Once you get your boards nice and sanded you will want to get your kreg jig pocket hole system, clamp and drill to make the pocket holes. You will want to made two pocket holes on each of the 7" boards, making sure they are going the same way. I made my holes at the 1" mark on my system and used 1 1/4" pocket hole screws. If I would have had bigger screws I could have used them but I just used what I had on hand. You will want to sand down the pocket holes if they have any rough spots from making the holes.
Once everything is all nice and sanded and your pocket holes are done, you will want to paint or stain the wood however you would like. I used dark walnut by Varathane for the stairs and Rust-Oleum white linen chalk paint for the bottom half of the stool. I chose to put on two coats of chalk paint but that is totally a preference thing.
After everything is dry it is time to put it together. I let my boards dry overnight to make sure they were nice and dry and not tacky.
First step is going to be to take the two 10 1/2" pieces and put them on their sides, next grab the two 7' pieces and put them on top of the 10 1/2 inch pieces and make sure the boards are on just right so you can attach them with the pocket holes. Go ahead and secure them down with the pocket hole screws and wood glue. I put a line of wood glue down the center of each board.
The next step will we to add the 9" piece for support. You will want to put the board evenly in between the two side pieces and make sure you pre-drill the holes to prevent the boards from splitting. I put two 2 1/2" screws in on each side to make sure it was going to be nice and sturdy. Then you will want to add the steps on, making sure to pre-drill the holes before you use the screws. Once you get the stairs on you are done!
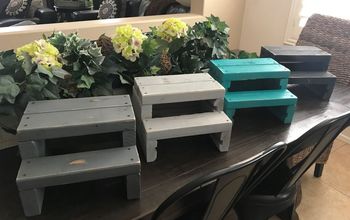
Here is my completed project. I hope that you have fun making this project if you choose to do so!
Enjoyed the project?
Resources for this project:
See all materialsComments
Join the conversation
-
 Zar41104924
on Jul 07, 2021
Am really inspired watching this step stool. I want to buy all the stuff and start this project. It's a simple project but very useful for the house. Thanks for sharing and god bless with good health.
-
-
 Mona Kempton
on Aug 22, 2023
i love it, i already cut the wood, i will be sanding an following your steps. Thank you for shearing..
-












Frequently asked questions
Have a question about this project?
I love this project and the toes! But I am wondering where you got your shower curtain from please?