DIY Under Bed Rolling Storage Drawer

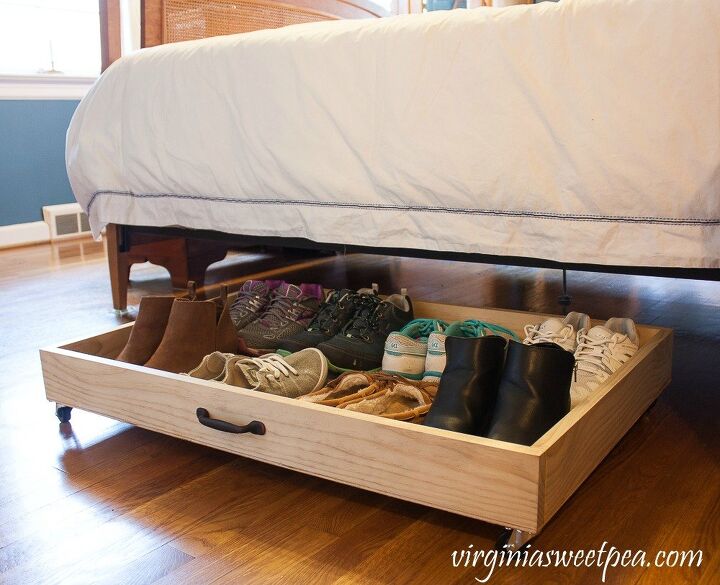
Have you been working on organizing your home in the new year? Our 1950’s home has small closets and a constant problem for me is shoe storage. It doesn’t help that my feet are large and my shoes take up so much space! I made a DIY Under Bed Rolling Storage Drawer that has solved my shoe storage problem.
Hometalk Recommends!
The drawer that I made holds eight pairs of shoes and easily slides under our bed thanks to the wheels that I added to the bottom of the drawer. I also added a handle to make it extra easy to pull the drawer out when I need a pair of shoes to wear. This project was an easy DIY and I’m so happy with the end result!
These are the supplies you will need to make an under bed rolling storage drawer:
- 1 - 1/4” Lauan 2x4 Plyboard Sheet
- 2 – 1x4x6 Pine Boards
- 4 - 1 1/2” Swivel Wheel Casters
- 1 – Cabinet Pull
- Kreg Jig
- Wood Stain
Decide the size drawer you’d like to have. My drawer is 2’ x 3’. When deciding the size, I started by measuring my shoes to figure out how large the drawer would need to be to hold eight pairs.Make these cuts:
- Plyboard – Cut to 2’ x 3’
- Pine Board – Cut 2 pieces to 36”
- Pine Board – Cut 2 pieces to 22 1/2
The first step is to make the drawer box. We used our Kreg Jig to make pocket holes in each end of the wood, then we screwed the ends together. I ran a bead of wood glue down each side of the boards before the screws were inserted for added strength.Clamps and clamping squares helped to keep the box square as the sides were screwed into place. We use clamping squares for nearly every woodworking project that we complete!
Next, we attached the drawer bottom. Run a bead of glue along the bottom edge of the drawer box.
Lay the drawer bottom in place and clamp on all four corners. Then nail the drawer bottom in place.
Add the casters. Full directions with pictures are on my blog post for this step.
Add the handle. Tips with step-by-step pictures of this step are on my blog post. (Link below!!)
Stain the wood and you're done!This is a project that I use every single day! This doesn't have to be used just for shoes. You could use it to store sweaters, shirts, toys, and more.
Enjoyed the project?
Resources for this project:
See all materials
Comments
Join the conversation
-
 Carol f engler
on Dec 22, 2024
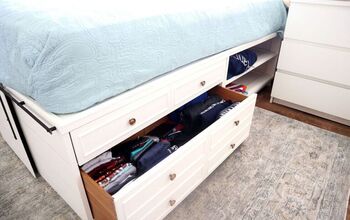
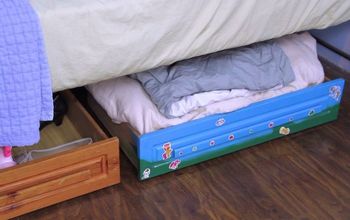
I used an old drawer added rollers on the bottom and a handle at one end fits under my bed and holds my bed linens
-
-









Frequently asked questions
Have a question about this project?