DIY Twin Headboard Bench With Storage

by
Wendi @ H2OBungalow
(IC: blogger)
17 Materials
What does a trailer full of opportunity look like? If you ask DH, he'd say trouble. My answer is of course lots of furniture ready for makeovers and stuff with potential like this DIY twin headboard bench I built this week. If you need more details or have ANY questions, please viit my blog pot at the link attached at H2OBunglow.com!
Last month I kind of went on a shopping binge at our local Habitat for Humanity Restore. It was just one of those days where every time I turned around I saw another gem in the rough. You know how it goes, if you don't grab these kind of finds right then and there, you'll spend the next two days regretting that you left the whatever it was behind, go back and of course it will be gone.
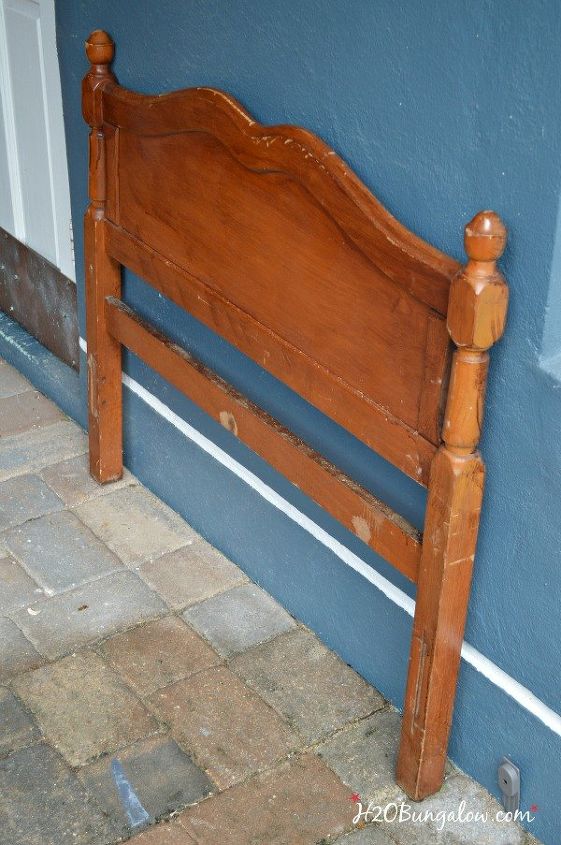
This twin headboard was one of my finds. It was a nice petite size and I knew it would make a great DIY headboard bench. What it didn't have was a good footboard that would work for side arms. So I figured this would be a great project to share for this month's Power Tool Challenge and share how to make a DIY twin headboard bench with a shelf for storage.
I made a basic frame using some poplar I had left over from another project and select pine (better quality) for the seat. Since each headboard bench is unique, there aren't exact measurements I can share. The picture is easy enough to see and get the gist of wher everything went. The seat is approximately 18 tall and about 18 deep.
My Dad shared this trick with me and it worked so well I have to share it with you... Make a template of wood pieces to fill the voids between the slats out of scrap to space slats evenly. I used my Ryobi Airstrike brad nailer to attach all the slats on one side, and then moved the spacers to the other side with these same spacers. Here's how to figure the size and number of spacer templates needed. Measure the total distance between the bench legs, subtract the length of the slats together, this will tell you how much space needs to be divided evenly between the slats, divide that by the number of spaces/voids and this will tell you how long to cut each spacer template. Make a spacer for each void in between the slats at that size. It will save a lot of time and your slats will look perfectly placed.
Attach the shelf slats first and the seat boards last. Depending on the length of your twin headboard bench you may need to notch the end board with a jigsaw to fit around the post. Use wood putty to fill in any depressions from the nail gun and paint.
The stencil was a last minute decision, I think it was the perfect finishing touch.
If you need the full supply list for this project or more instructions, please visit my blog post. You'll see the link below.
Enjoyed the project?

Want more details about this and other DIY projects? Check out my blog post!
Published January 16th, 2016 1:32 PM
Comments
Join the conversation
2 of 155 comments
-
 Lisa
on Dec 11, 2019
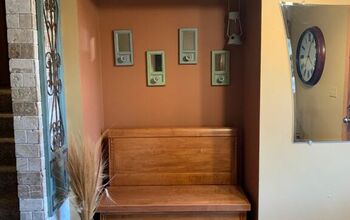
I did this with an heirloom piece. It was my great grandmas bed, then my grandmas, then my moms, then mine, then my kids slept in it.. There was no way I was going to get rid of this bed, so I had it made into a bench and put it in my living closet nook. I no longer have a closet, but that’s ok... It was well with it.
-
-












Frequently asked questions
Have a question about this project?
If I have the foot board, what would I do differently?
Where did you find the "welcome" stencil?
How could I do this with a padded toddler headboard?