DIY Rustic Farmhouse Tables

by
Michelle | breakingdownthebox
(IC: instagram)
10 Materials
$75
3 Days
Medium
I am getting thoroughly frustrated with the furniture you can buy in stores. I will pay $200-300 for desks and side tables made of pressed particleboard. Within a year or two, they are already crumbling. On another frustrated note, the designs I like typically end up costing me a lot more than I want to pay, or are missing something! So, I started to learn how to build my own furniture. I typically use less expensive pine you can find in a hardware store to keep the cost down. Any nicks in my kitchen table are considered "memories" - haha! My guests had started asking me where I was buying my furniture - when I told them I actually built it, they were interested in the prospect of me building their own furniture. One of these builds included a coffee table and a pair of side tables for my brother in law's living room. His girlfriend and I did some searching to find exactly what she was looking for and then I came up with a plan and went to Lowe's.
Cut List (for one side table):
- Legs - (8) 2x4 @ 22"
- Connections - (4) - 2x2 @ 16"
- X Design - (2) 2x2 @ 26" long to short, you will want to trace the cut once your legs and connections are assembled. Also, (4) 2x2 @ 13" - again trace this once your longer piece is in place.
- Table Top - (5) 2x6 @ 27"
- Bottom Shelf - (2) 1x12 @ 16"
- Tape measure
- Speed square
- Pencil
- Kreg Jig Pocket Hole System
- Drill and bit set
- Miter Saw
- Sander
- Paintbrush
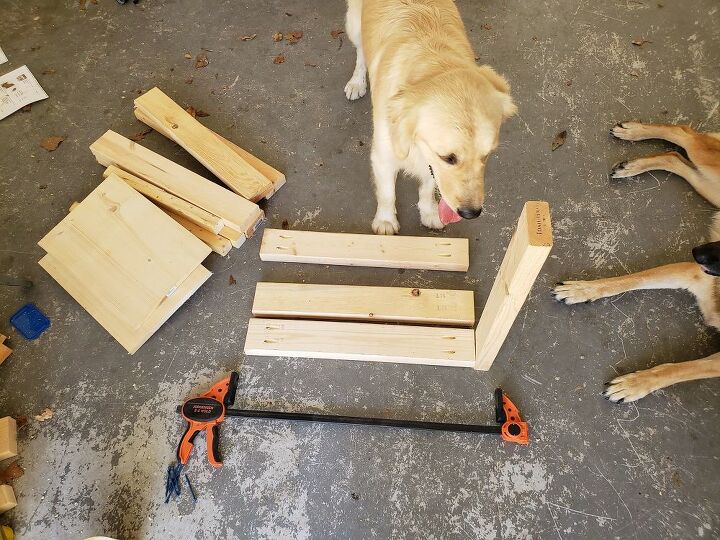
As you can tell, I have a very stressed out helper who is always checking on me during my projects.
Step 2: Connect the sides with the 2x2 connections.
As you assemble the main frame, ensure everything is squaring up nicely.
Step 3: Build your bottom shelf.
Step 4: Attaching the X
Step 6: Build your table top.
Fill in all holes with wood filler and sand smooth!
Step 7: Paint or Stain
For the look I was going for (distressed), I painted a base coat of dark gray.
Then, my other helper assisted with painting the top coat of white.
I stained the table top with Minwax Dark Walnut, wiping it off within the first minute of it going off. When both the base and table top were finished, I attached the table top to the base using normal wood screws. I filled in the holes with wood filler and did a quick touch up with the stain.
Step 8: Distress and Seal
Step 9: Attach leveling feet.
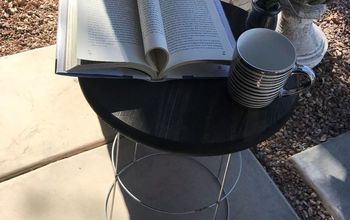
What you end up with is a beautiful, super sturdy and level side table! You can add decorative hardware to spice it up even more, or just leave it rustic looking. They are in LOVE with their set! I loved it so much I wanted to keep it myself -  .
.
 .
.
Enjoyed the project?
Resources for this project:
See all materials
Any price and availability information displayed on [relevant Amazon Site(s), as applicable] at the time of purchase will apply to the purchase of this product.
Hometalk may collect a small share of sales from the links on this page.More info
Published January 14th, 2020 3:30 PM
Comments
Join the conversation
2 of 234 comments
-
 Emily Harris
on Mar 17, 2025
Just amazing!
-
-
 Omaifi
on Mar 17, 2025
After spending years shopping at some of the worst places to buy furniture, only to have things fall apart months later, I switched to DIY and haven’t looked back. Building my own rustic farmhouse table not only saved money but gave my dining room a soul. It's amazing how homemade furniture becomes part of family history. Honestly, DIY furniture is therapeutic, budget-friendly, and the imperfections become charming reminders of everyday life’s little adventures.
-










Frequently asked questions
Have a question about this project?
They are gorgeous.
I just wonder why everything is labeled.
Rustic Farmhouse design?
These can match just about any Decor with different paints. Thanx for sharing.
Have a safe and Happy New Year
I believe I saw this same size table in Kirkland! Great job!
I love how your pup and daughter are helping you! I wonder if a shelf could be added to the side tables, for extra storage? Very nice work!