Farmhouse Bedroom Set: How to Build a Dresser From Scratch

Today, we're going to show you how to build a dresser from scratch. This is a project that I just finished as part of a larger farmhouse bedroom set. It was a pretty advanced build, but I feel proud of the outcome.
It's a bit of a detailed process, but here are the basic steps:
- Build the frame
- Build the drawer cases
- Assemble the legs and feet
- Set up the drawer divider
- Add the top and trim
- Assemble the drawers and then install them
- Add hardware and stain
1. Build the frame
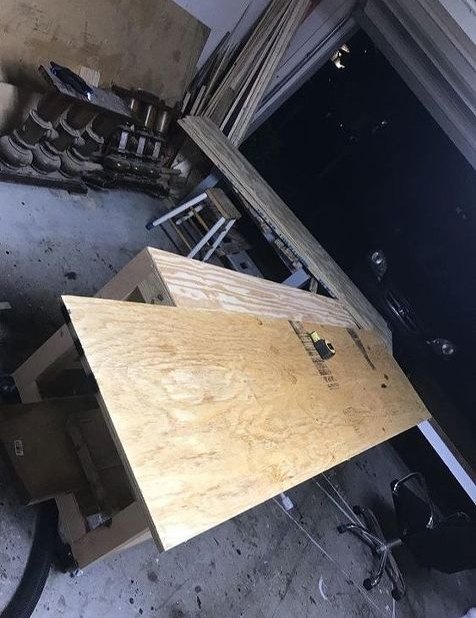
I started off with building the frame. I used two pieces of 3/4-inch plywood to give me the rectangular shape.
2. Build the drawer cases
Assembling the drawer cases.
3. Assemble legs and feet
Next, we added the legs on the side and the dividers in the middle.
4. Set up the drawer divider
After that, we put the drawer slides in.
5. Add the top and trim
Tip: Make sure you your drawer slides sit far enough back that when you pull out the drawers you can’t see into the back of the dresser.
6. Assemble the drawers and then install them
Lastly, we made drawer boxes and installed them.
All of the drawers set in place!
7. Add hardware and stain
We then added the hardware and finishing touches.
We finished it off with a dark walnut stain and semi-gloss sealant.
How to build a dresser
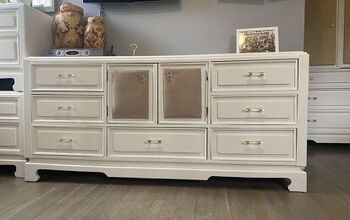
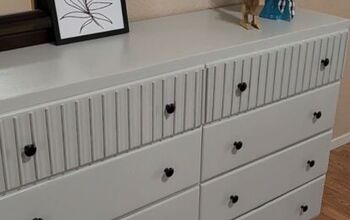
Here is the finished DIY dresser project, and it came out beautiful! I'm feeling really proud! Let me know what you think of this farmhouse dresser in the comments below.










Frequently asked questions
Have a question about this project?
What was the cost of this project?
What length drawer slides are used? 20"?
Do you happen to have the measurements and guide for this?