


Trash to Treasure

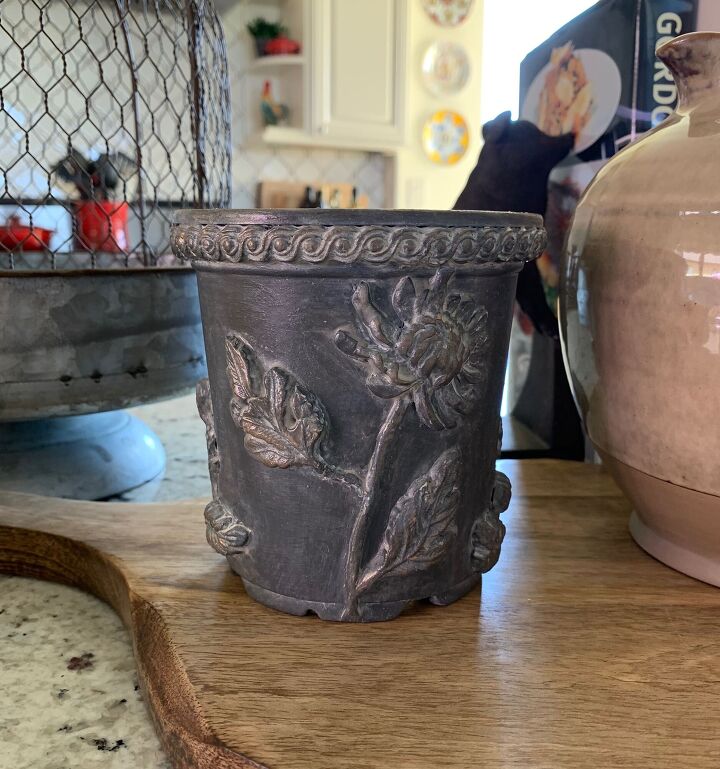
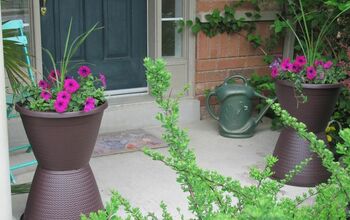
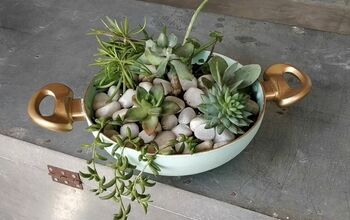
Turn that free nursery pot that you normally throw away into an gorgeous display planter.

Feeling inspired?
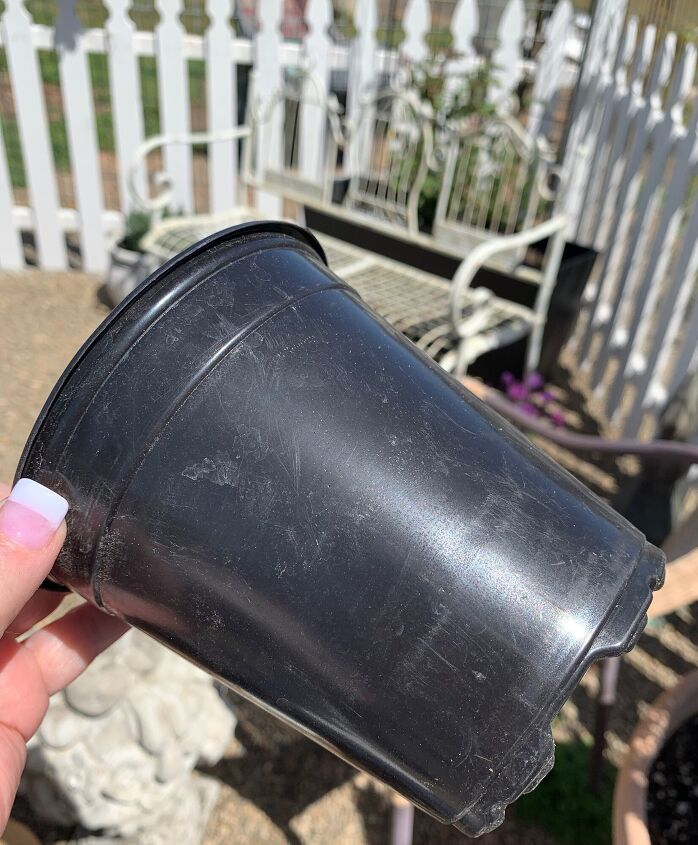
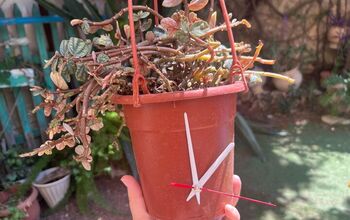
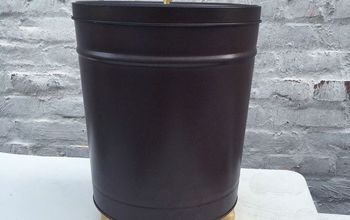
A disposable planter that flowers and vegetables come in when you buy them from the Nursery, HomeDepot, etc. We normally toss them away. I washed and dried it.
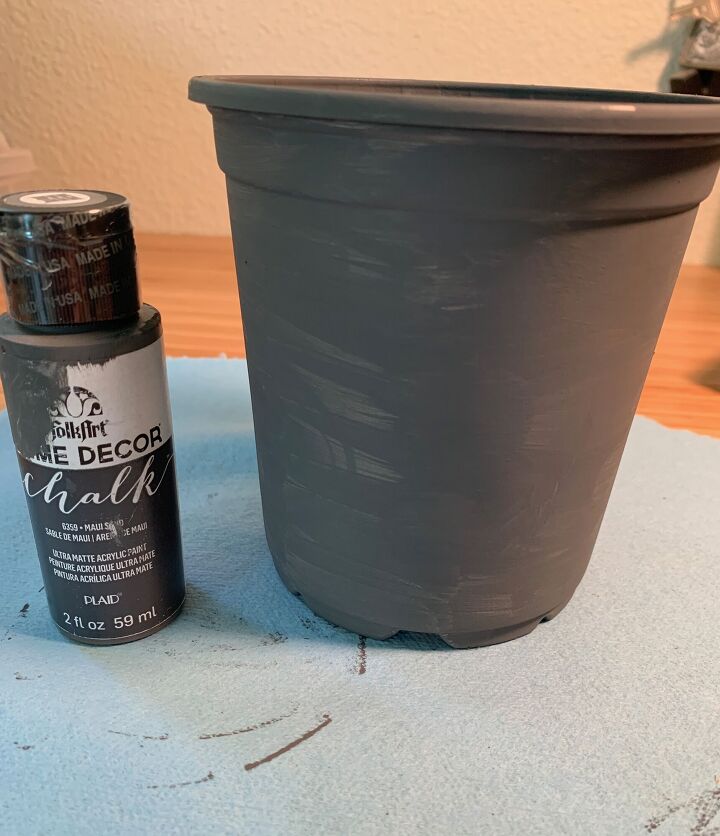
I applied one coat of Folk Art “Maui Sand” also going into the planter about one inch down, but depending on what you will use the planter for, you decide how far down to paint the inside.
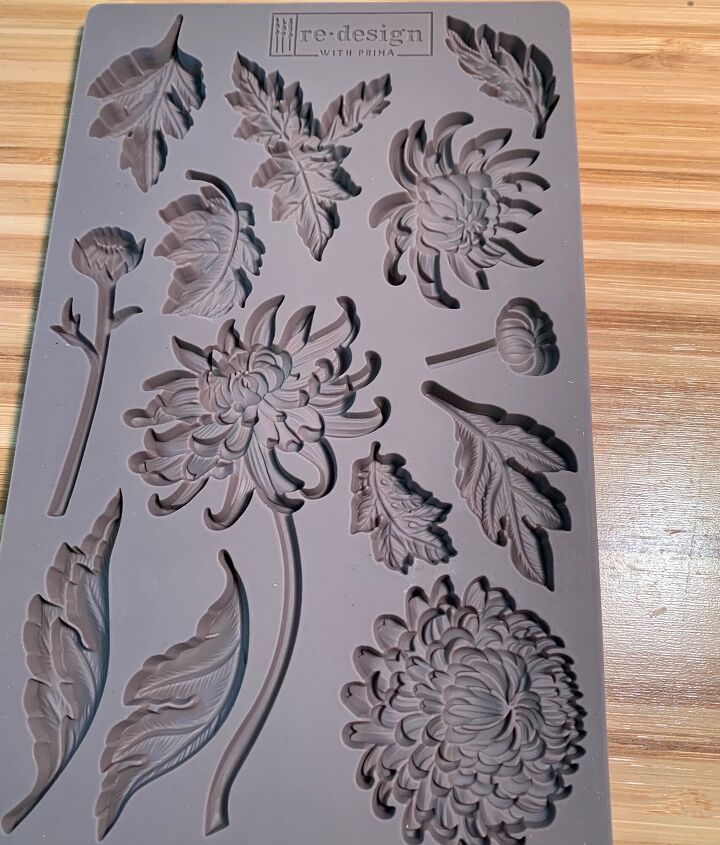
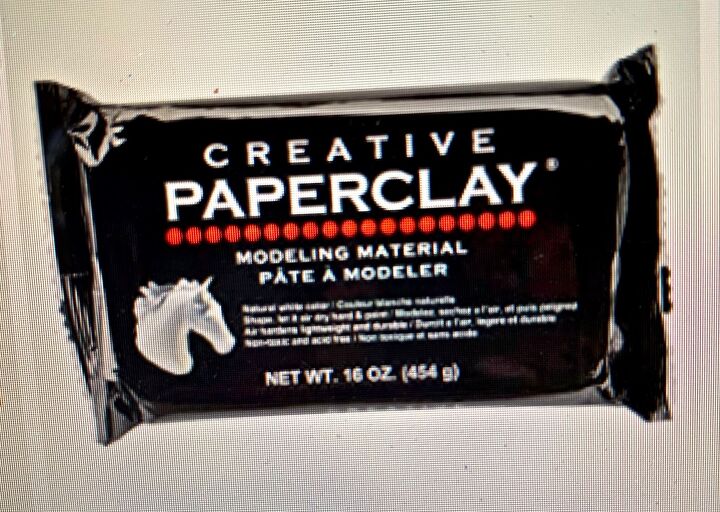
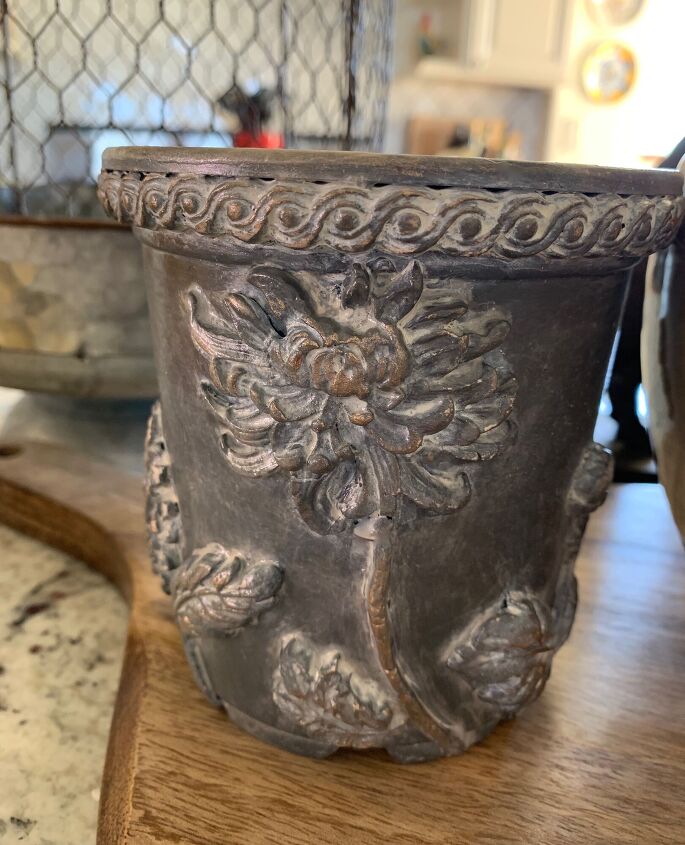
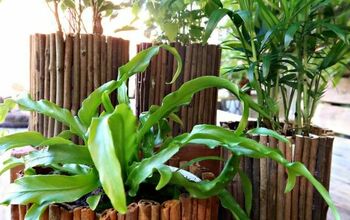
I used “Paperclay” with Prima “Botanist Floral” but feel free to use any mould that strikes your fancy. I also use a Rope Stripe mould that I had, also from Amazon made by Foyara, but again if you have another you like and it fits, then great. I glued them down with Tacky glue and made visits to make sure all was fine periodically. Huge point here…..I applied the flowers first, and when they were set, I then glued the border on, turned it upside down to set up so to prevent slipping. You really do have to add a strip to these otherwise it is a dead give away that it is just a disposable planter.
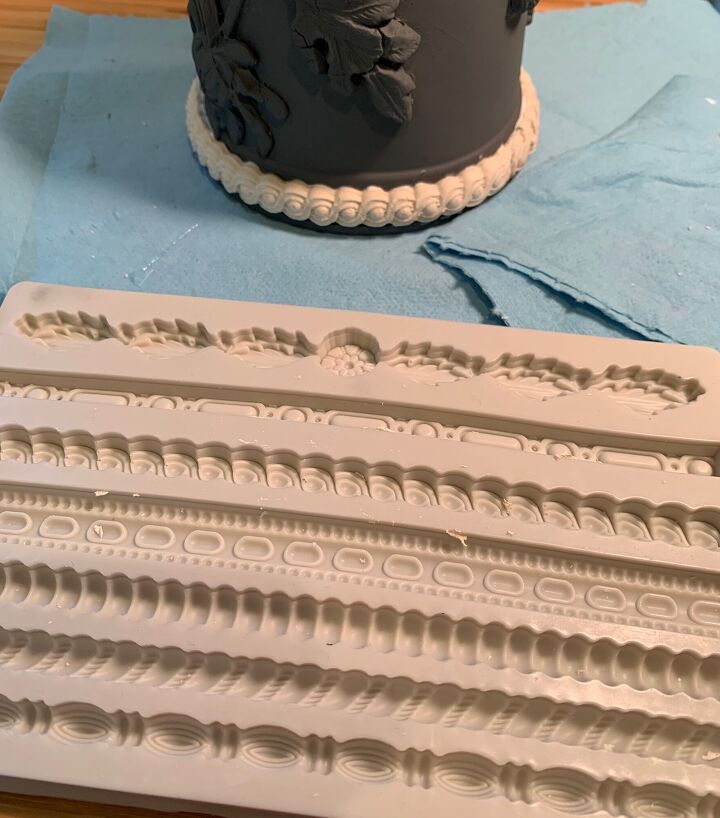
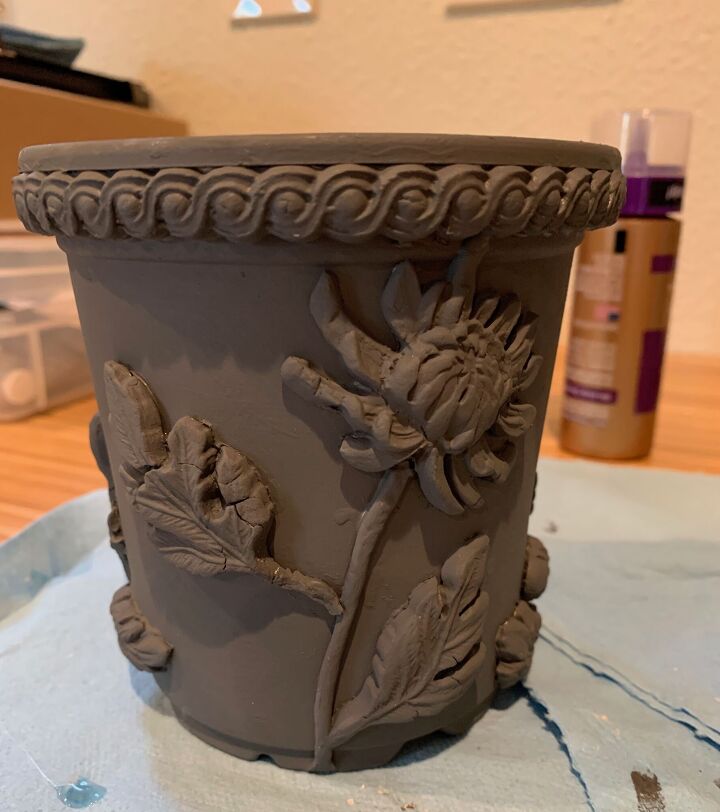
After the clay was dry I painted a second coat of the Maui Sands. I love when the clay gives cracking, in fact I try to encourage it because I think it give the piece more personality, and a more aged look. To get cracking I bend it down while the drying process is going on. It is only possible on a flexible surface. This is just my personal choice.
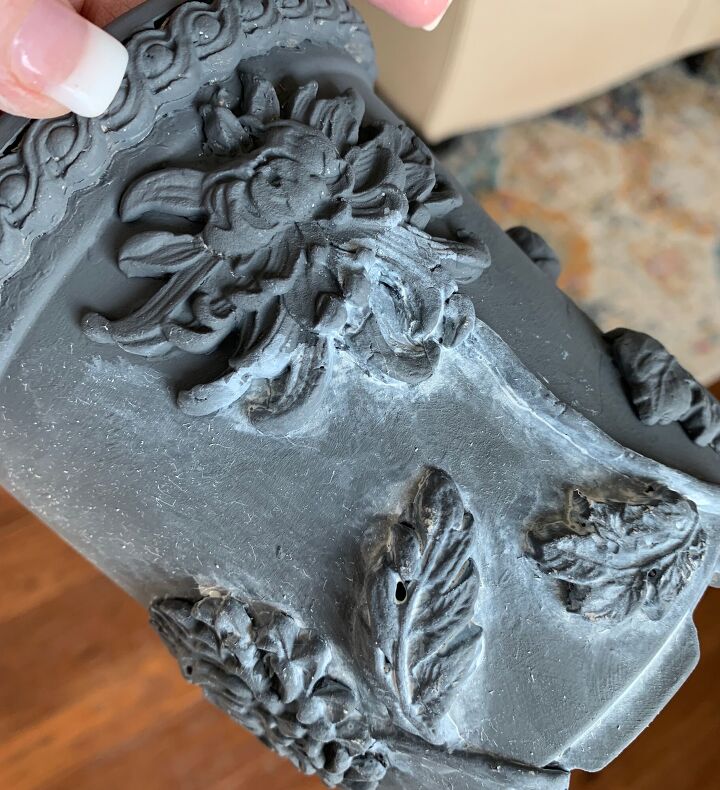
I then applied a whitewash coat using “SheepSkin” Chalk Paint from Folk Art. This is highly watered down. I used a wet paper towel rung out, and worked in sections. Be very careful working the CLAY AREA…..Work as little as possible on the clay. Water and clay are not friendly with each other. You can quickly destroy your mould. I used a brush to whitewash, then wiped off with the towel, gently. Small areas at a time. When completed I kind of sponged the planter with the wet paper towel that had the paint on it so as to not look wiped.
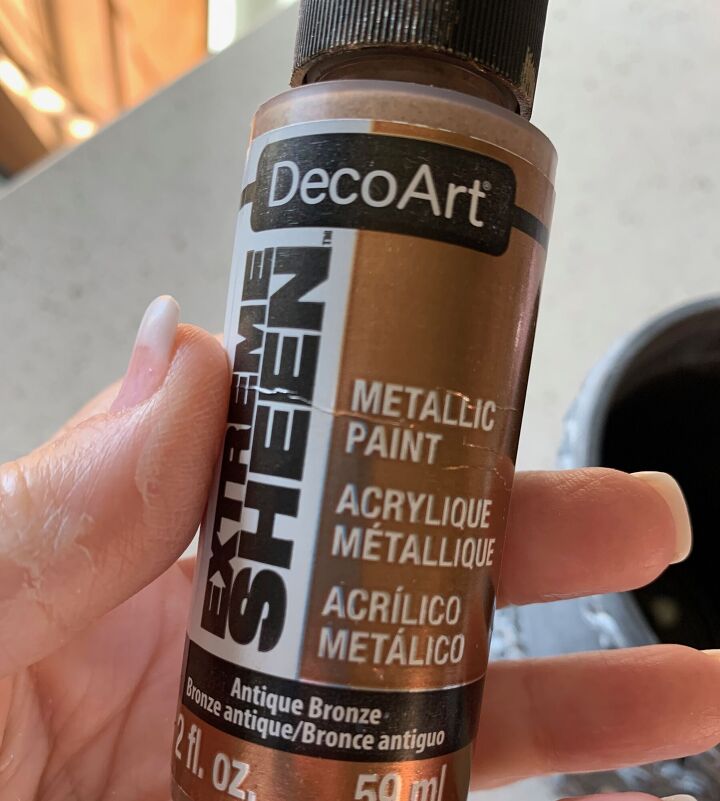
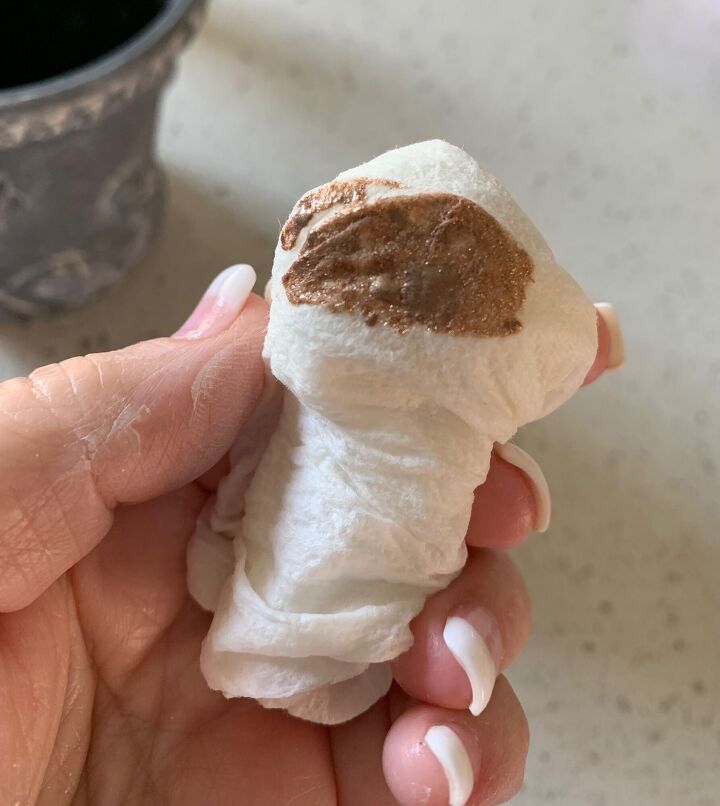
Now the fun part, using a metallic paint, I used Antique Bronze (I recommend it) use a wet paper towel dipped into paint. Now just hit the high points…never the planter itself except the rim. Wipe off any excess with the clean parts of towel. Keep it up until it makes you happy. This is what will give it the rich expensive look, go overboard and you’ll know it, to little and the point will be lost. If you went overboard you'll have to start over with paint, so be careful.
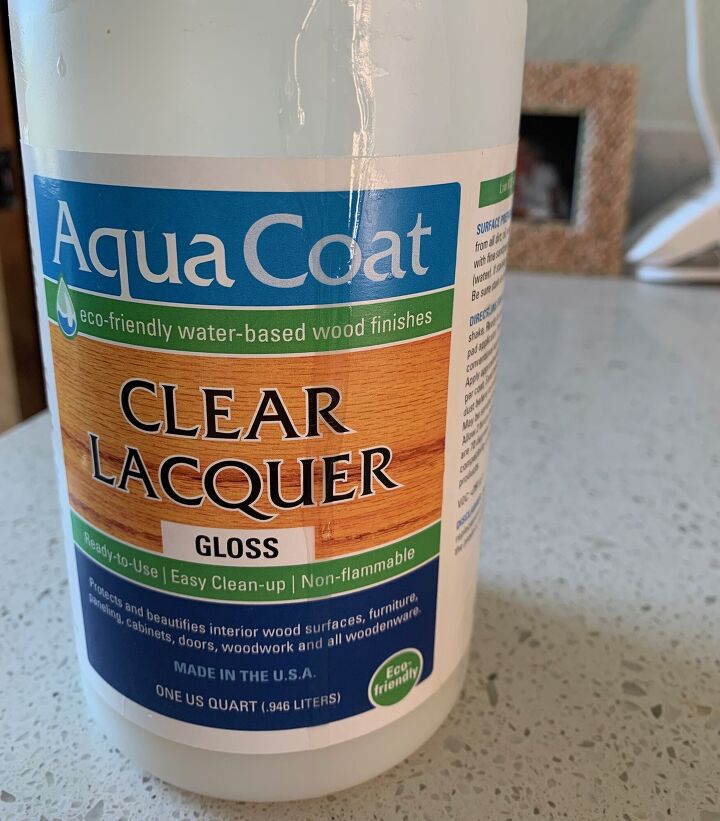
Finish it off with protection. I use Aqua Coat but you may have a favorite. Aqua Coat like others can bubble so work slow. One coat should be enough. I like Aqua Coat because of the easy clean up, water based. I hope you can turn some trash planters into something you can enjoy ...Have fun.
Resources for this project:
See all materials


Comments
Join the conversation
-
Yes, in fact I have recently seen someone use toilet paper and paper towels. But I have recently used cheap Foam Clay. It comes in a huge bag and it easy to use. Tip, let it dry out a little by playing with for a short time before putting it in a mould. Play a little until you figure out the best way it works for you.
-
I agree this is the Best recycling project I’ve seen in some time. I am going to do this to , I’ve many of the black pots on hand. Thanks for sharing


Frequently asked questions
Have a question about this project?
The end result was nice, but that is a lot to spend to buy all of the materials needed for this project. Even if you reuse the molds, the other materials are costly. How much paper clay was used? What size pot?
Thank for sharing a nice alternative way to decorate pots.
Gorgeous!!!
This is gorgeous and one of the best crafts on Hometalk. It certainly beats out some of the homemade cheap stuff on here. Question; I’m wondering if you painted it with an outdoor paint and primer (same antiquing technique) if it could be used outside? OR… I wonder if the molds could be made out of cement?
thoughts?