


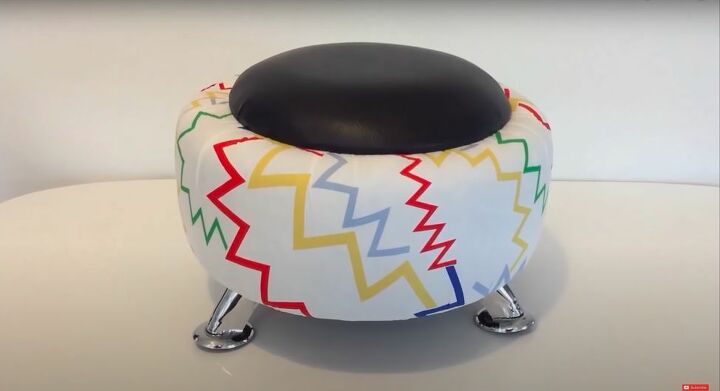
Turn Trash Into Treasure With This Car Tyre Stool

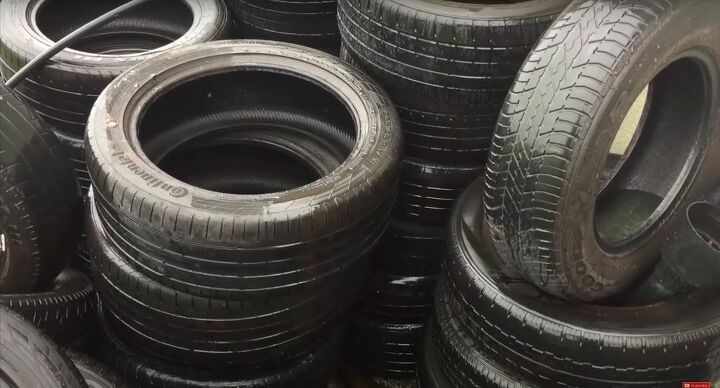
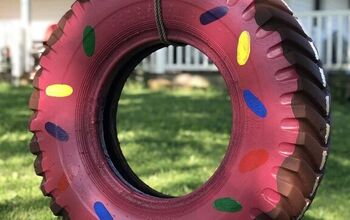
I’d been looking for the perfect stool for my home and just hadn’t been able to find it. Then inspiration struck, why not make it myself? I had seen a few different versions of car tyre stools and decided to give it a shot. Tyres aren’t difficult to come by, and I love a project that makes use of things that are often discarded. This project is easily customizable to your space, just choose a fabric that works with your aesthetic. Follow my step-by-step tutorial and you’ll have a new seat for your guests in no time!
This project uses quite a few tools and materials, so make sure to read it thoroughly before you start.
Materials:
Old tyre
3 pieces of plywood
Pencil
Nail
Strip of wood
Jig saw
Four blocks of wood
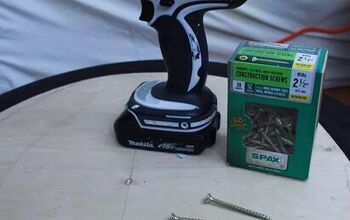
Screws
Spray adhesive
Batting
2” thick foam
Faux leather (this was used for the seat of the stool, you can use a different fabric if you prefer)
Staples
Fabric
Pins
Hemming web
Black felt
Furniture legs
Tools:
Tape measure
Hammer
Drill
Electric screwdriver
Hack saw blade
Scissors
Staple gun
Utility knife
Iron

The first thing I did was measure the inside diameter of the tyre. I added 1” to my measurement so that the plywood would sit on the lip of the tyre and not fall through. The last thing you want when someone sits down on your stool is for them to fall right through, so make sure that it fits snugly.
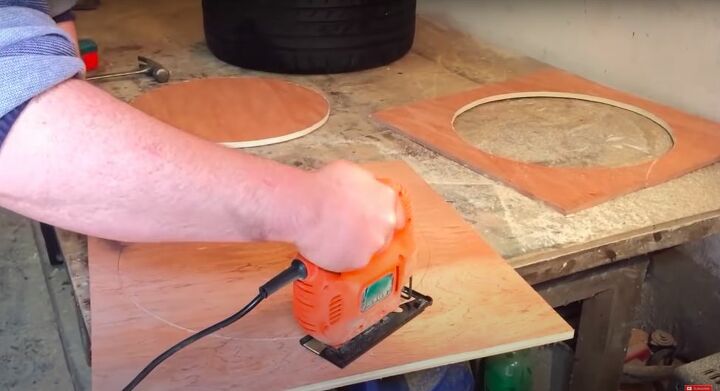
Once I had my measurements, I set out to cut three matching circles from my plywood. Two of these pieces will be used to create a more substantial structure inside the tyre, and the third will be used to create the cushion for the top of the stool. So how did I make a perfect circle without a compass? I’ll teach you a trick.
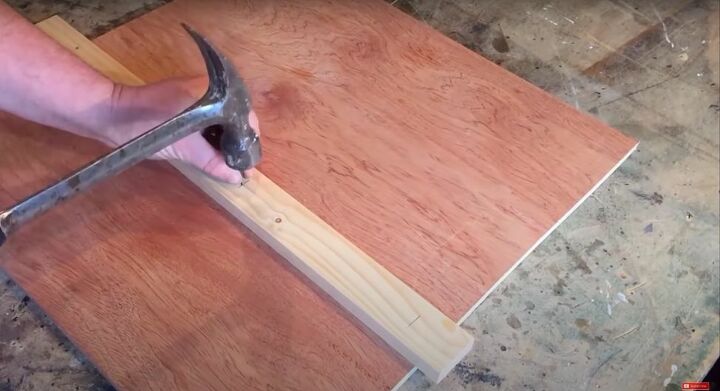
First, take a strip of wood long enough to fit across the board. Hammer a nail into the middle of this wood so that it just pokes through the other side.
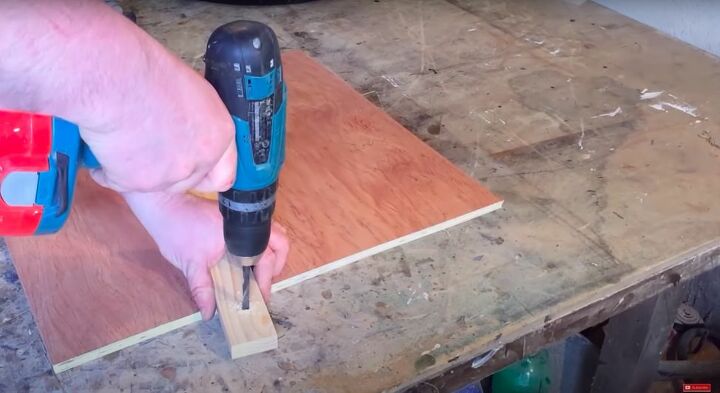
Next, measure the radius that you want from the nail to the end of the wood. Once you have the desired measurement, drill a hole big enough for a pencil to fit through.
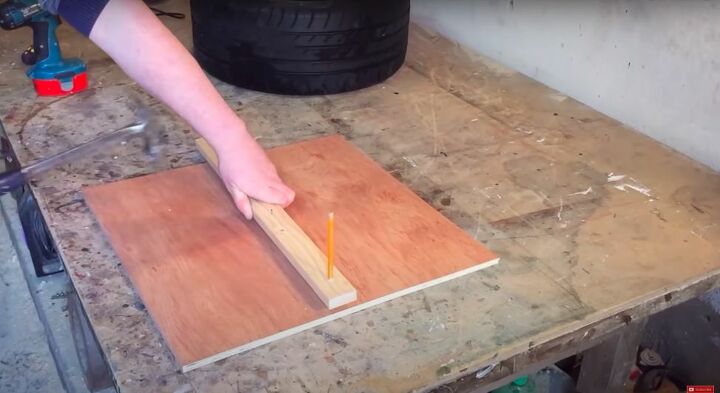
Now, place the nail in the center of your plywood and measure a perfect circle by swiveling your homemade compass. The pencil will leave a clear mark for you to cut.
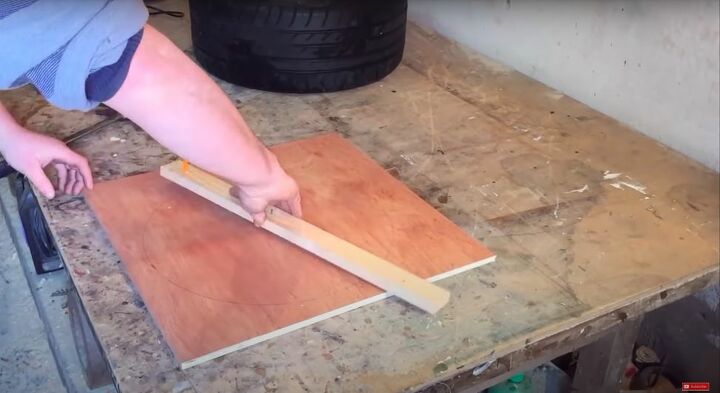
Do this on three pieces of wood and cut them out with a jigsaw.
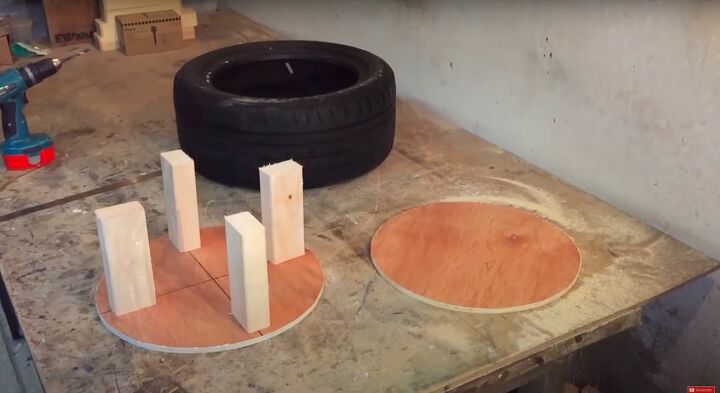
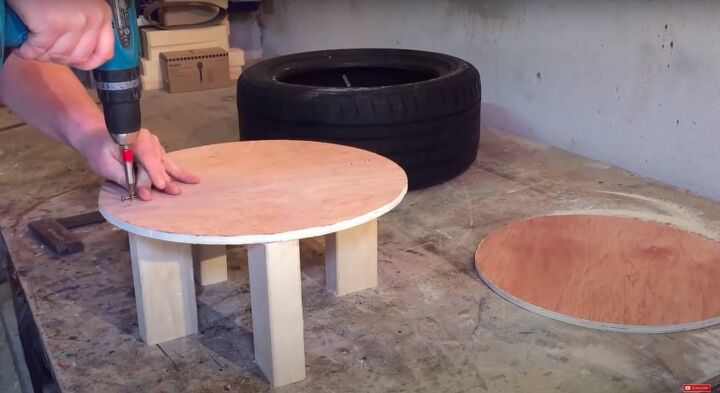
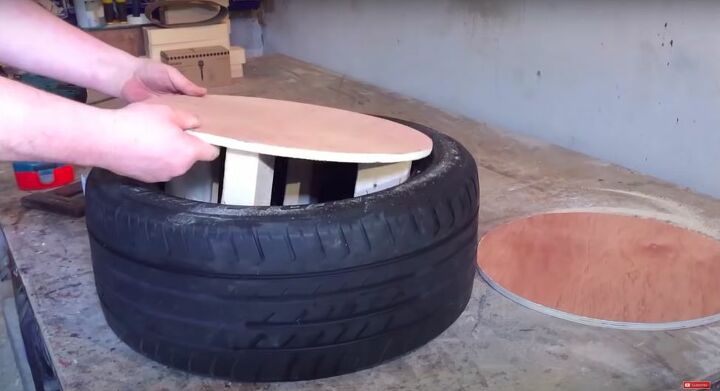
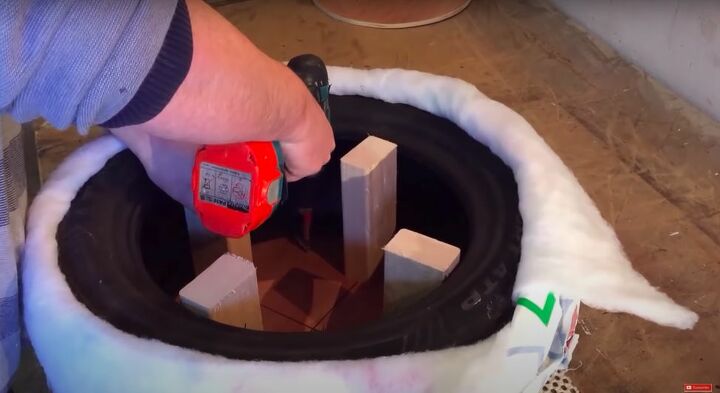
Using one of the circles, I found four equidistant edges of the circle and screwed a block into each one. I inserted this into the tyre. I may have overdone it when it comes to support, but it’s better to be safe than sorry when building something that will need to hold a person’s full weight.
The second circle will later be screwed to the other side to secure it in place, but first I had some upholstering to do.
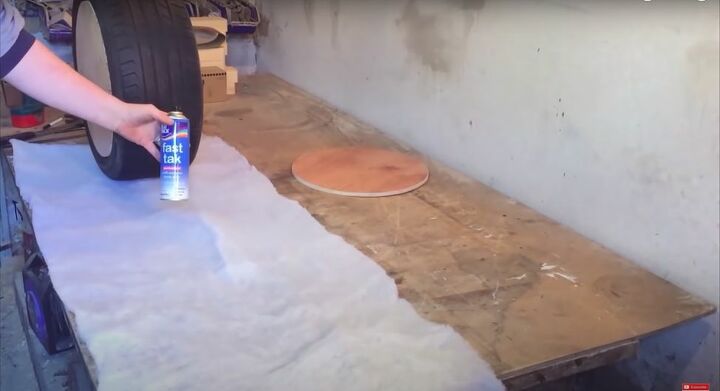
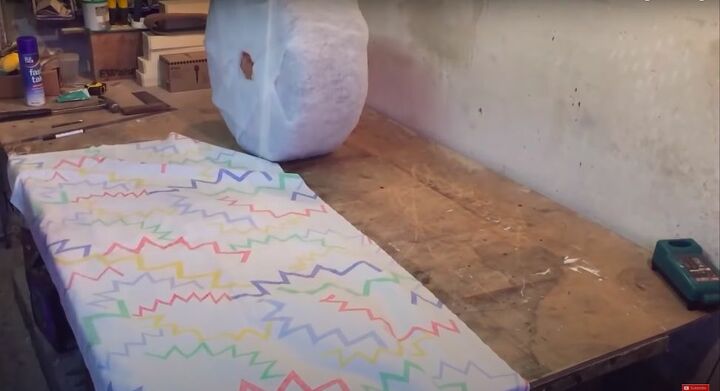
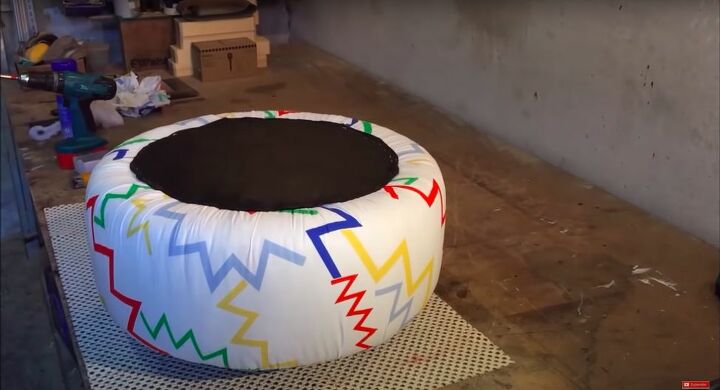
I wanted my stool to look sumptuous and plush, so I decided to wrap the outside of it with batting before I upholstered it. Some tyre stool projects skip this step, and simply add a cushion to the top of the tyre, allowing the tyre to show in the finished project. That’s not the look that I was going for here. I lay out the batting and generously sprayed the tyre with spray adhesive.
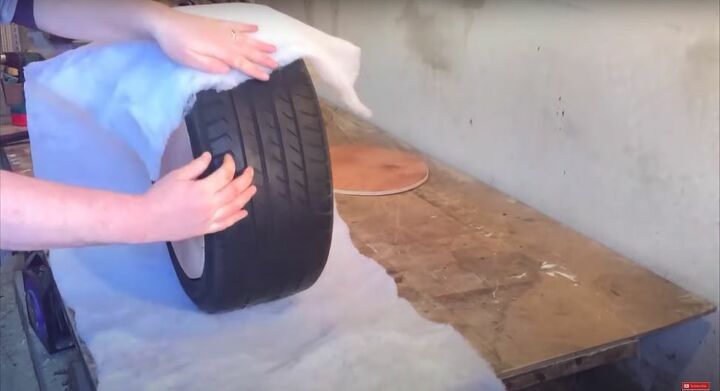
Then I rolled the tyre along the batting, making sure to press it down and secure it in place.
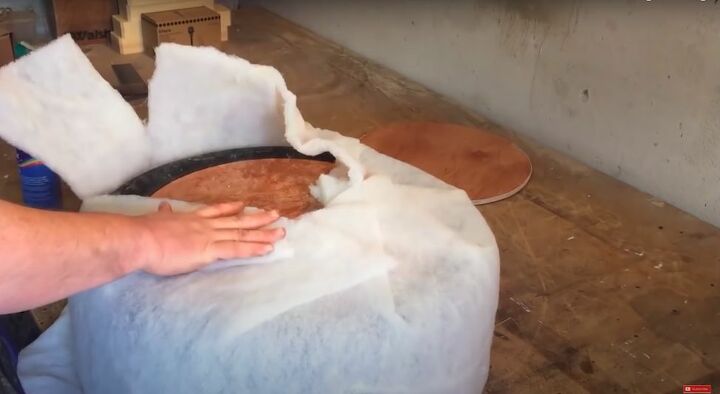
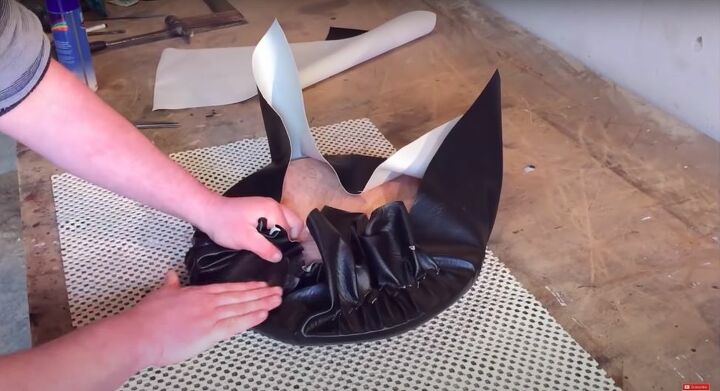
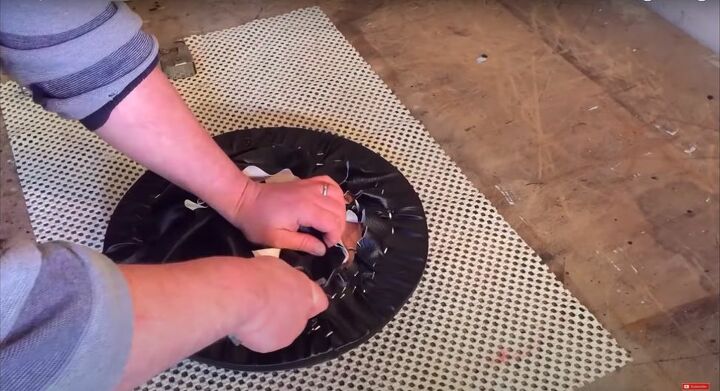
Once I was done with the sides, I flipped the tyre so that the top was facing me and secured the batting to the top of the stool with adhesive spray. In order to keep this part even and neat, I made cuts in the fabric so that I could fold it down in flaps.
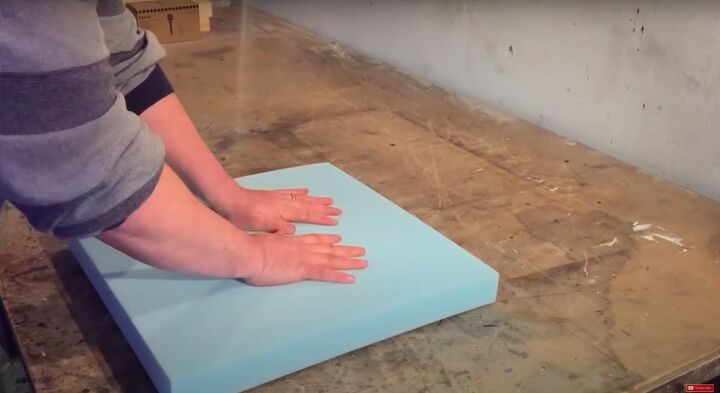
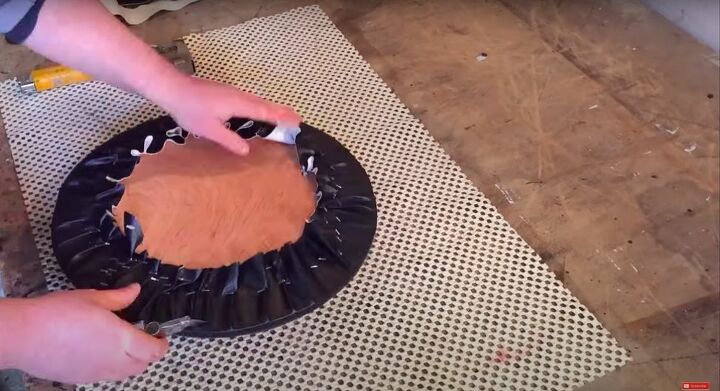
Now I took my third plywood circle and attached 2” foam to the top of it with spray adhesive.

Using a hack saw blade I cut away the excess foam.
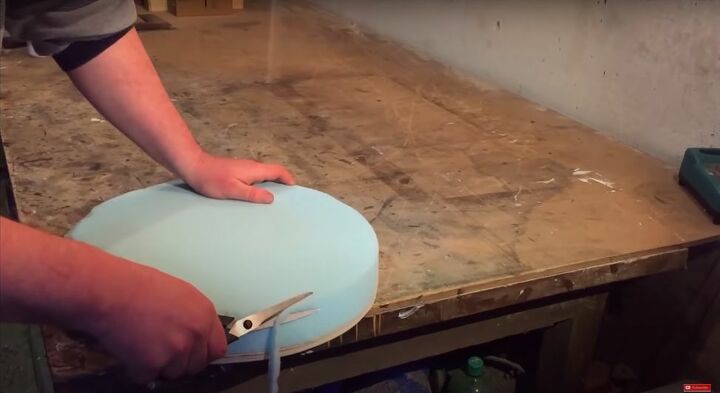
Then I rounded and trimmed the top of the foam with scissors.

Next, I lay the cushion foam side down on some faux leather fabric.
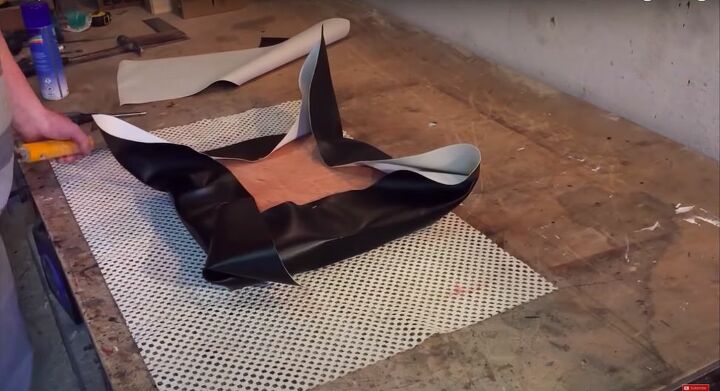
Using a staple gun, I pulled and secured the fabric along four even parts on the underside of the cushion.
Then I continued to pull and secure the parts between what I had already stapled, pleated the fabric evenly as I went. It’s important that the folds are even so that the resulting cushion is smooth. Feel free to use as many staples as needed here as you don’t want any part of this to come undone.
Once I had finished stapling the fabric, I flipped the cushion over to check that it was smooth and taut. Then I added a few more staples for good measure and cut away excess fabric from the middle using a utility knife. Don’t cut too close to the staples because it may cause them to come undone.
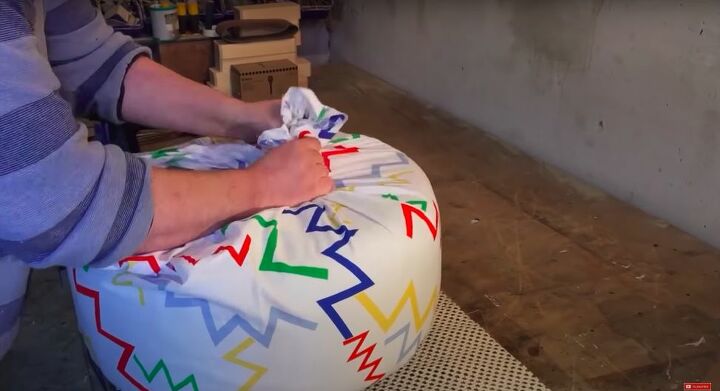
If you chose not to cover the tyre itself you can skip this step, if not, then follow along. I lay out the fabric that I had chosen to cover my tyre.

Then I rolled the tyre along the fabric and pinned it together.
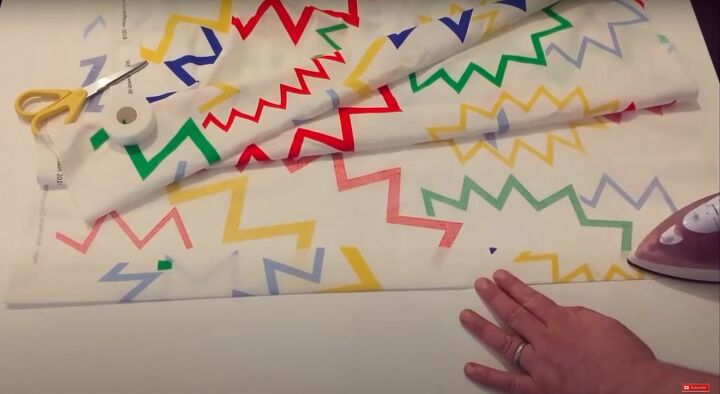
With the fabric pinned, I slipped it off the tyre and stuck it together along the hem with hemming web. Hemming web is an easy iron-on solution to connect the fabric without having to pick up a needle. I didn’t want the hem to show so I took care to match the pattern.
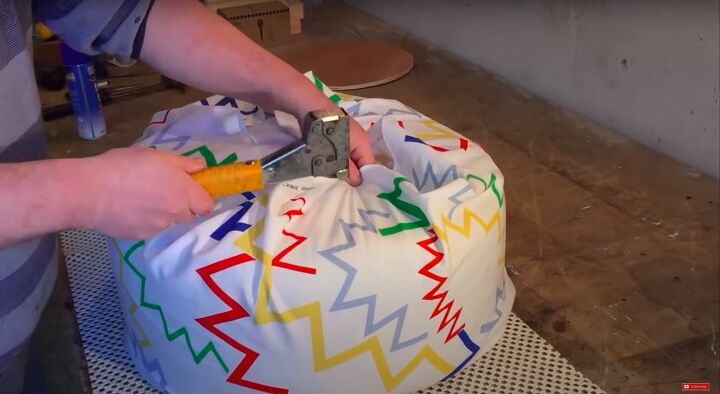
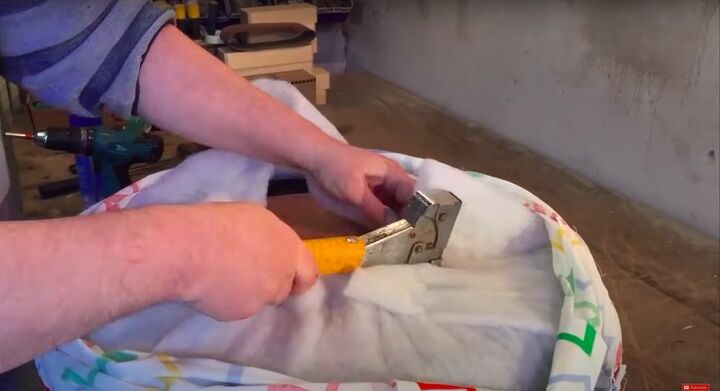
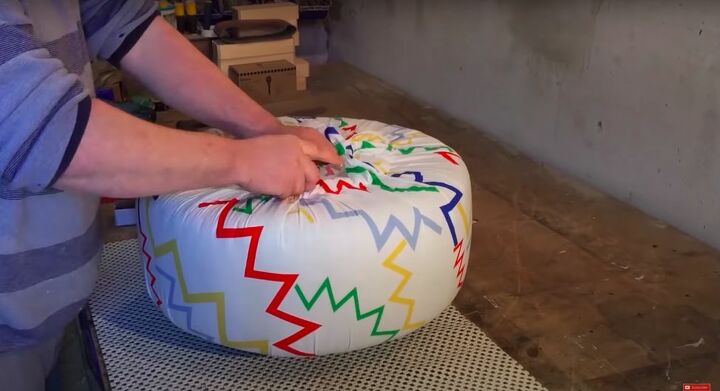
Next, I slipped the cover over the tyre and stapled the top in place, using the same method I used for the cushion.
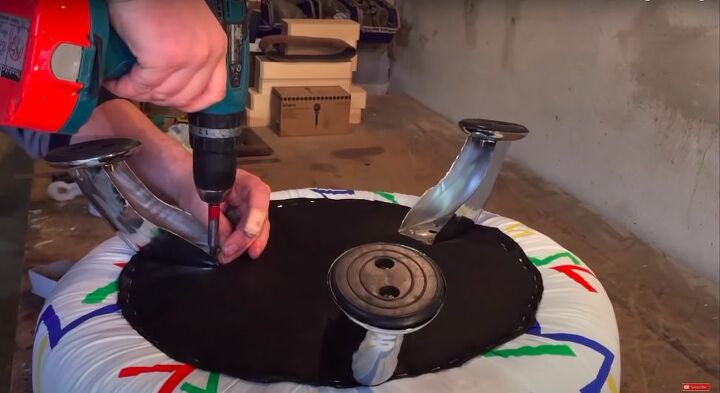
I lay the cushion so that the plywood was facing me and then lay the tyre on top of it, with the upholstered part on top. I screwed the tyre to the cushion at four points along the edge and one point in the middle of the plywood circle.
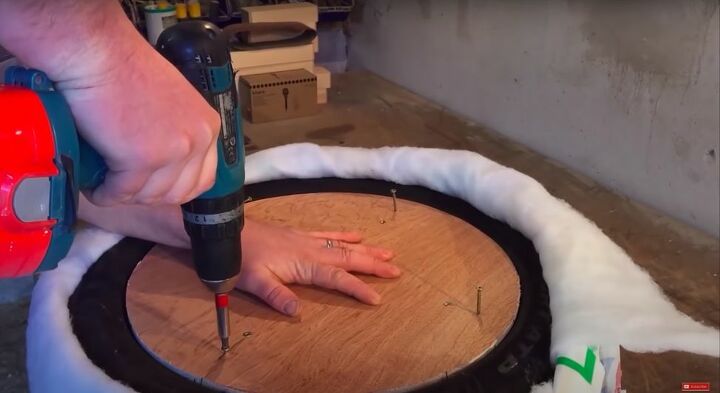
With the cushion side down, I took my third and final plywood circle and screwed it into place. This is where those blocks that I placed inside the tyre came in handy, as I was able to screw directly into them to secure the stool.
Now I had quite a bit of upholstery work to do along the bottom of the stool. First, I secured the batting with staples. It doesn’t have to be quite as neat here as the bottom of the stool will be out of sight. Even so, try to keep it as even as possible.
Then, I repeated the process with the fabric. I wanted the fabric to have an even tightness along the entire tyre, so I made sure to check as I went that I wasn’t pulling too tight or not tight enough on any given part.
With the fabric and batting in place, I removed any excess with a utility knife, once again making sure to leave enough fabric for the staples to grab and hold in place.
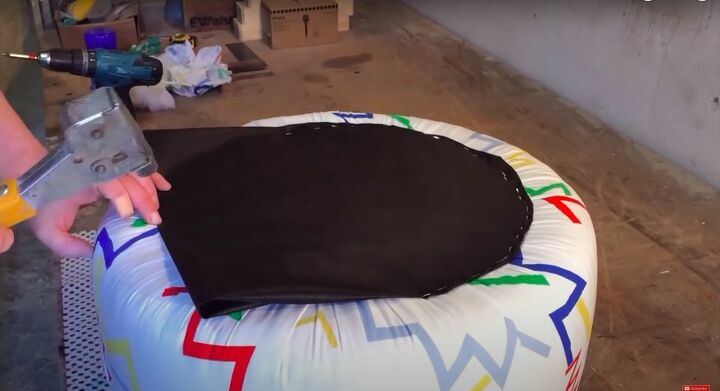
I wanted it to be a bit cleaner, so I added some black felt to cover up the edges of the fabric and batting. I folded the edges under as I went so that I would have a clean edge.
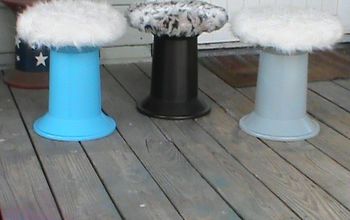
All that was left to do was to add legs to my tyre stool. Because my stool was so low to the ground, I only needed three legs to do the trick. I measured to make sure that I was placing them at equal points along the edge of the stool, and then screwed them into place.
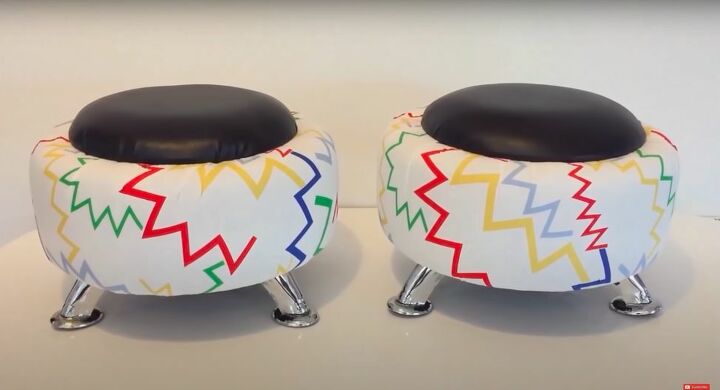
Look at that, two beautiful stools that made use of oft discarded materials! Have you ever upcycled anything? Let me know in the comments!


Comments
Join the conversation
-
What a brilliant idea! I love the fabric pattern too!
-
Great way to recycle something!


Frequently asked questions
Have a question about this project?
Question: Does it still smell like a tire?
Would like to try but tires DO stink. How would/ what would remove/cover/neutralize tire rubber smell?
I just love this your pattern choice is adorable ,however I wanted to ask where you got such adorable legs?