Make Your Own Beautiful Wood Countertops for Under $200!

by
OnBlissStreet
(IC: blogger)
11 Materials
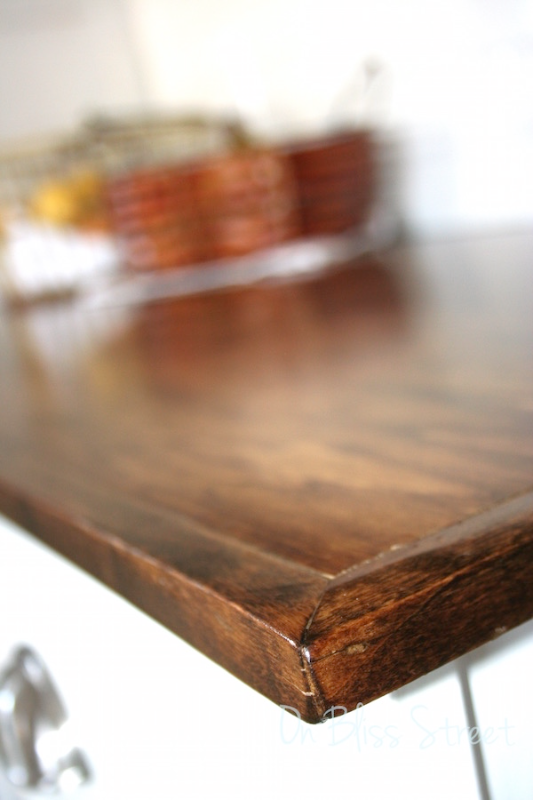
Want new counters, but can't spend thousands of dollars on natural stone? I'm going to show you how to make your own wood countertops for pennies on the dollar. They are gorgeous, warm and surprisingly durable!
I know your thinking, "What about water?" I'm telling you that we are not careful with these counters at all! We have even left water overnight- my husband is a sloppy coffee pot filler and dish washer- and you would never know it happened!
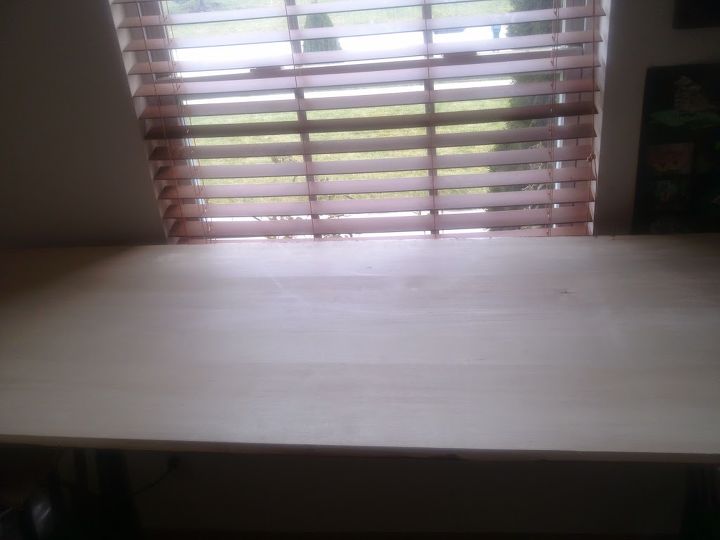
I started off with 1" x 24" x 6' pieces of Aspen that I bought at my local home store. They were around $40 each. I only needed 3 for my entire kitchen.
Before installing- I gave them all a nice sanding and stained with Minwax Provincial. Then the entire surface got multiple layers of polyurethane. I used Minwax wipe-on Poly, but used a foam sponge to apply. A light sanding in between coats made them smooth and a baby's butt. I have a baby so I know how smooth they are- I change 10 diapers a day!
To join at the corner, I used a Kreg Jig to drill pocket holes.
The joint is super tight using that method. The boards are 3/4" thick so I didn't really want to use biscuits. This worked like a dream.
Since I didn't want to waste my boards and cut a hole for the sink, I simply used 1" x 2" aspen to build a frame in the back and front. It's held up by 2x4's that I installed to support the sink and a few brackets in the plywood on the back of the cabinet. It's not in the studs obviously, but the weight of the sink is dispersed on the 2 x4's and the large counter pieces on the sides.
Here's the before white laminate.
Once I installed the counters from the bottom with self tapping screws, I gave the tops another couple coats of poly paying special attention to the edges.
They are super durable, easy to clean and just gorgeous in our kitchen!
Enjoyed the project?

Want more details about this and other DIY projects? Check out my blog post!
Published April 16th, 2015 9:49 AM
Comments
Join the conversation
2 of 267 comments
-
 Kwe29893753
on Jun 05, 2023
I have white cabinets as well and I sure wish I would have replaced the countertops with a dark warm wood like this. So beautiful! Fabulous job!
-
-
 Sherri williams
on Jul 04, 2024
I can't recommend wood as a counter top material. We had one that was brand-new and were very careful with it, but after 6 years of daily use it looked awful. The main area that we used for food prep and got wiped regularly had the finish all worn off, and behind the faucet got wet no matter how much you were careful. We went away on vacation for a few weeks and came back and that whole area had warped because it had dried out fully (as opposed to having a little bit of water on it and being wiped daily). It basically completely needs replacing now.
-









Frequently asked questions
Have a question about this project?
There is a backsplash on the white stone, but not with the Aspen. Did you cut the white stone n add the white tile backsplash?
Is it alder (not aspen)?…Can’t find aspen…
Wow, I love this! And I love the warmth of the wood! Thank you for the idea!!!