Butcher Block Look-A-Like Countertops for UNDER $100!

Hometalk Recommends!
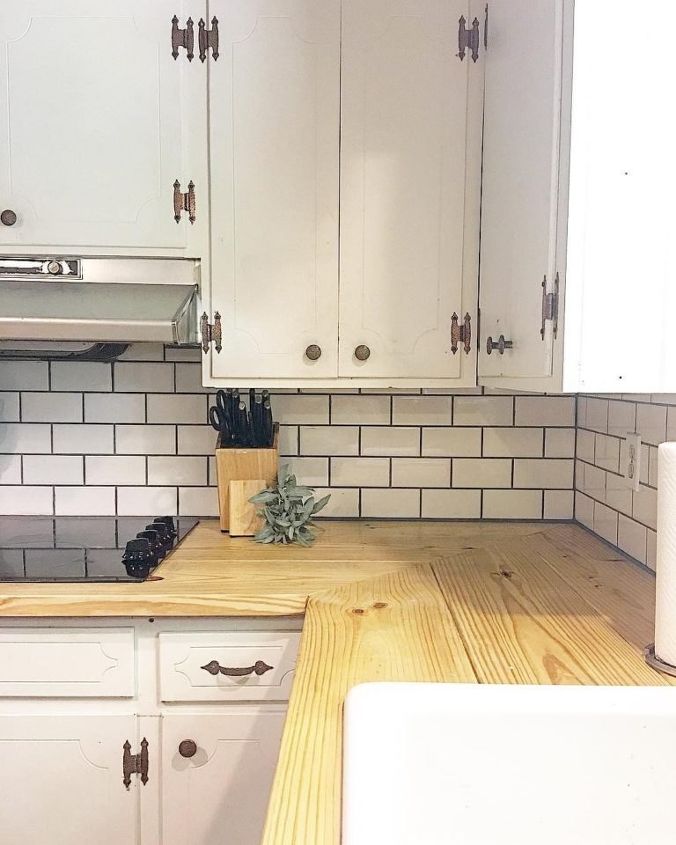
Several years ago, I found a tutorial on Pinterest showing how to take regular lumber and use it for countertops. I remember showing it to my husband, and as usual, he thought it was a stupid, crazy idea that I had come up with just to save a few bucks, because that is how I roll. 
1. Measure your countertops. The typical depth of a counter surface is 25″ which allows for a 1″ overhang for he standard depth 24″ base cabinets. We found that (2) 2×10’s and (1) 2×8 work pretty well. I know what you are thinking: Tootie, can you not do simple addition?! That is 28″… I know, but you have to take into account that a 2×10 is ACTUALLY a 2×9.25 or some 
These 3 pieces will actually give you about a 2″ overhang, but it will work fine. Just make sure you measure yours to make sure that they are, in fact, standard.
 Also, be sure to check and make sure your board is NOT warped and will lie flat. Grab your wood, along with extra-strength wood glue, clear silicone caulk and Watco Butcher Block sealant, and head back home.
 It is now time to give your boards a good sanding. I like to round the corners and give them a very finished look!
 You just installed new wood countertops for under $100!!
Enjoyed the project?
Resources for this project:
See all materials
Comments
Join the conversation
-
 Cheryl Justus
on Jan 21, 2024
I have been wanting to do that for years. I think I will make that my coming up summer project.
-
-
 Jlh127014115
on Sep 16, 2024
I love this project ❤️. I so do not like the ugly granite counters in my kitchen. And the cabinets are black! Ugly ugly ugly!! This gives an affordable option. Thank you so much.
-













Frequently asked questions
Have a question about this project?
Did you miter the corner or let them but up to it. I have done butcher block in a rental wasn’t that impressed as I figured I could make it out of wood to be solid.
So you don't attach the boards together before setting on the cabinets?
what type of wood?