How to Fill Driveway Cracks

by
The DIY Doghouse
(IC: blogger)
3 Materials
$20
3 Hours
Easy
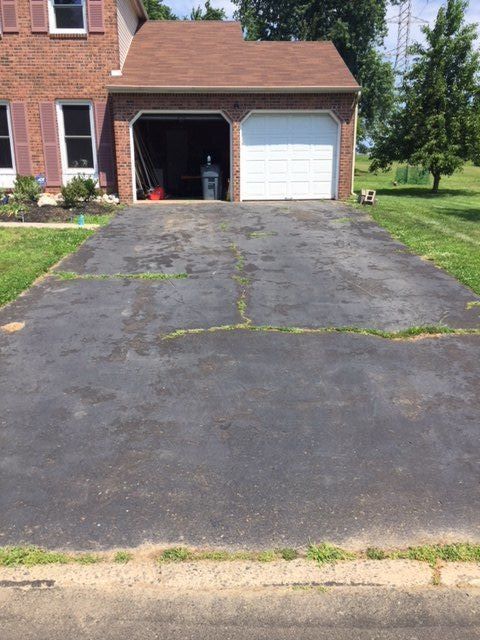
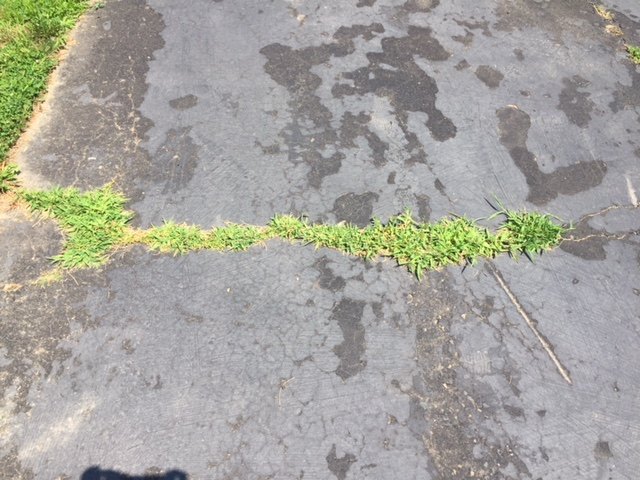
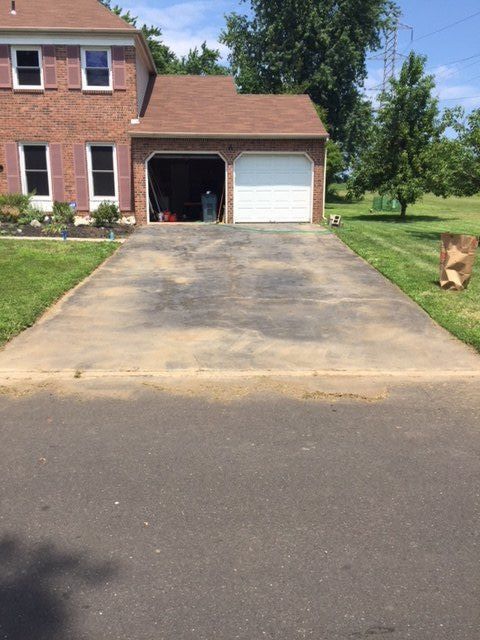
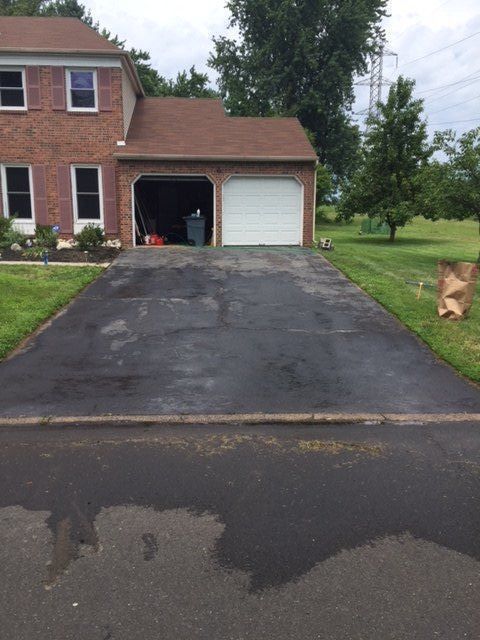
This was one of the most long overdue projects at our home. We’ve been talking about what a hot mess the driveway was for the last two and a half years. There were chunks of top coat missing from years neglect, 2 of which were admittedly our fault, and patches of grass.
I was almost half tempted to let it grow and see what the earth had in store for this asphalt disaster. But I figured it would be another 50 years of neglect and overgrowth before it actually looked balanced enough to photograph and I don’t have that kind of time. So we opted to fill in the cracks.
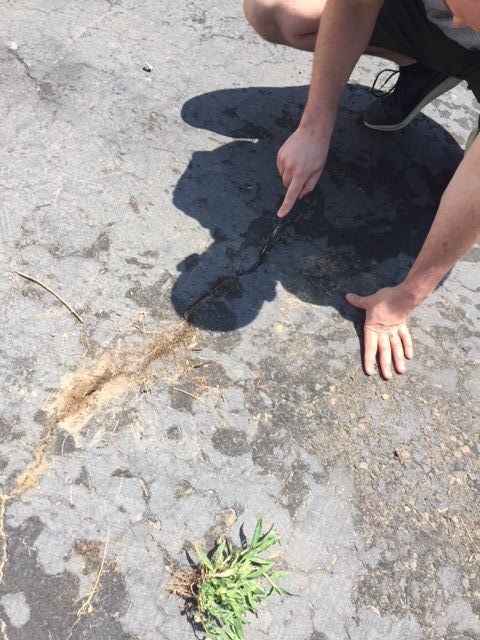
The first step to fill in the cracks is to remove the grass from them. I was actually surprised about the depth of the cracks once we removed the grass. I may or may not have role played God looking looking down at the Grand Canyon. “Thou shalt be a giant crack in the earth’s crust, illuminated by the light of surrounding casinos.”
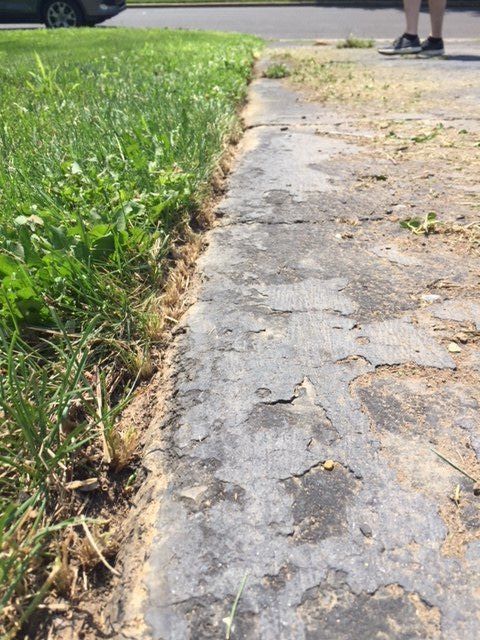
After we revealed the canyons of cracks in our driveway, Brian edged the side. Why not clean it all up, right?
Then there was dirt everywhere, but no grass! So we rinsed it off.
This will need time to dry before you start filling in the cracks.
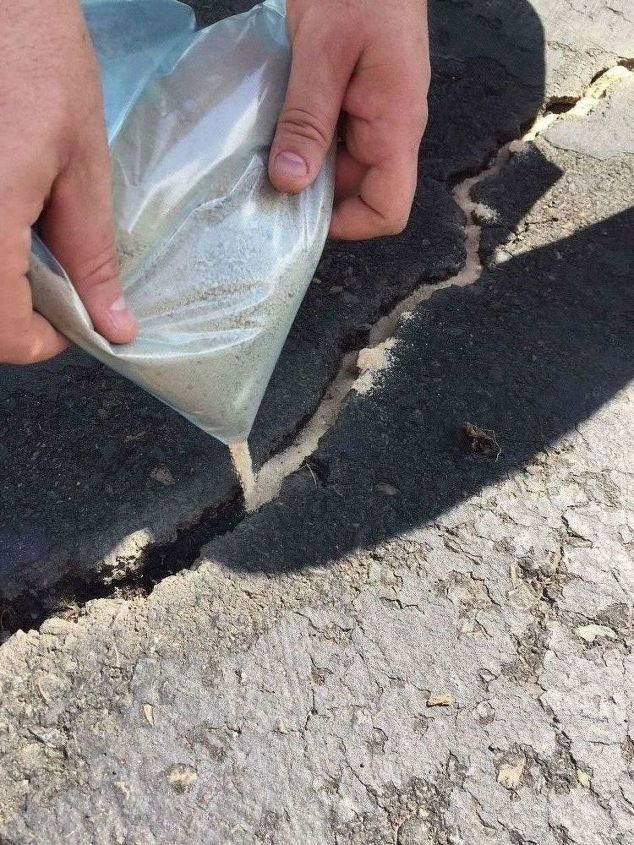
Next, you’ll need a bag of sand, which by the way will be ridiculously heavy. I don’t know if you knew this, but a 20 lb bag of sand weighs about the same as a small hippo. After 10 ft of holding the 20 lb bag and shuffling around the driveway, we took a ziplock back, filled it with sand, and cut out the corner. I highly recommend the ziplock bag strategy.
You don’t need to fill all the cracks with sand, but it’s recommended that you fill cracks larger than the size of your nail with sand before sealing with the crack sealing tar. The sand will keep the tar from settling deep in the cracks and cracking itself. It’s also more cost efficient to use sand than it is to fill everything with 100% tar.
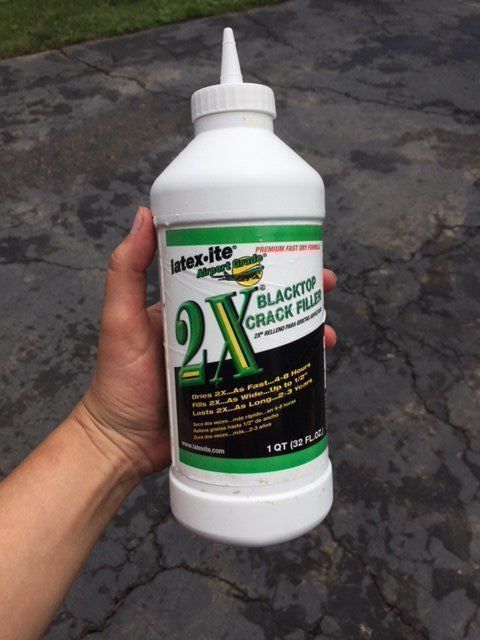
This blacktop crack filler is available at Home Depot. At first we started off with one small bottle, then we realized we were going to need stock in this stuff. For the second go-round, we went back to Home Depot and opted for the village sized bottle (which we used 100% of), which was only a couple dollars more than the hut sized bottle. When in doubt, always buy extra. Having to stop in the middle of your project is a major buzzkill and derails your momentum.
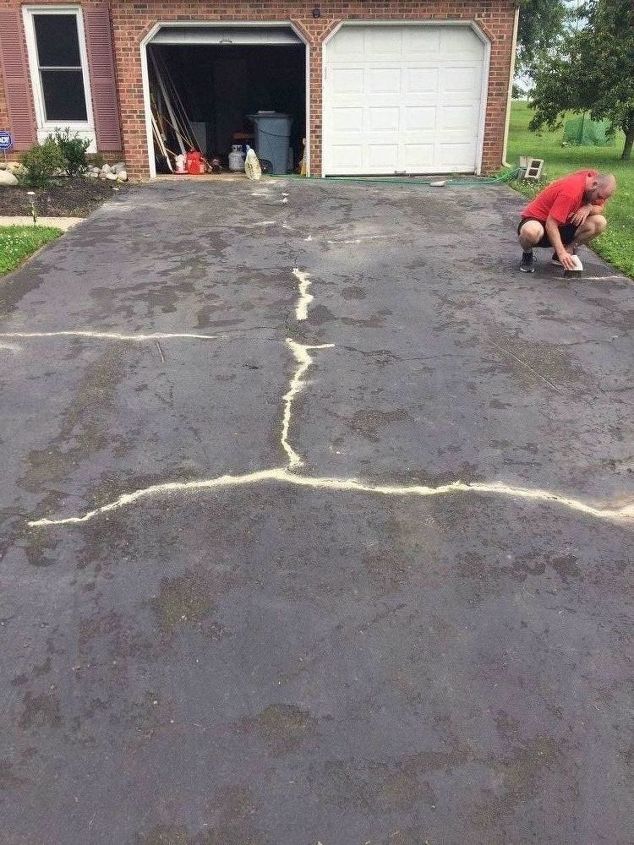
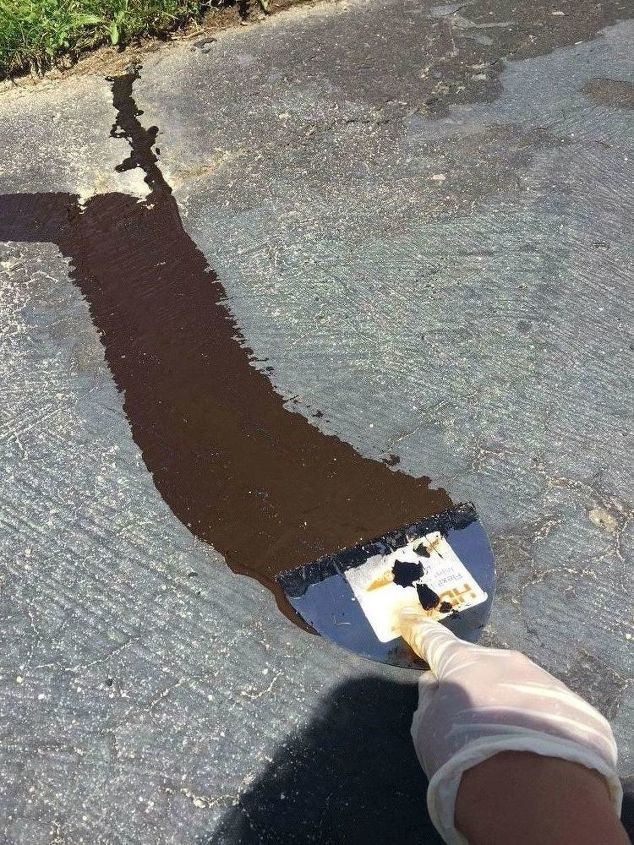
We poured the crack filler generously over the sand and used a flexible joint knife (the trowel-looking thing to smooth out drywall spackle) to flatten the crack filler, sealing it down. This part was the most fun. It also went the fastest. We moved quickly because this stuff cures in the blink of an eye.
I’m not sure if it’s some chemical they intentionally put in there, like wet pink spackle, or if the sun changes it, but I almost had a heart attack when I saw the filler was brown. I though we would have been better off with the grass look, but thankfully it dried black.
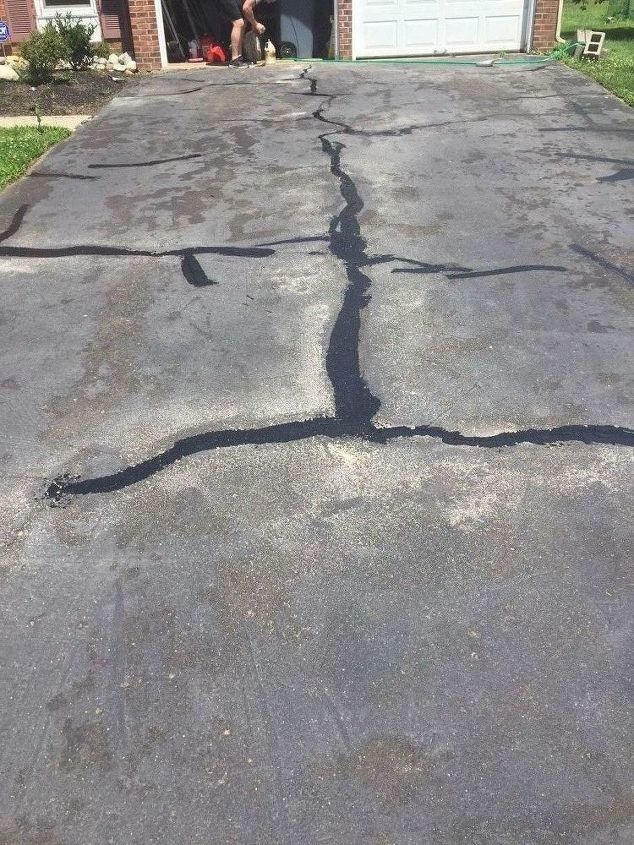
It took a few hours to dry to the point of being tacky and about 24 hours to dry completely. But now our cracks are filled and we’re grass free!
Enjoyed the project?
Resources for this project:
Any price and availability information displayed on [relevant Amazon Site(s), as applicable] at the time of purchase will apply to the purchase of this product.
Hometalk may collect a small share of sales from the links on this page.More info

Want more details about this and other DIY projects? Check out my blog post!
Published October 3rd, 2017 10:06 PM
Comments
Join the conversation
2 of 97 comments
-
 Darryl L Krom
on May 27, 2020
I DID SOMETHING VERY SIMILAR AND THE FOLLOWING YEAR ALL MY CRACKS WERE BACK GOOD LUCK
-
-
 Jbe108500266
on Jun 26, 2024
Not sure if I’ll try this project since I need to know more about it. I’m a 77 year-old lady wanting to fix this driveway but again it is concrete.
-










Frequently asked questions
Have a question about this project?
CArol. Does that filler come in gray, I need it for my porch!?
Finally some truly practical information...only have a few drive way cracks & continually pull out weeds...but want to fill for prevention from moisture continually going in & want to hide repair filling of cracks... How would you disguise with a permanent 'coat' of what to make the appearance look 'uniform'?
🧐. 🌹. Eliza. ~~~~ Thank You ~~~
How do you do this project with a concrete driveway?