


Landscaping Project

Landscaping Project for picnic tables. I was tired of moving the picnic tables every time I had to mow. So, I came up with this project. It's easy to do and beautiful.
Hometalk Recommends!
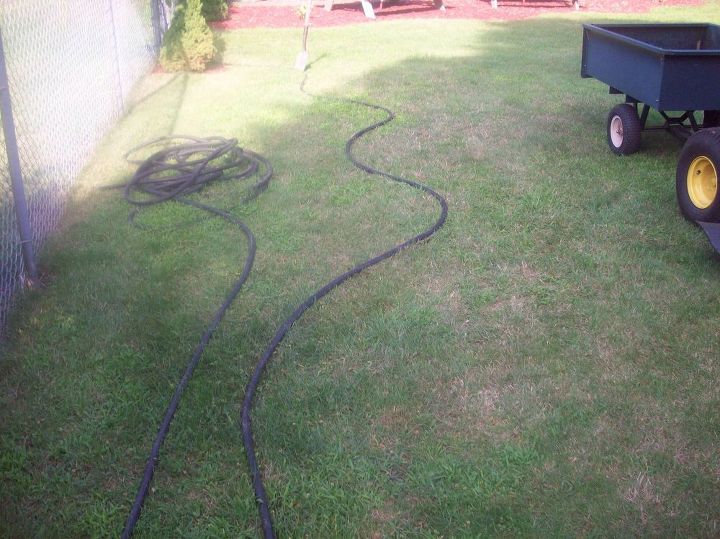
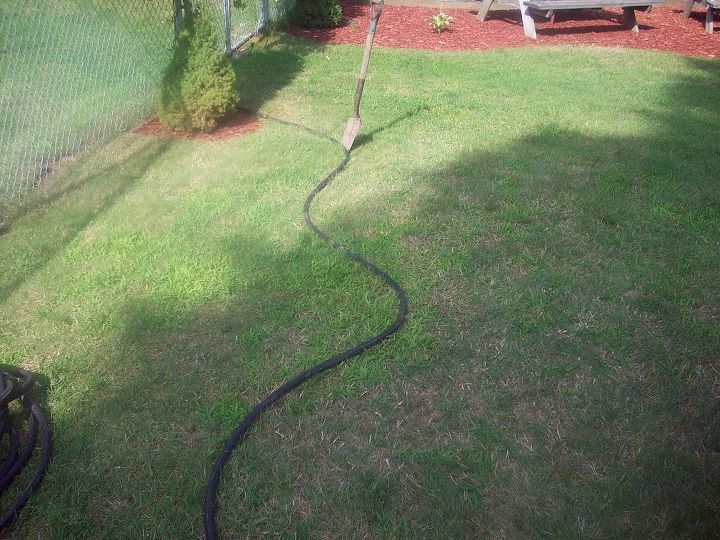
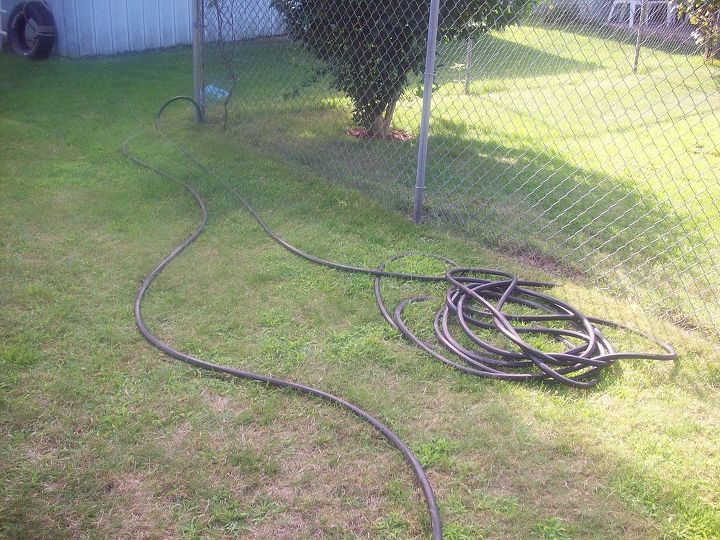
Step 1-Pick your area and outline with a garden hose. My black hose was very flexible and perfect for the job. My squiggly edging I call it Lagoonin.
Step 2-A flat headed shovel. ( I have a magic shovel its doing it by itself. loling! )
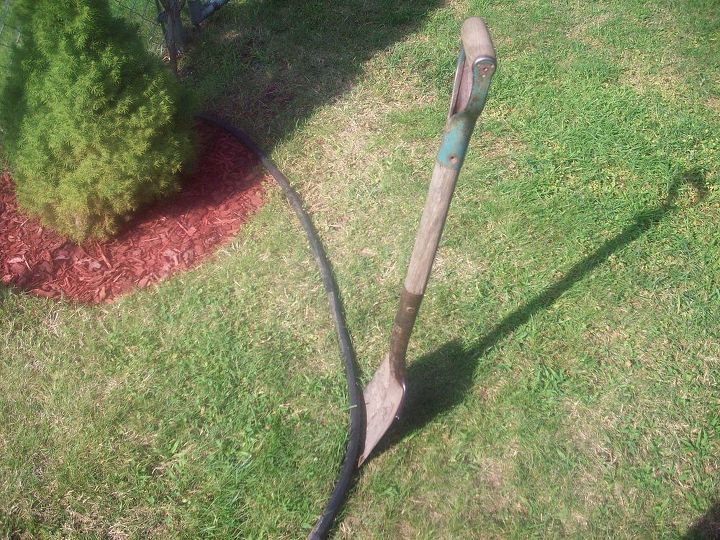
Step 3-A close up. This shovel was left here when we moved in 16 years ago. My favorite landscaping tool EVER!!!!!!!!
Step 4-I dug straight down about 3 inches all along the outer hose. I know you can't see it but it's there. The deeper you go the less weeds will grow.

Step 5-Then I made a very small trench of the line I just made in pic 4.

Step 6-Start shoveling the grass up. You have to get real low, dig into the grass, lift, repeat.
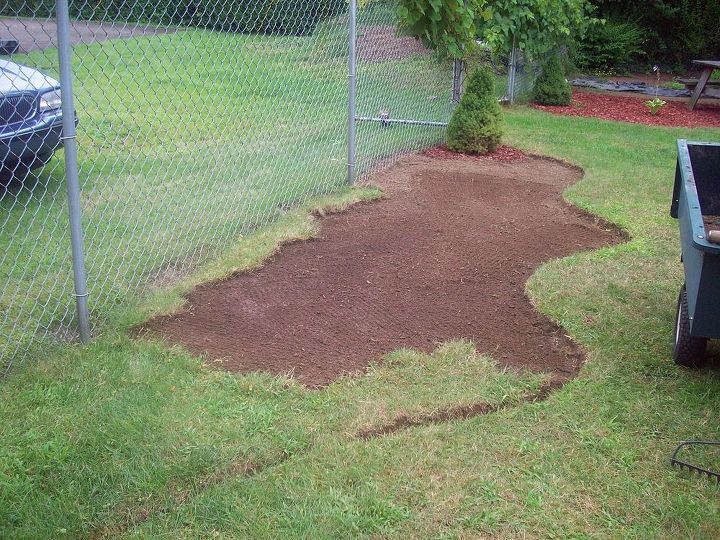
Step 7-Almost done!

Step 8-I raked and leveled it with a hard rake. ALL DONE, shoveling that is.
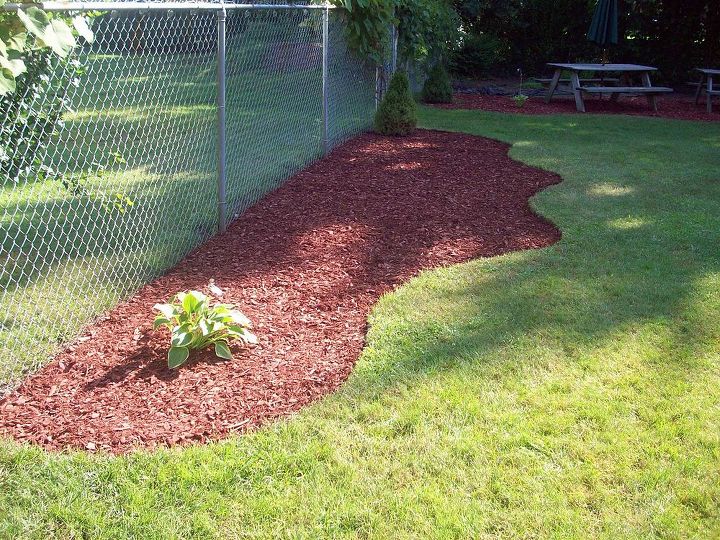
Step 9-Lay your mulch down. I wore gloves, it's very messy while laying it down. Now your ALL DONE! And this is why I LOVE Landscaping. A child's wooden picnic table is going right in the middle.
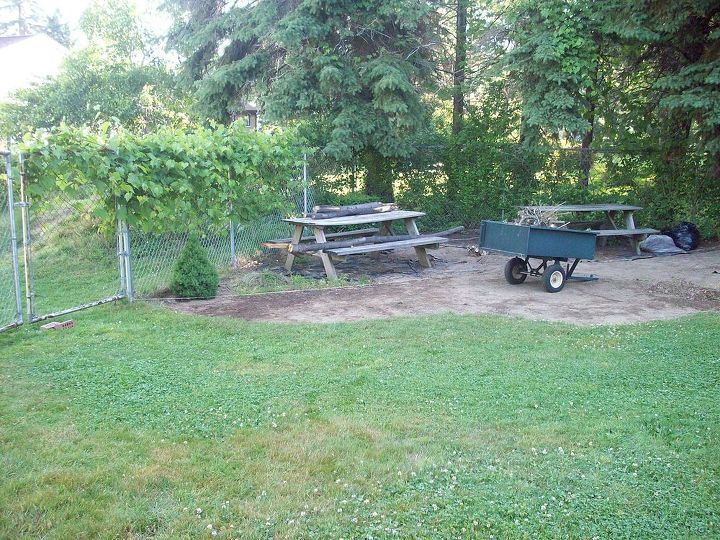
10-part A-Here is the beginning of the 2 picnic table area. I did this area before I did the child picnic table area. Yes, my inspiration!
10-part B-Here is the other half of part A. It was a good size area.
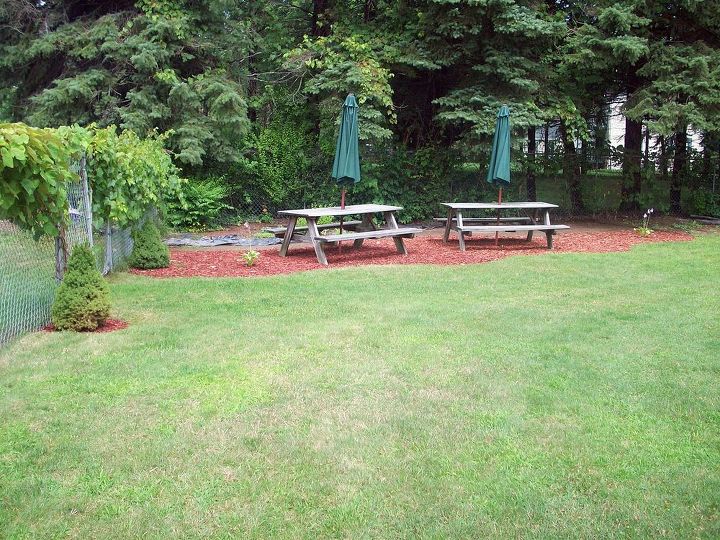
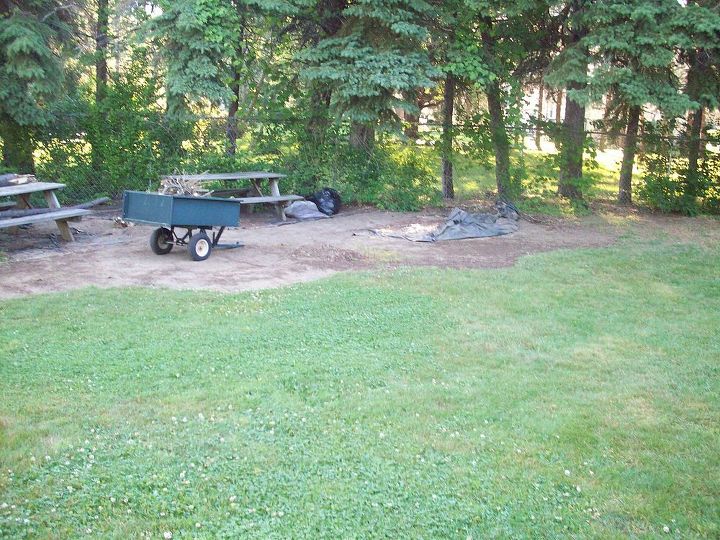
10-part c-2 picnic table area. Mulch half way done. I don't have a finished photo but I think you get the idea of it finished.

11-More Lagoonin edging. I did this area the year after. My rose of Sharon, day lily and big ole frog with a sunflower umbrella. It's beautiful when the rose of Sharon blooms at the end of July.
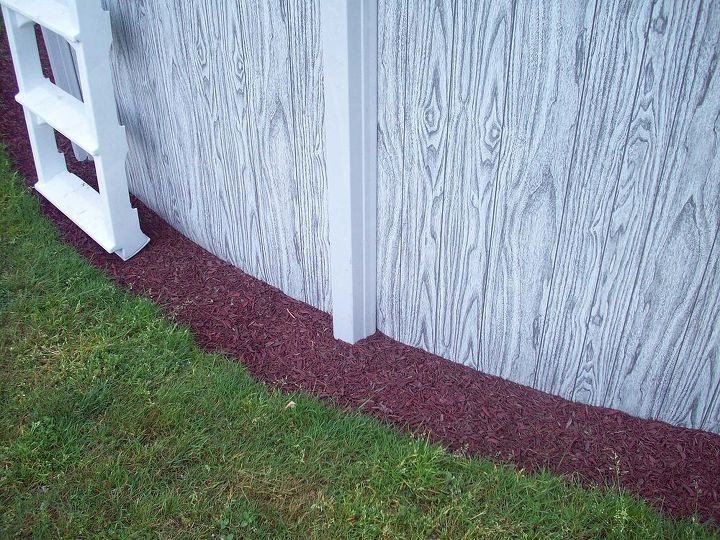
12-My last photo. Rubber mulch around the above ground pool. My next project will be to paint or stain the picnic tables. Hope you enjoyed my step by step instructions. Happy Landscaping!
Resources for this project:
See all materials


Comments
Join the conversation
-
I love what you did&I also love your sense of humor!!! 😆
-
When I did this, I tried to make sure the curves were not to tight so I could get my riding lawn mower along the edge well. I also would make sure the edge of the garden flared out when close to the fence so once again the mower could go along the curve well.


Frequently asked questions
Have a question about this project?
a. Why did you not use a black liner for weed rejection before you put down the mulch chips? and why would you recommend rubber mulch? Probably not good for my dogs to chew on-which of course they will....?
In picture 10-11, why the squiggly line edge? That looks like a hassle to maintain. Why not just a simple curve? Anyway I love what you accomplished. The hose is a good idea. Your yard looks very cozy!
What keeps the rubber mulch from working its way under the pool liner? I originally had a mulch border around our pool but little by little they wiggled their way under the liner making bumps on the pool floor.