DIY Basketweaving- How to Make a Round Basket From Wild Vines

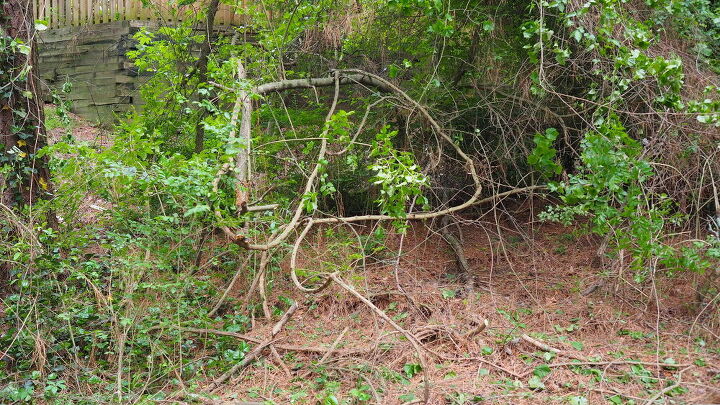
We were cleaning the yard a few weekends ago and we happened to have quite a few wild vines in the brush pile. My son needed to get a couple more Boy Scout merit badges so I taught him how to make a basket out of these vines. I also created a how video for my Hometalk friends.
I created a step by step tutorial on how to make a round basket. These instruction can be applied to any size basket and the one in the video is about 14" wide. I also created a video of the full process.
Step 15 has links to each step in the video for your convenience.
To get weekly DIY tips from Matt "follow" us on Hometalk and "subscribe" to our Youtube Channel.
See Step 15 for links to each step in the video.
Make sure you don't collect any poisonous ones!!
See Step 15 for links to each step in the video.
Trim off all of the leaves and branches to create long lengths to weave with.
See Step 15 for links to each step in the video.
You will need clippers, a long screwdriver and needle-nose pliers.
See Step 15 for links to each step in the video.
The first thing you need to do is establish the width and height of the basket. This basket will be around 12 inches wide and 6 inches tall. Based on those dimensions I need 5 pieces cut based on this formula:
Width + (Height x 6)= Length of Spines for round basket
So 12" + 6" x 6" = 48"
Full video on how to make this basket.
See Step 15 for links to each step in the video.
Place 3 of the spines on top of the 2 and a half spine and use the smallest vines that you have that is still pliable to tie them together. You will starting weaving using and over under pattern going over the vines on the top and under the vines on the bottom. Don't worry about them being even, we will adjust them in the next step.
See Step 15 for links to each step in the video.
Compare both ends of the same spine to make sure that they are even. If you don't do this then you will end up with a short spine and this will affect the design. Do this for all 5 full length spines and make sure the shorter piece is still between 2 of the longer ones.
See Step 15 for links to each step in the video.
Find one of the thinner vines is still pretty long. Where the vines grow out of the ground they are thicker. Use the thin end of the vine to start weaving. Each time you start a new piece you use the thin end of the vine. The spines are closer to each other towards the center of the basket and it is easier to weave when the vine is thinner.
Start by tucking the vine in at any point and start weaving with an under over pattern again. This time you are weaving around each individual spine. The shorter spine that we added helped create the odd number of spines. The odd number creates a pattern that allows the vine alternate between the top and bottom of the spine each revolution around the center.
See Step 15 for links to each step in the video.
See Step 15 for links to each step in the video.
Start to bend the spines upwards at 90 degrees to create the walls of the basket. Continue in the over and under pattern until you reach the desired height.
See Step 15 for links to each step in the video.
Tuck in the spines by taking the first spine and bending it towards the outside of the basket. Skip over the spine next to it and tuck it next to the spine that is 2 spaces over.
See Step 15 for links to each step in the video.
See Step 15 for links to each step in the video.
See Step 15 for links to each step in the video.
See Step 15 for links to each step in the video.
Thanks for taking the time to read through each step. If you liked this content and would like to see more like it make sure to "Follow" us on Hometalk.
For your convenience we created a unique link to each step in the video so you don't have to keep pausing as you make the basket:
Tools https://youtu.be/gKYft82Yobk?t=57
Determine the Shape of the Basket https://youtu.be/gKYft82Yobk?t=87
Collect Vines https://youtu.be/gKYft82Yobk?t=125
Clean Vines https://youtu.be/gKYft82Yobk?t=138
Determine the size of the basket https://youtu.be/gKYft82Yobk?t=153
Tie the spines together https://youtu.be/gKYft82Yobk?t=228
Make sure all the spines are even https://youtu.be/gKYft82Yobk?t=294
Start weaving the individual spines https://youtu.be/gKYft82Yobk?t=312
Continue this until you have the desired diameter https://youtu.be/gKYft82Yobk?t=379
Start weaving upward https://youtu.be/gKYft82Yobk?t=530
Tuck the spines https://youtu.be/gKYft82Yobk?t=642
Continue this until all of the spines are tucked in https://youtu.be/gKYft82Yobk?t=656
If you liked the videos and want to see out other projects on Youtube- Subscribe to us on "Youtube" We explore DIY projects like this one and also discuss strategies or design, construction and energy efficiency.
Enjoyed the project?
Comments
Join the conversation
-
-
 SawHorse Design Build
on May 22, 2020
Thanks- I was hoping they were good enough.
-
-
-
 SawHorse Design Build
on May 24, 2020
I just posted our newest weekly hometalk DIY project- https://www.hometalk.com/diy/decorate/rooms/how-to-restore-and-maintain-a-wood-chopping-block-44298420
-













Frequently asked questions
Have a question about this project?
This is awesome. I don't have any vines though lol. I live in an apartment. I'm sure many of my friends have taken care of their yards already dusty ro the shut down from covid crisis. I would love to do this how ever, thank you for sharing. Did your boy get his badge? I do hope so. It's a good thing to know. He could use it when fishing and other out door stuff. Maybe make his mom one.
How long did this project take you from starting the basket to finishing it? Great job sir! Very nice!
I've always wanted to know how to do this, and your instructions are perfect! Thanks for posting this. Think of all the other items you could use. And the different sized and shaped baskets. All using this method, thanks to you. Have you ever used willow? Do you know any woody material that you have to wet/soak before using them?