Light Up Holiday Bag Art

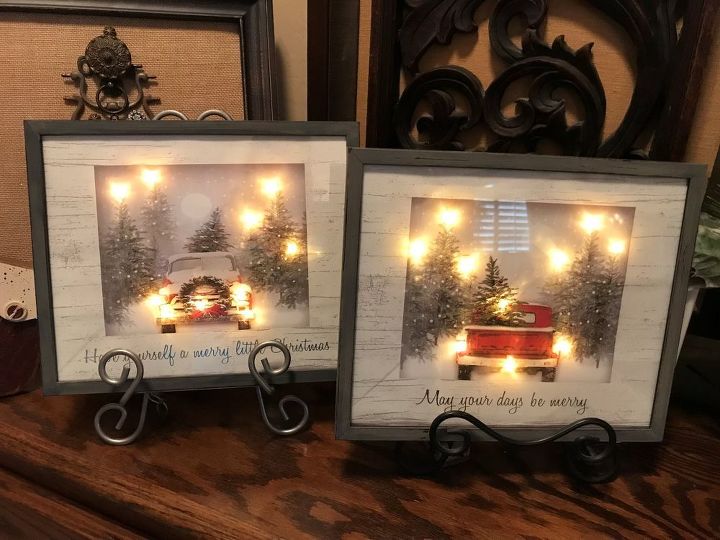
Radiance DYI String Light Bag Art.
Gather all your supplies. In my case I used a wood frame so I took out the glass and spray painted the frame black let it dry then used my color of choice (gray) to dry brush over and sand back in areas to give a shabby look (this is optional) While my frame finished drying I then took the glass out of the frame and laid the glass on the image of my choice (bag) to size the image. I then used the razor to cut the image along the side of the glass so this way I could ensure a perfect fit. After I got the size right I used the tape to tape the lights throughout the image. I highlighted the parts that stuck out to me. You will want to start at the end of the strand of lights closest to the battery back this way the battery pack will remain at the bottom of the frame so it can easily be hid once finished. Once the lights were all taped and I was satisfied with the image, I put the glass back into the frame and image with taped lights making sure battery pack is at bottom. It can now be enjoyed by everyone.
Supplies: 8x10 Frame, LED Light stand (I got the 10-light strand that is battery operated From Dollar Store and Walmart) Batteries 2 AA, Tape Razor Picture, bag, card, or any other image of your choice, Paint, Black Spray paint, brush, and sandpaper if desired
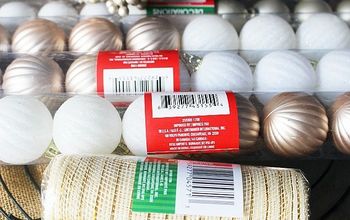
Lights I used. The top picture is from the Dollar Tree. The bottom picture is from Walmart. I had to buy lights in two places as the Dollar Store runs out. The ones from Walmart just pull the metal ornaments off the lights and use.
While my frame finished drying I then took the glass out of the frame and laid the glass on the image of my choice to size the image. This is a Dollar Store Bag. However you could use, Cards or any Picture just print on card stock.
Once you have the glass over your image. I then used the razor to cut the image along the side of the glass, so this way I could ensure a perfect fit. Making sure the image is straight.
After I got the size right and cut out. Turn image over. I used the tape to tape the lights on back of image throughout. I highlighted the parts that stuck out to me. (no holes needed The light shine through nicely) You will want to start at the end of the strand of lights closest to the battery back this way the battery pack will remain at the bottom of the frame so it can easily be hid once finished.
Once I was satisfied with the image, I put the glass back into the frame and it can now be enjoyed by everyone. I have made many this year and sold tons. Any Frame works just have fun with it.
DIY Christmas Decorations
Enjoyed the project?
Suggested materials:
- Frame 8x10 (Goodwill, Dollar Tree, Walmart)
- LED Light stand (I got the 10-light strand that is battery operated) (Dollar Tree, Walmart)
- Bag (Dollar Tree)
- Tape (Dollar Tree)
- Razor (99 Cent Store)
- Paint (For Frame) (Designer Dream Paint Co.)
- Black Spray (Paint Base coat for Frame) (Lowe's)
- Sandpaper (Only if making distressed frame) (image one was painted and Distressed.)
Comments
Join the conversation
-
 Maria Lucia
on Dec 14, 2020
Gorgeous!
-
 Shelly L Nemeth
on Dec 15, 2020
thank you! happy holidays
-
-
-
 Sharon Parsley
on Nov 22, 2022
What a great idea! Love how this turned out!
-












Frequently asked questions
Have a question about this project?
How did you keep the picture with the taped on lights, on the back of the frame? Normally, there'd be a cardboard backing but that wouldn't fit with the lights......or, would it?
So do you tape the battey pack to the back of the picture frame. Can you share a picture with the back on showing what you did with the battery pack?
This is very cool! Love it! Did you apply a cardboard backing behind the frame? Or did you just leave the light string exposed?