


DIY With Pringles Can: A Ridiculously Clever Way to Reuse Them

Have you ever found yourself tossing a Pringles can into the recycling bin, only to pause and think, “This could be something more”? If you’re like me, then you know that a can of chips holds way more potential than just being the vessel for your snack break.
DIY with Pringles cans are a fun and creative way to upcycle and a great solution for organizing your home and adding personality to your decor.
Reusing Pringles cans is a low-cost and high-impact DIY option. And let’s face it, who doesn’t love a good project that’s easy, budget-friendly, and green?
So, let’s dive into how you can repurpose those empty cans into something useful, unique, and fun!
Tools and Materials:
- Pringles cans (any size, mini or regular)
- Hot glue gun and glue sticks
- Mod Podge
- Decorative materials ( paper, fabric, chalkboard paint, washi tape, etc.)
- Scissors
- Embellishments (Ribbon, twine, etc.)
Hometalk may receive a small affiliate commission from purchases made via Amazon links in this article but at no cost to you.

1. Clean Your Pringles Can
Before diving into the fun of decorating—let’s get that Pringles can completely grease-free and odor-free. This step is crucial for ensuring your finished project lasts. You don’t want lingering chip smells or oily residue messing up your work!
There are plenty of ways to clean a Pringles can, but I went with a no-scrub, odor-eliminating method that requires minimal effort. It’s perfect for getting rid of that set-in greasy smell without any scrubbing or shaking.
Step 1: Freeze the Can Overnight
I started by placing the empty can in the freezer overnight (or at least 6 hours). This step helps neutralize odors and makes any leftover crumbs easier to remove.
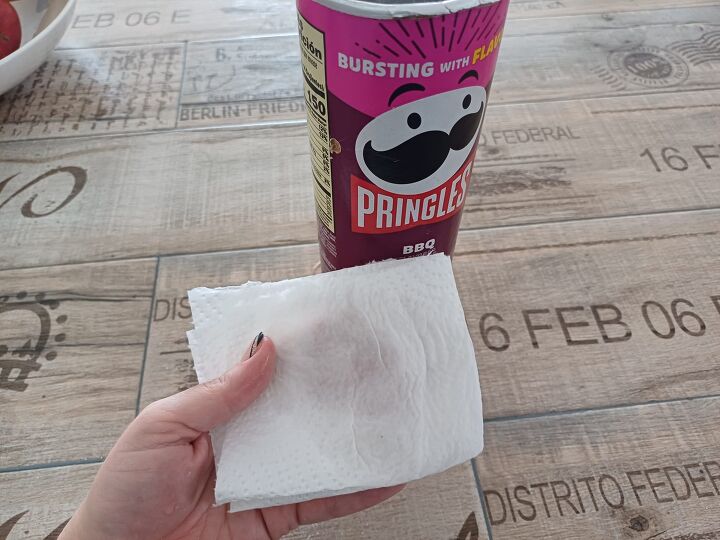
Step 2: Vinegar Paper Towel Wipe
Once out of the freezer, I dampened a paper towel with white vinegar and wiped the inside of the can. The vinegar cuts through any remaining grease and eliminates any lingering Pringles smell.

Step 3: Final Air Out
To make sure everything was completely fresh, I left the can open in direct sunlight for a few hours. The sunlight helps naturally deodorize and ensures the can is fully dry before decorating.
This method left my can completely clean, odor-free, and ready to transform!
Pro Tip:
Make sure to dry the cans thoroughly before starting your next steps, especially if you’re painting!
2. Decorate the Can
This is the fun part—turning your humble Pringles can into something that reflects your personal style! You can go as simple or as elaborate as you’d like.
I decided to use a glistening blue and gold fabric—It’s gorgeous.

To attach the fabric, I used Mod Podge, brushing a layer onto the can before carefully wrapping the fabric around it.
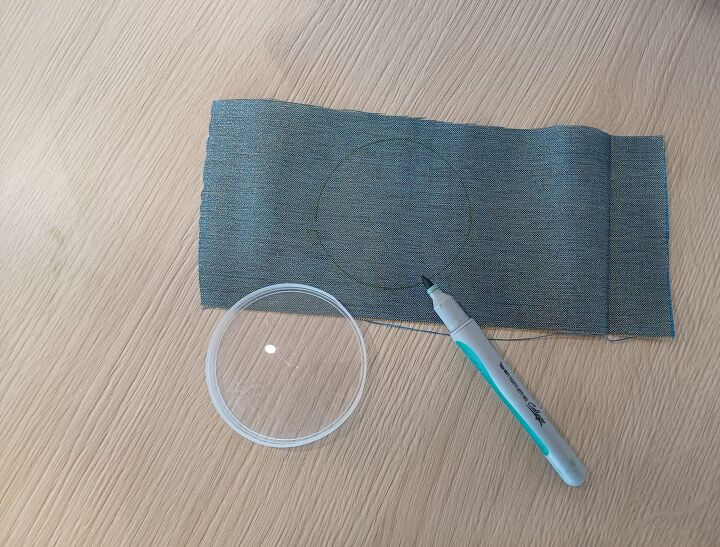
I also covered the bottom of the can and the lid by tracing the lid onto the fabric, cutting out two circles, and gluing them on—one for the bottom and one for the top.
For the rim of the lid, I mod-podged a strip of fabric around it so the entire can had a seamless, polished look.
Once everything dried, I gave it a quick wipe-down to remove any stray glue marks. Now, it’s ready for use!
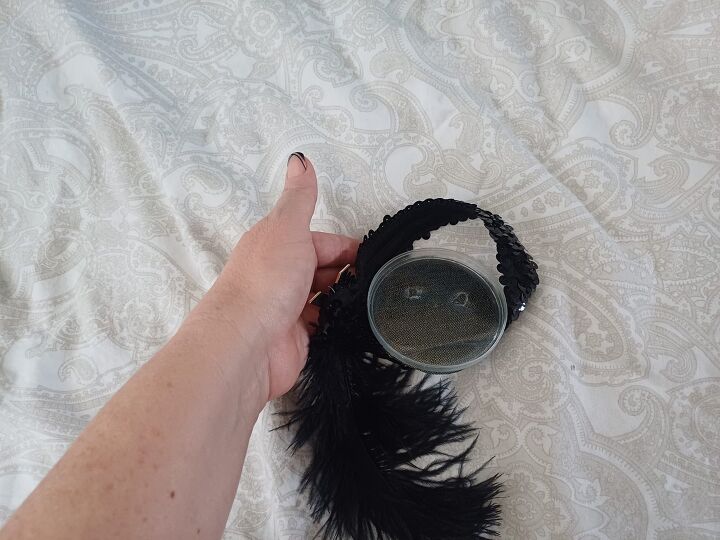
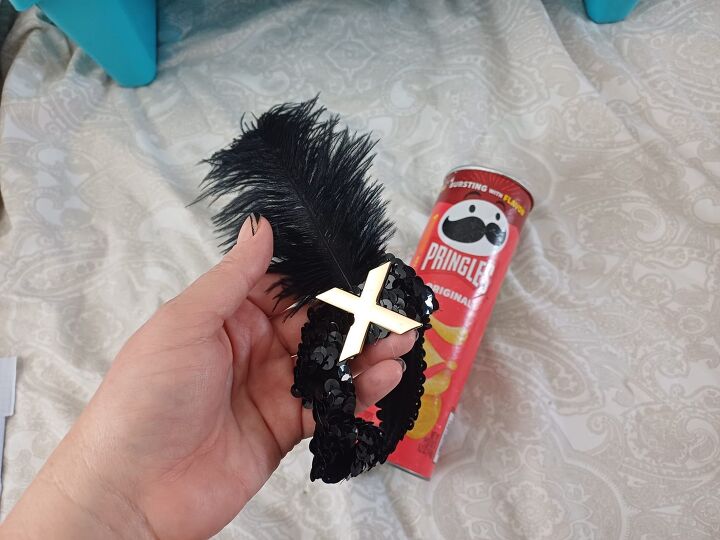
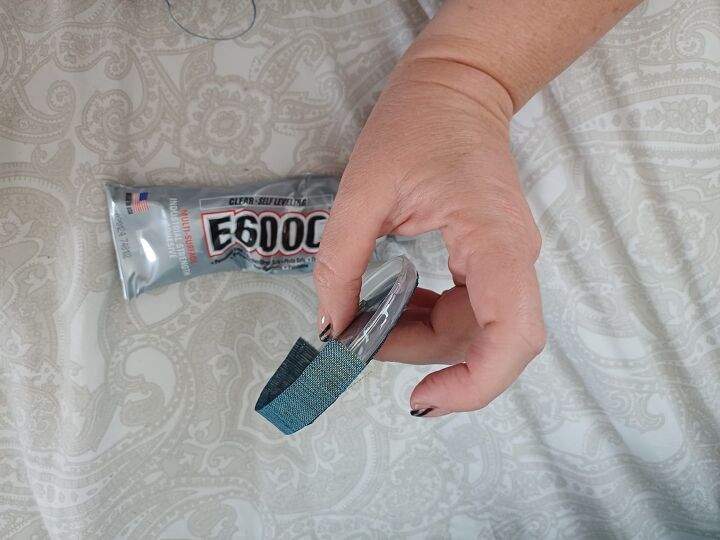
Since I’m using mine to store my daughter’s hairbands, I added a special touch: a 1920s-style headband wrapped around the top. I secured it with E6000 glue to make sure it stays in place.
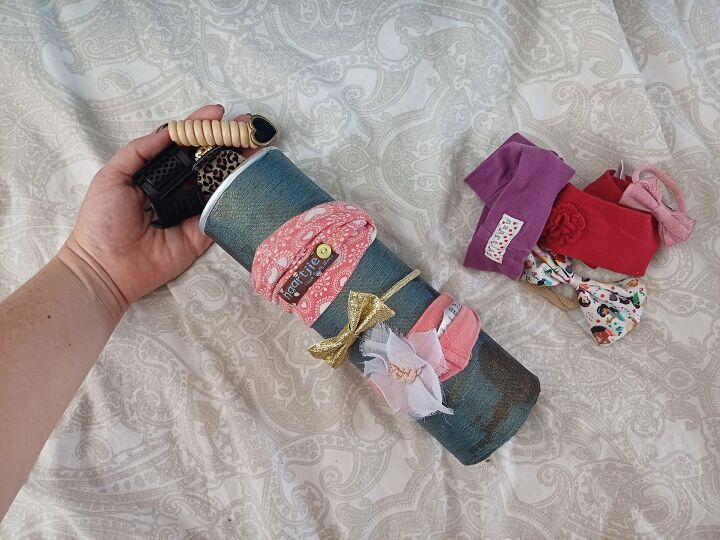
Depending on what you plan to use your can for, you can customize it even further! Add labels, embellishments, or decorative trims to make it uniquely yours.
Pro Tip:
Be careful not to glue over the part of the lid that closes over the can, or it might not fit properly.

Clever Ways to Use Your New Organzier
There are so many fun and practical ways to use this handy container! Another one of my favorites is turning it into a wool ball holder.
Just pop a wool ball inside, make a small hole in the lid, thread the wool through, and close it up. It keeps everything neat, tangle-free, and ready to use!

Looking for more creative ideas? Here are a few I came up with:
- Wool Storage: For knitting or crochet projects, use the can to store your wool. Pull it neatly through the hole in the lid while working.
- Sewing Kit Holder: Store thread, needles, and small sewing supplies inside the can.
- Pencil Holder: Keep your pens, pencils, and office supplies organized in style.
- Candy Dispenser: Make a fun candy holder to keep your sweets organized and easily accessible.
- Gift Wrapping Tube: Use the can to store gift wrapping supplies like tape, scissors, and ribbons.
- Desk Organizer: Sort your paper clips, sticky notes, and other desk essentials.
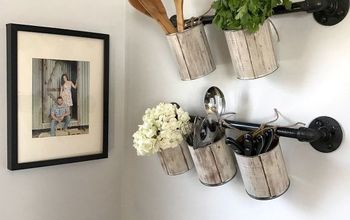
- Kitchen Utensil Holder: Store smaller kitchen tools, like spoons and whisks, for easy access.
- Jewelry Organizer: Store necklaces, earrings, or bracelets in separate cans.
- Candle Holder: Place an LED candle inside for a simple yet chic holder.
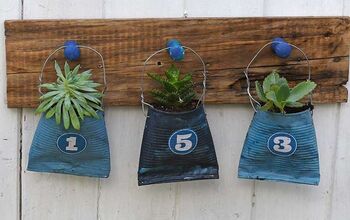
- Plant Pot: Decorate a can to use as a cute, small plant pot for your succulents.
- Craft Supplies Storage: Keep your craft supplies neatly stored and organized.
- Tea or Coffee Holder: Keep your favorite tea bags or coffee pods inside.
- Emergency Kit: Store basic first aid supplies in a decorated Pringles can for quick access.


DIY with Pringles Can - How to Make a Stylish Organizer
So there you have it—a unique and clever way to use those Pringles cans lying around your house.
Pringles can crafts are not only a fun way to express creativity, but they also offer practical solutions for organization. Plus, it’s a win for the environment when you choose to repurpose instead of tossing.
Now it’s your turn! Try this fun DIY projects and share your results. I’d love to see how you make these upcycled creations your own.
Comments
Join the conversation
-
I wrapped an empty, washed Pringles can with apple paper as my classroom had multiple apple decor. It was just the right height to hold rulers!
-
Great crafty idea for kids with a case of the winter blues or summer boredom


Frequently asked questions
Have a question about this project?