Large Bathroom Mirror redo to double framed mirrors and cabinet

by
Danielle Fraser
(IC: homeowner)
4 Materials
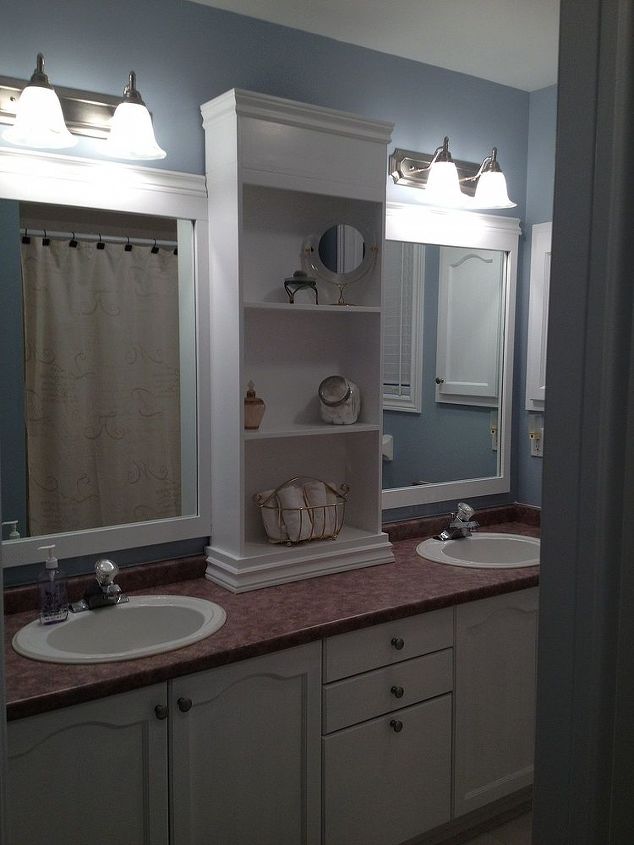
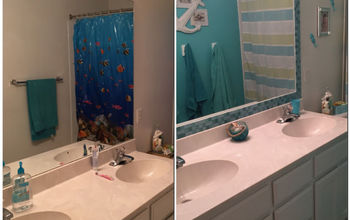
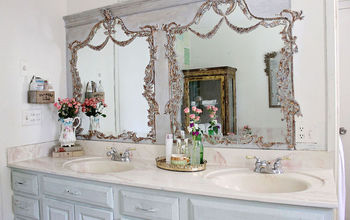
Everyone hates the 6+ foot mirror that all main bathrooms seem to come with. Soooo we took an idea from a fellow pinterester and made it our own (so to speak). This is NOT a one day project but the results are worth the time :)
You will need
1"x4" MDF (32 ft)
1/2 birch plywd
Trim (40 ft)
Baseboard (3 ft)
All building supplies for the mirror/cabinet project approx. 40.00
Lights - 38.00 each on sale
New faux wood blind - 39.00
Paint - 5.00 (bought a mis tint from Rona)
1 can of brushed Nickel spray paint 10.00
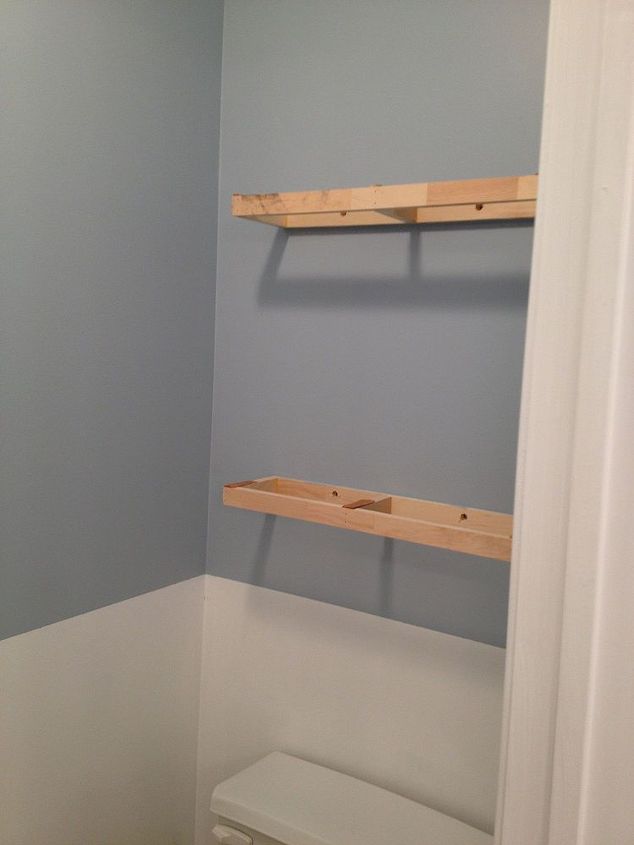
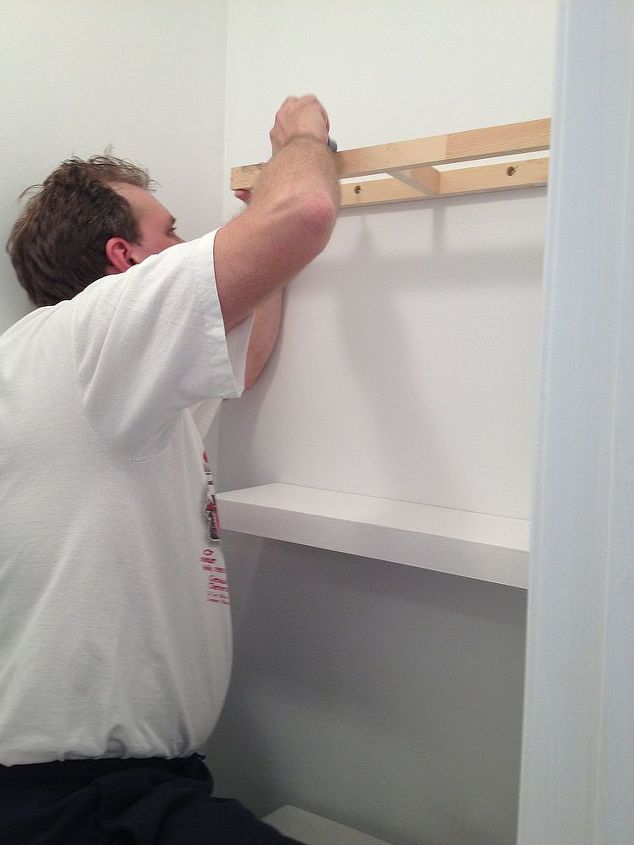
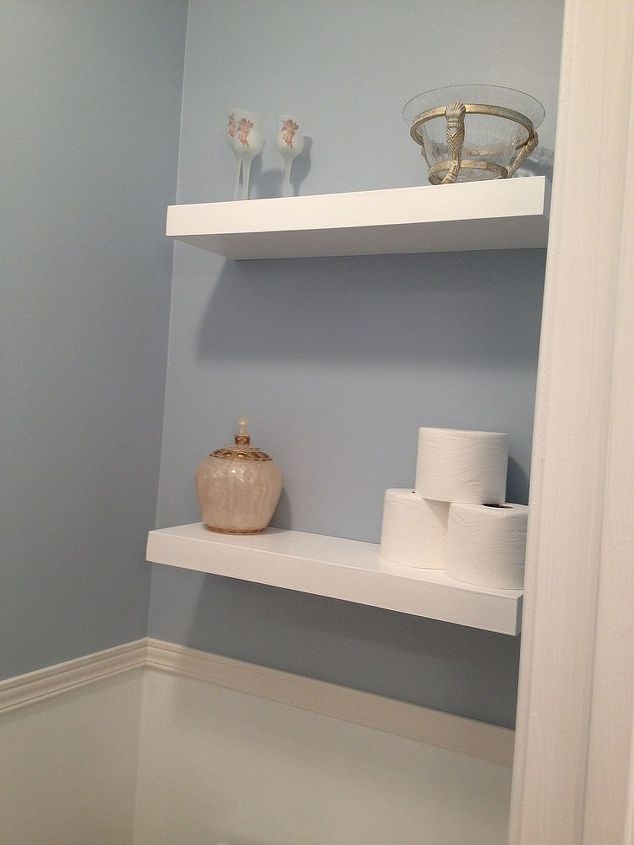
we also did floating shelves in the water closet (another idea I got from a fellow Pinterester)
We only needed 2 shelves for this bathroom
but made 6 shelves
24X 8 inches with supports
1 sheet of 1/4 plywood, sanded on one side
10 1×2 pine boards
floating shelves supplies 20.00
when all was said and done the total reno for this bathroom was 190.00
Have fun with it and make it your own
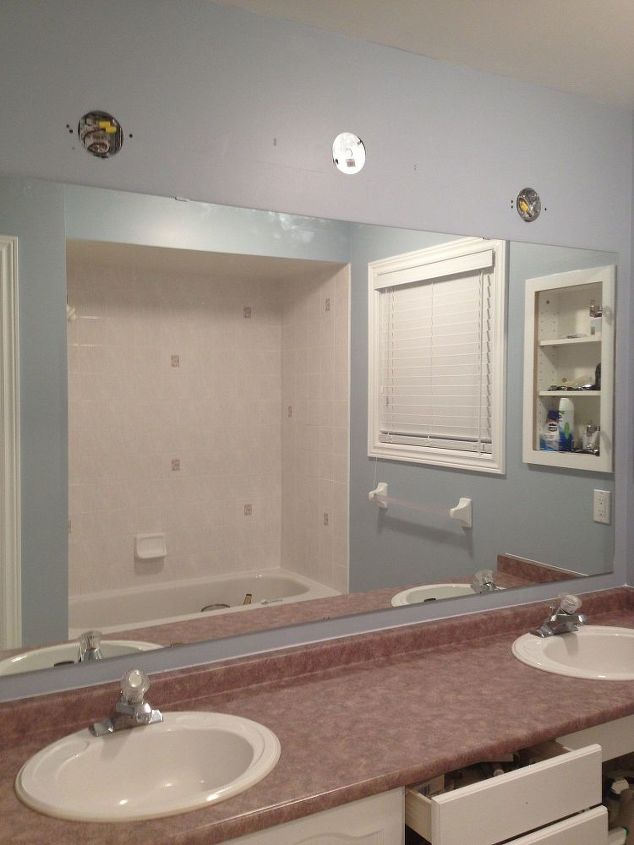
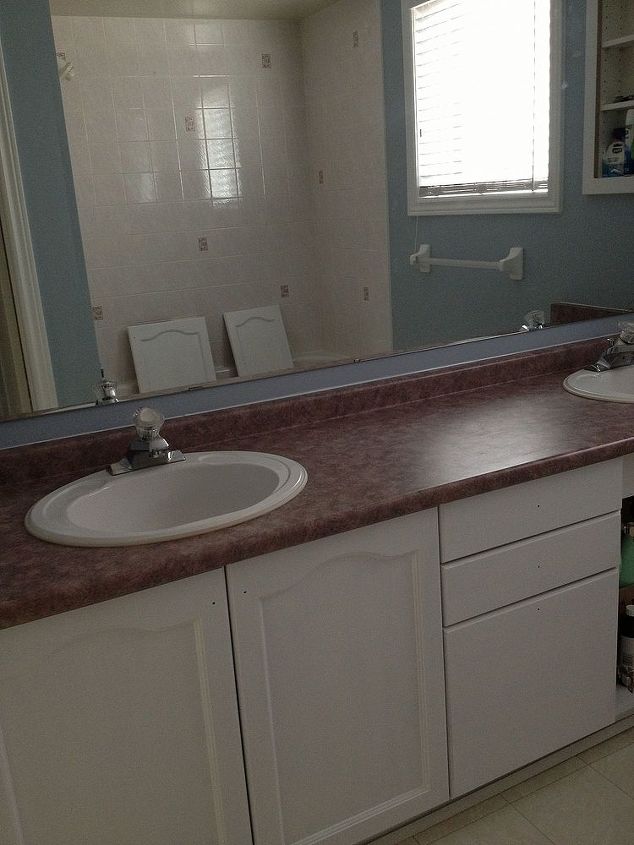
Took mirror off then checked out pinterest for ideas then realized it didnt have to come off :(
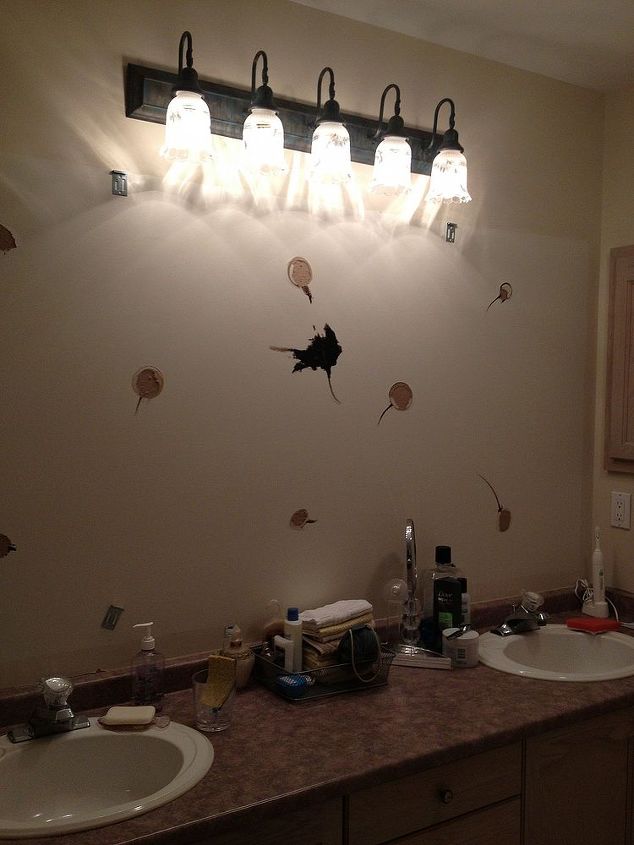
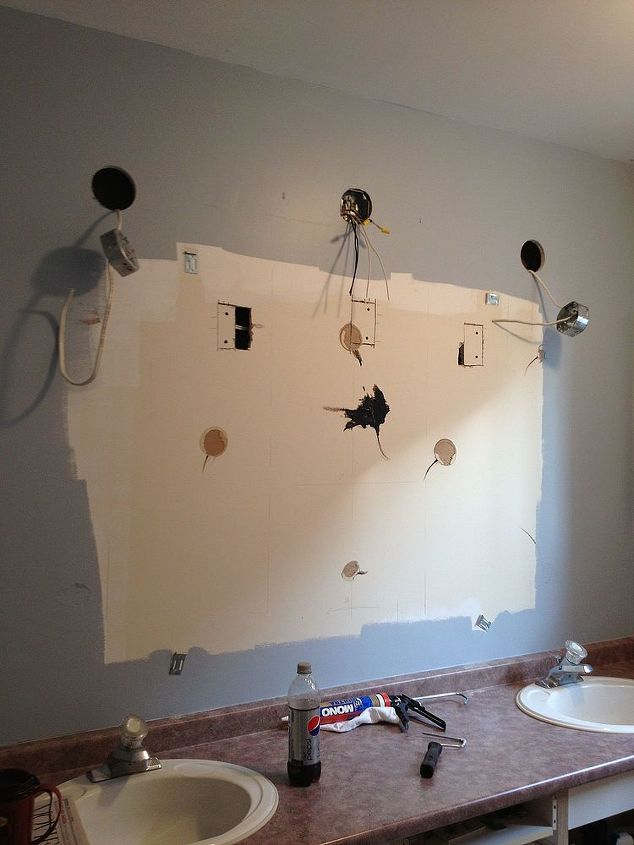
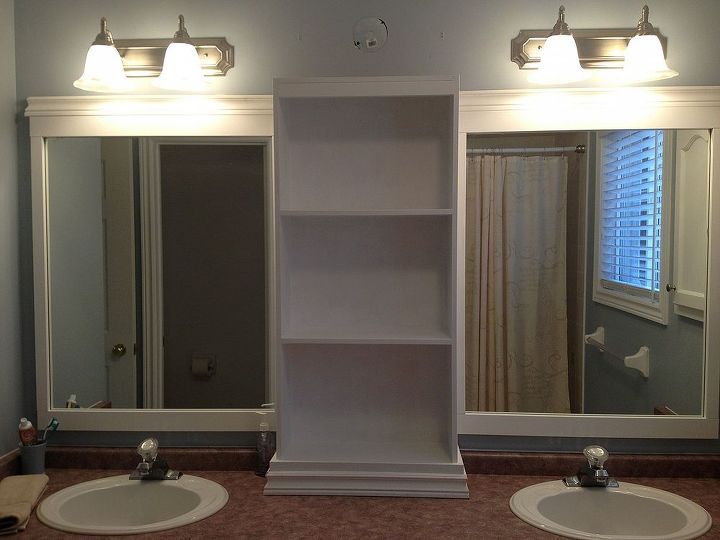
Soooo removed the one 4 light fixture and put in 2 two bulbed light fixtures The advantage to removing the mirror was we could cut the drywall behind the mirror to make new holes for the new lights
Room primed and painted and the mirror was reattached
Middle cabinet in place new light fixtures connected and now onto the framing of the mirrors
Bottom of cabinet dressed then realized I needed more height to cover the original light "hole" grrr
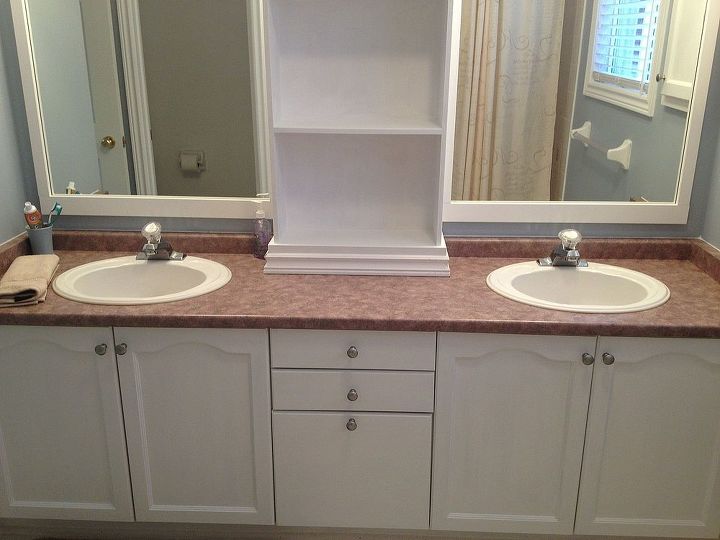
NOTE: the cabinet was not from the counter top up it was actually started at the "back splash" just because the "back splash" is beveled and it just made it easier to start with something flat and dress and trim the bottom
We also spray painted the knobs a brushed nickel
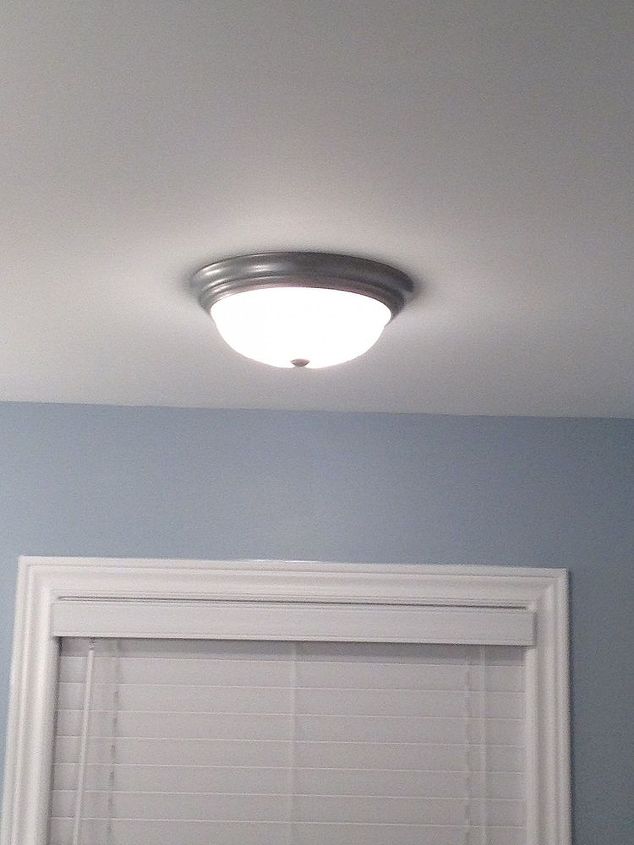
And spray painted the hugger lights with the brushed nickel
The supports for the floating shelves
Finished floating shelf project
Enjoyed the project?
Published February 19th, 2013 8:14 AM
Comments
Join the conversation
2 of 167 comments
-
 Maura Campbell
on Nov 13, 2019
This requires some carpentry tools and skills many of us (like me!!) may not have, but you did a fantastic job!! What a transformation!
-
-














Frequently asked questions
Have a question about this project?
can you post a bigger picture beautiful hairstyle? I googled Curl Up & Dye...which one ....I'm hoping it's near Austin....
Anyplace to buy that cabinet?
Where did you find the cabinet and how is it attached. My vanity area looks just like that and I’ve been wanting to up date it.
I love this idea.