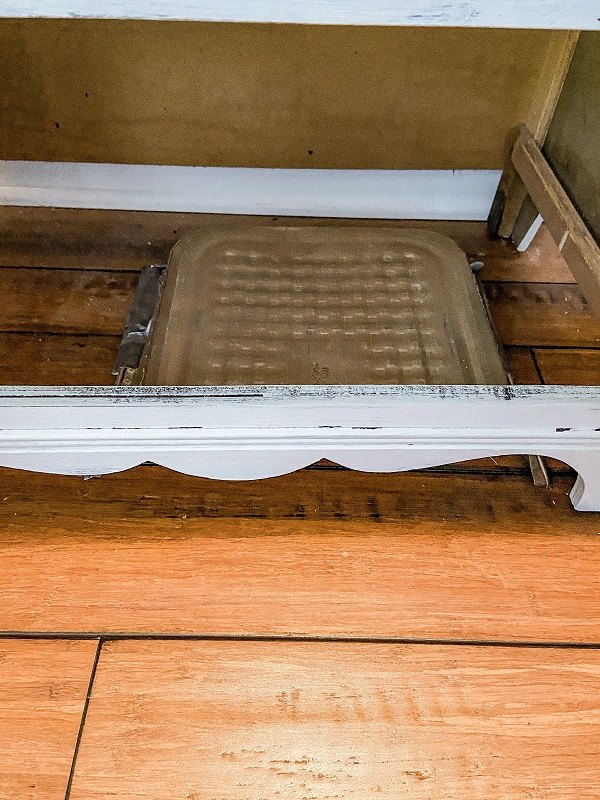
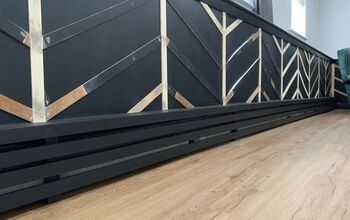
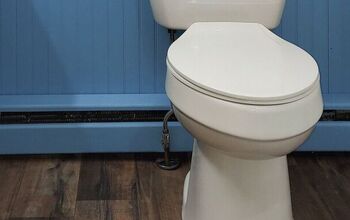
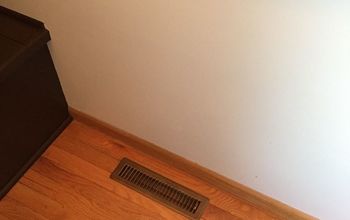
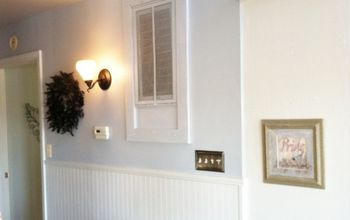
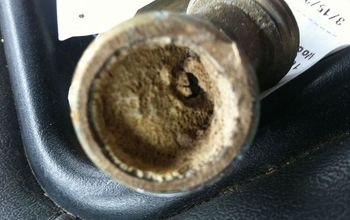
know, I know. Older homes have charm. They also have lots of old, dated things that can be a challenge to update. Baseboard heaters happen to be one of those things. My baseboard heater covers in this guest room were old, rusty, and super dented. Unfortunately, replacing them can be difficult and costly. So I came up with this modern baseboard heater cover that is actually quite easy to put together!Disclaimer: In the name of full transparency, please be aware that this blog post may contain affiliate links and any purchases made through such links will result in a small commission for me (at no extra cost for you). As an Amazon and Home Depot Associate I earn from qualifying purchases.Length of time for project: 2-4 hours for assembly. Finish time 1-2 hours.Cost: ~$60 (keep in mind, my baseboard heater cover is about 20′ long. The shorter the cover, the less material needed) What you’ll need: For this 20′ beast I used #11 primed 8′ 1×2 boards and #3 8′ 1×4 boards. I attached some pieces with a kreg jig and the others with my nail gun.What I learned: You can attach the braces to studs using pocket holes. Who knew?! Also, paint your brackets and slats before attaching. I’m so impatient that I never do anything in the correct order. But painting first would definitely be easier.
