HELP!!! Epoxy pour on countertops went seriously wrong

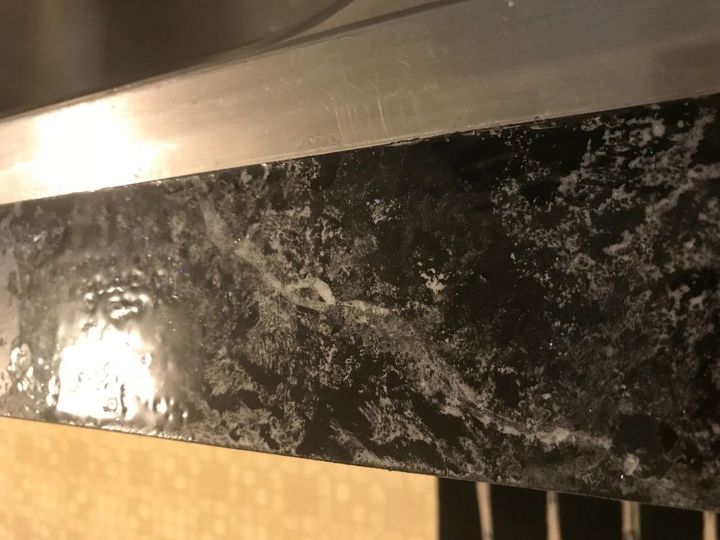
These photos are the result of 2 pours on my countertops. The first looked pretty much the same so I mixed up more to cover the “gaps”. Now whenever someone sees my countertops, they try to wipe up the “puddles”. Can this be fixed?
Related Discussions
Vinyl plank flooring vs pergo (laminate)
I currently have stinky dirty carpeting in my living room and I want to replace it with a durable flooring that can stand up to dogs and kids.
How to remove popcorn ceiling that has been painted?
Does having a paint over a popcorn ceiling change how I'd remove the popcorn ceiling?
How to apply peel and stick wallpaper?
I want to spruce up my walls with peel-and-stick wallpaper. Has anyone used this before and can advise me as to how to apply it properly?
How to stain wood floor?
I've heard staining is a good technique for updating floors. So how do I stain my wood floor?
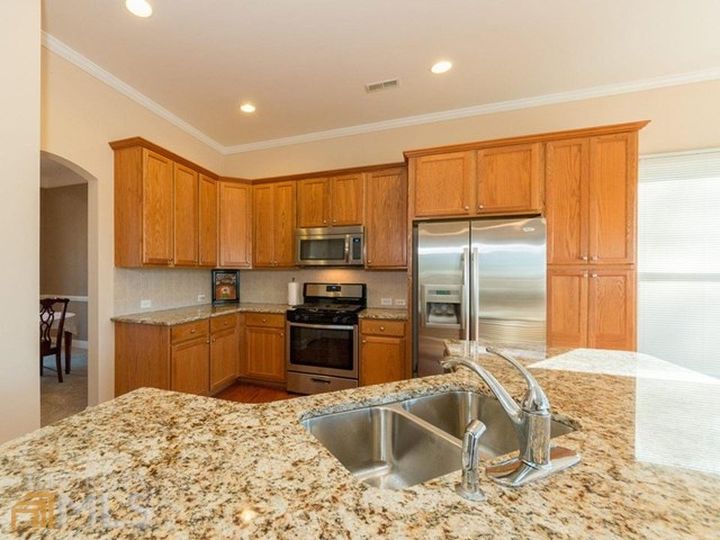
Should I re-stain or paint my cabinets?
Edit:””” 3 years later😂 I decided to paint them white and I am so very pleased with the results!We bought a new house with these ugly cabinets. I really cann... See more
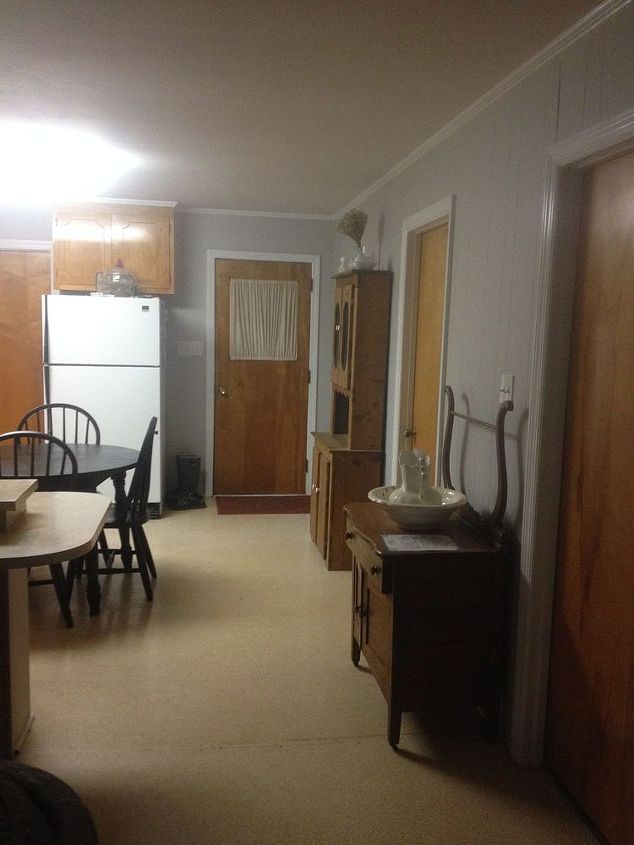
Help me with my kitchen - strange layout with 3 doors in it!
I am looking for BUDGET options for my kitchen. It is very strangely laid out. I have 3 doors (laundry, bedroom and outside) that do not help the layout. I am planing... See more


Hi. It's a messy job but can be done. Use a orbital sander and remove the puddles. Clean well with tack cloth. Then re-epoxy the entire countertop. You need to work quickly with epoxy and spread it out. Build a form around the countertop so you can take the epoxy to the edges. Good luck!
https://www.youtube.com/watch?v=UeACZfA_IFI
https://www.youtube.com/watch?v=GNP5fyQxsEQ
Just looking at your picture it doesn't look like you applied any heat to it. Sand it down and clean it well with the tack cloth and vacuum. Re-apply the epoxy and then use a heat gun, or torch to heat up the epoxy to allow it to flow. An hair drier on hot might be ok. He guns are really cheap, especially at Harbor Freight. Be sure that you use a form or paint tape around your edges to that it will flow to the edges.
You can polish epoxy but this is really a mess. When pouring a large area, you mix two containers instead of trying to a pour from one large container that could possibly be not mixed properly, and be sure you scrape the sides when mixing in Part B cause it looks like the lumpy area was setting up so it didn't self level.
Then the waves of cloudy area from what I can see is bubbles. Did you run a torch over the epoxy to pop the bubbles before it set? I assume the interior surface of the frame was vacuumed and wiped with tack clothes so there was no dust in there. Did you do several pours of the epoxy in layers? https://www.youtube.com/watch?v=k6u_T7KhUyQ
https://www.youtube.com/watch?v=6oVtmJhh_Ss&t=174s
I would work to get it as smooth as possible and get the bubbles out, and then if need be do another pour on top. If you can't get all the bubbles or contaminants out, tint the epoxy so its more opaque.
You can also build a form around and add another layer of epoxy. Make sure you mix for a very long set time. The epoxy mixture will level itself and cover/fill in the low spots.
The info I have says tack cloth can leave a residue that will create new dimples. Try wiping with cotton rag wet with denatured alcohol.
Applying too much heat, not mixing enough, disproportions of epoxy & hardener aka not following the exact measurements per manufacturer and/or water in the mixture can cause these dimples and valleys.
If the indentions are not too deep a light sanding to create a grip hold and an additional pour should remedy this situation. Epoxy and resins are self leveling.
Try not to let the Epoxy sit in the pot too long. it needs to be poured out immediately or made in several small batches to give you working time on the substrate (countertop). Most all Epoxy is self leveling and should find its level by moving it around with a small knotched trowel, followed with 4" nap roller covered in plastic. Keeping the roller covered in plastic, allows you to move the material without the nap of the roller cover soaking up the material and able to still move to desired appearance.
Elizabeth, i have been using epoxy a lot lately, and it can be fickle at times and difficult at others. You will have to sand it down some, but i would not sand the whole thing down. If you just scuff up the top layer, a new layer will be able to bond to the already poured and set layer. You do not want to sand the entire thing because epoxy turns into an extremely fine dust and it gets everywhere. I would suggest just scuffing it, also, WEAR A MASK TO AVOID INHALING THE DUST!!!! Once you have it scuffed, pour the top layer and it should bond. What the others stated about a form around the sides will get you the best results. I would suggest an acrylic sheet, at lowes or home depot a 4'x8' 1/8" thick sheet runs about 70 bucks. Cut the sheet into strips with a circular saw using a saw blade with at least 80 teeth ( so it doesnt crack or shatter the acrylic sheet. Then tape it around the edges of your countertop using plastic packing tape. This will allow you to pour the epoxy all the way to the edge, getting full coverage, and once the epoxy is set up, about 10-12 hours, you can remove the strips. Acrylic and plastic packing tape does not bond to epoxy. They will remove cleanly. This is the way I would do it.....but to get an idea of how much scuffing you need to do to the bottom layer. I recommend doing a youtube search for epoxy pouring, or better yet, waited too long for 2nd epoxy pour...that should result in videos showing how to prep the 1st layer for a 2nd layer because I dont think 100% sanding is required, i just think you need a bunch of knicks or cuts in the bottom layer to get a bond....not a sanding over the entire surface to the point where your 1st layer is completely white, which is what will happen as you sand epoxy. I say this because i would be concerned that an entire sanding of the layer and it turning white would not go away with the 2nd pour. Good luck
Several people have stated truths here. I do epoxy countertops all the time for customers. I was first introduced to this on you tube watching Stone coat countertops videos. Epoxy in occasions doesn't go right. I've had it come out the way yours did and in my case i didn't use enough. It will self level if enough is used if you don't use enough it has a tendency to pull back and leave shallow areas or bare areas. All you need to do is sand it with a orbital sander using 220 grit. It's best to use a spray bottle filled with water and mist the surface. Keep it wet. When the surface starts to appear Dusty spray again. When it starts to look like it has a muddy film just wipe it off and spray again. you don't have to worry about Sandy saying it too much cuz no matter what stuff she put in it when you pour the next coat those scuffs disappear. As to sanding to much where it appears white that will disappear also. Don't sand so much the that you remove your base coat. Your only scuffing so it has the ability to bond. Usually you want 3 oz per sq ft but I've found 4-5 oz work alot better. The heat gun is used to release air bubbles. I use a torch...to spread your epoxy you can use a regular tile trowel, a roller, or notched spreader whichever you feel most comfortable with.
Make sure to mix atleast 2 mins if using a drill. By hand i don't know never do it that way. Once poured and spread I've found it works best to chop it with a new paint brush like a shorty from any box store. Then torch wait ten minutes and torch. Do this 3 times and leave alone.
As to building stuff to cover edges or any such. I've found using plastic poly from the paint section and taped well just as if you where protecting something against from over spray is all that's needed. To protect the lower cabinets
You did not use enough epoxy to cover your countertop in the first place. Use a small torch to pop bubbles, but you have to work fast to not burn the epoxy. Hope that helps!
They actually look kind of cool! Why not just pour clear epoxy over it to even out and level the surface? I actually embedded a few leaf skeletons in mine to make it look like they were floating in water.
What was the temperature ? I had this happen to me and It was a cold day, I have redone it at a warmer temp and it came out Great.
Good Luck👍
I'm in the counter top business and I've seen a lot of material for counter tops but this has to be the worst...It must be cheap to do...
Is this for granite?
Did you try one of those kits to try to make your counter tops look different? All I can say is to look to you tube video's. Or finish up with someone that deals with counter tops, Best of luck
Galaxycoatcountertops.com
GalaxyCoatCountertops.com
They have Do it yourself kits for you to epoxy your kitchen countertops and bathroom countertops.