Turn an Antique Door Into a Barn Door

I have a love for antiques & adding pieces here and there in our home. After our master bedroom makeover, I knew that when we moved to the bathroom remodel I wanted to add a barn door to the walk in closet.
BUT, I didn't want to build another door ourselves (our DIY Barn Door tutorial can be found in my projects). I wanted to try and find and old door that we could repurpose. Luckily my sister and brother-in-law were flipping an old home and were getting rid of all the doors. I scooped this door up as fast as I could. After seeing one picture I KNEW it would be perfect for our closet door! The following is how to build a barn door by using an old door.
Hometalk Recommends!
Material List
- Antique door
- Barn door railing kit
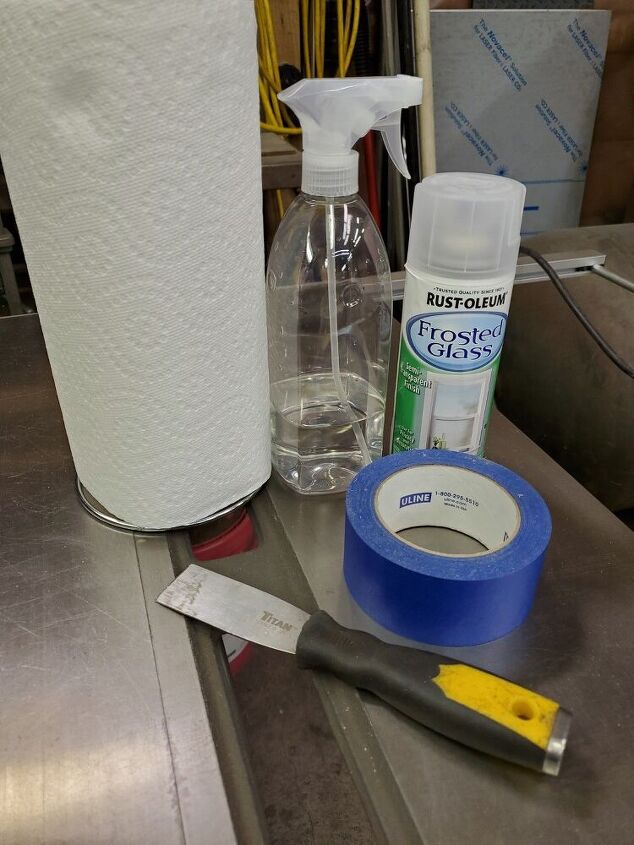
- Glass cleaner
- Scraper
- Paper towel
- Painter's tape
- Frosted Glass Spray
- Drill and drill bits
- Tri-square
- Level
Please note- If you use an old door and have young kids you may want to test the paint on your old door for lead. If it has lead paint you'll want to add a step by spraying the painted surfaces with a polycrylic sealer...or if you want refinish the door safely.
Window Prep
My antique door has a clear window and I really didn't want to be able to see into our walk-in closet. So I decided to frost the window.
First I scraped and cleaned the window area really well, removing all old paint. Then I taped off the full area so I wouldn't get overspray on the painted door.
With old antique doors you'll want to make sure you use a painters tape that is gentle and remove it as soon as you know you are done. Otherwise you risk removing some of the old paint.
Frosted Glass
I went between using two options to frost my window...a spray or a frosted film.
I decided to try the spray. I went with a frosted glass spray from Rustoleum.
This photo is after one light coating.
I ended up using 4 light coats to get the "aged looking" coverage I wanted. I went back and forth in a continuous movement. My husband suggested I should have went the opposite way to have a fuller coverage. I'm not sure if that technique would work, but I am happy with the coverage I got. You can do as many coats as you want.
Barn Door Hardware
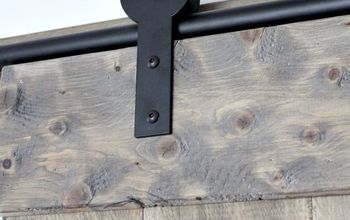
We purchased the same barn door hardware we used in the master bedroom makeover. It is from Menards Home Improvement store.
I personally like this brand because the rail is in one continuous piece. A lot of the ones I looked at on Amazon come in 2 piece rails. This is a personal preference based on needs and budget.
Door Hardware Installation
When preparing to hang the door, we used the hardware attached to the wheel and marked where we wanted our hardware. There will be basic instructions with your rail system, but be prepared to tweak the measurements to fit your exact door needs.
Before drilling large holes in our door we wanted to make sure the bolt would be centered and the large drill bit would not tear up the painted surface. For those reasons we started with a smaller "pilot" drilled hole using a 7/32" bit.
We also clamped a scrap piece of wood to the back to avoid tearing up the back side of the door.
We used a 3/8" drill bit. Your specific rail system will tell you what size bit to use for the bolt size included in your system.
Once the bolts are in we kept them a little loose so we can make sure the bracket is completely straight. We used a tri-square to accomplish this task.
Once both wheel brackets are on we then installed the bumpers at the top of the door. These bumpers will come with your rail system. The bumpers make sure your door won't lift off the rail during use.
Rail Prep
Once those steps are complete you are ready to hang your rail on the wall. We personally like to use a board behind our rail but it can also be applied right to the wall.
Here we marked where the standoff spacers will go for our rail. Do this by holding your rail against the wall and trace the premade holes in the rail. Two people and a level make this step easier.
After you drill the holes for the spacers you will start to hang the rail. You will need two people to accomplish this step as well. Place the spacer behind the rail and tighten.
After the rail is up, add the bumper stops onto your rail (also included in your rail system). You can adjust the bumpers once you hang your door.
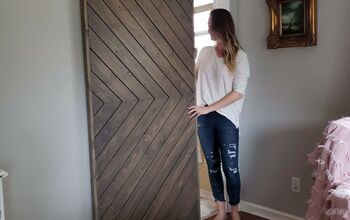
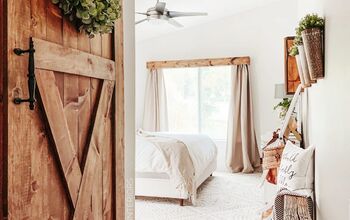
This is the end result...
A new life for a beautiful old door.
Enjoyed the project?
Resources for this project:
See all materialsComments
Join the conversation
-
 Tamy Huber-Tvedten
on Apr 20, 2023
Thank you!
-
-
 Carol Cole
on Aug 16, 2023
I gave up the idea since we are in and out to the bathroom all day. Plus, one of the cats' water dishes is in the shower.
-











Frequently asked questions
Have a question about this project?