


Outdated To Outstanding Golden Oak Cabinets

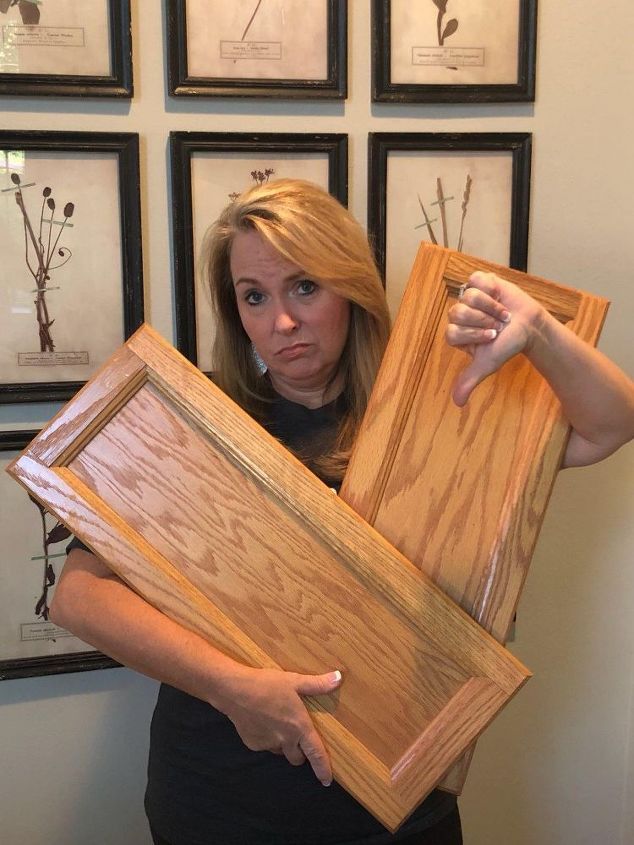
Hi, I'm Rhonda, and today I’m going to show you a super cool trick that I found to update your golden oak or honey oak cabinets without painting! I know you've all got 'em. These dated oak cabinets that were very popular in the 80's and 90's but today...not so much 
The technique I'm going to show you today is called toning and it doesn’t require any stripping or painting! Toning changes the tone of your cabinets by applying a coat of stain mix over your existing cabinets. It'll bring out the natural grain of the wood while beautifully darkening the color of your cabinets.

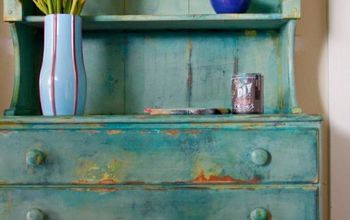
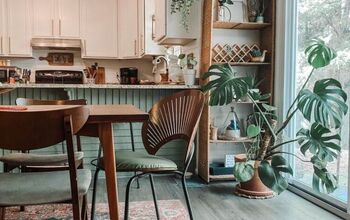
I am going to show you this technique on a lighter pickled oak cabinet. You might have these in darker or lighter tones, but I'm sure you recognize these cabinets in some form or another. And...it's time for these guys to go!
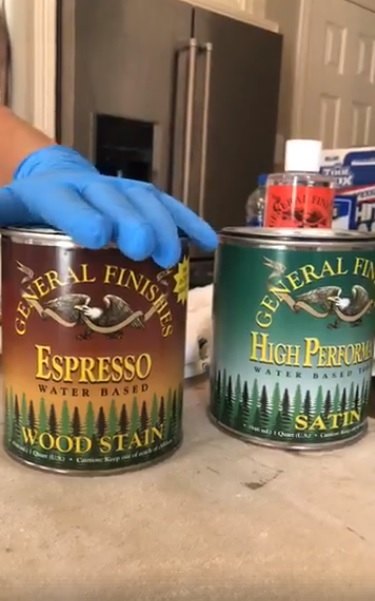
Today I'm using General Finishes water based wood stain in Espresso, and the General Finishes High Performance water based top coat. Espresso is a dark color that I love and is very popular right now, but if you'd like to go lighter, the General Finishes stains come in lots of colors.
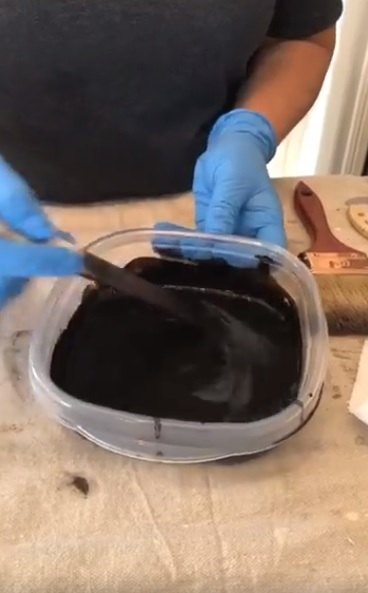
Mix 1 part stain to 1 part top coat (in a 1:1 ratio). I like to mix well in these disposable plastic containers with lids, because the mixture stays a long time if you keep it sealed tightly.
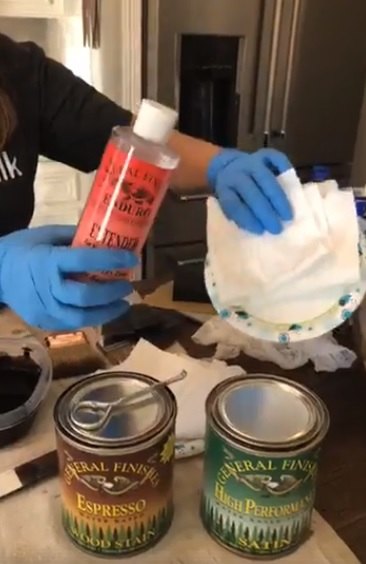
I also like to add some paint extender which will delay the drying time of your stain, giving you more time to play with the stain once it goes on, to get the color you want. Add a squirt of extender directly into the stain/topcoat mixture, and mix well.
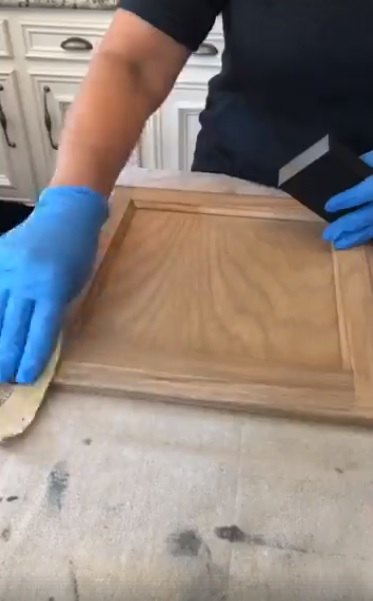
Before you start staining, you'll want to lightly sand down the surface of your cabinets, just to rough up the edges a bit so that the stain really gets into the wood. You don't need to do any heavy duty sanding. I used an 80 grit paper with a medium grit sanding block. When that was nicely sanded, I went over it with a 220 sandpaper as well. When the sanding is done, wipe down well with a cheese cloth to get rid of any residue.
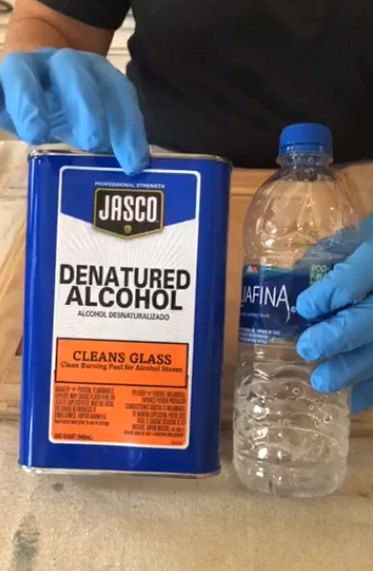
I also use denatured alcohol and water (another 1:1 mixture) and cleaned off the cabinets well. This mixture is a great de-greaser, and will remove cooking oil from kitchen cabinets as well as hair products from bathroom cabinets too. Wipe down your cabinets well with this mixture, and when dry, you're ready to tone!
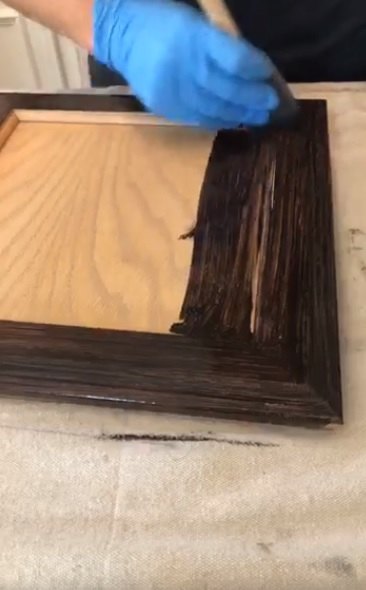
Apply the stain mixture with a sponge brush, brushing on like you would paint.
Cover the whole cabinet with stain. Keep going, you got this!

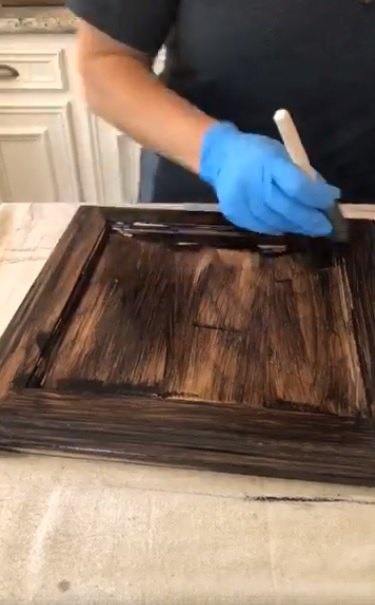
For the next step, you'll need a natural bristle brush with lots of "poof".
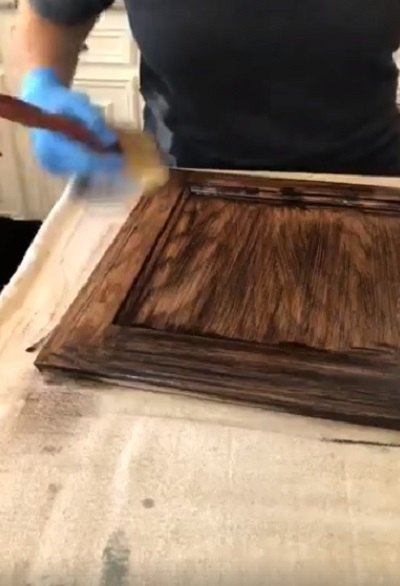
Lightly brush with your natural bristle brush, feathering out the stain while darkening the natural color of the cabinet. Keep brushing the stain until the stain is evenly coated across the cabinets.
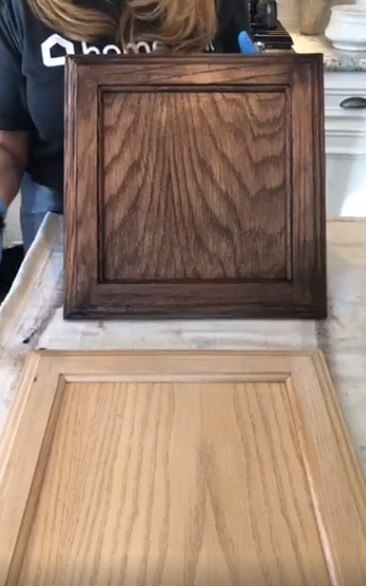
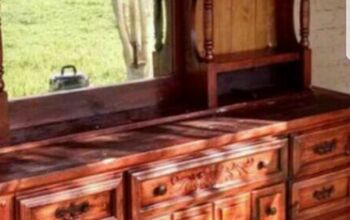
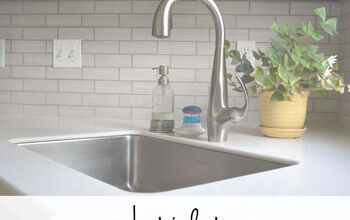
Check out this awesome Before and After! What a difference a little bit of stain can make!
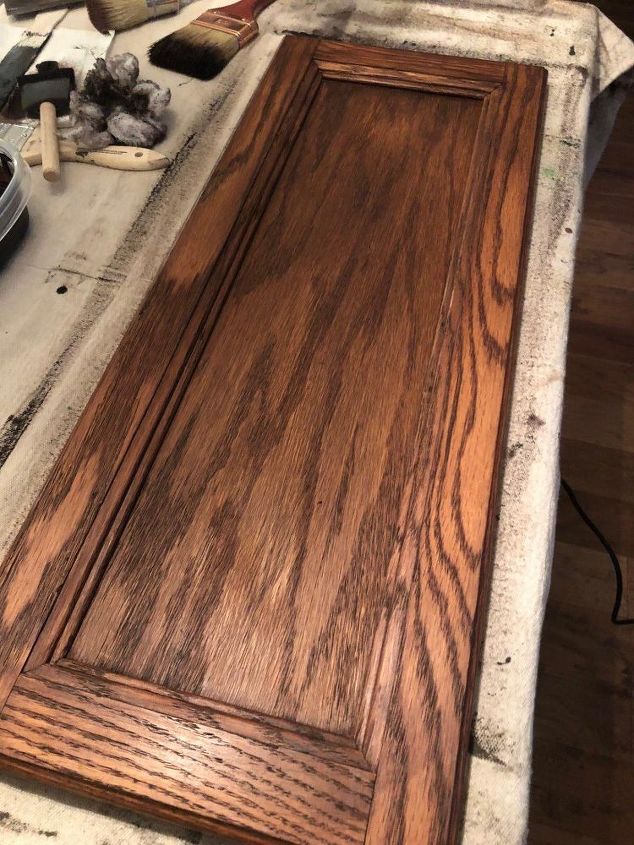
Here's one of the larger cabinet doors post-face lift. I love it so much!
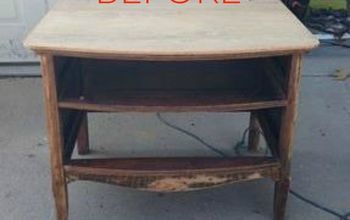
Bonus idea! Toning isn't limited to only cabinets! You can use toning on stairs, oak furniture, mantels, just about anything oak!
Resources for this project:
See all materials


Comments
Join the conversation
-
You cares about "outdated"? My kitchen has no windows and golden oak helps keep things looking light. My kitchen would be less cheery with dark dull cabinets. Also, in the pix, your stain is darker on the bottom and in the top corner. It makes the door look slightly burnt - or at least smoke stained!
I'm staying with what looks good, not what some furniture fashionista says cabinets should look like. Soon dark will be "outdated" and you will want to get back the lighter look.
-
This isn't for me - I'm not a fan of oak, never have been (I used to work in the cabinet room doing assembly at a small furniture factory and didn't like it then). The wood grain of oak is just too much for me. When you stain oak, all the wood grain shows and makes it very "busy." I actually like my kitchen cabinets with a white, satin painted finish (always, always, always use a roller for smooth surfaces to get a nice smooth finish). Plus, I have never paid any attention to what is trendy or "in" at the moment. It's my kitchen, I'm the one spending half my life in there and I'll go by what I want! I don't know anyone who follows trends for anything - thank goodness!


Frequently asked questions
Have a question about this project?
How is toning different than staining? Also, if I use 220 grit on wood, it tends to close the grain so the stain doesn’t penetrate as well. Is that your intent? I don’t mean to sound persnickety, but it just seems like you’re making a straightforward staining project a whole lot more difficult. I love the end result way more than orangy oak that dates our homes for sure, but I get the same look with a good deglosser, NO sanding unless there are scratches or gauges, and straightforward stain with topcoat application.
I had my cabinets refinished to honey oak in the early 90s. There is laminate on the edges of the cabinets. Will that adhere? Will it look solid? What are my options?
i tried 80 grit and I ended up using 60 grit i guess it depends on your finish i was sanding a satin wood stain btw nice job on your cuoboards!