


DIY Rollable Cedar Hot Tub Spa Cover

Hubby and I really appreciate our hot tub revamp we just completed for under $1500. We took time and effort to drop it INTO the landscape and rock around it so it is beautiful. See post:
We enjoy how soothing it is. Rich and I tend to overdo a lot. It really has helped my chronic back problems. After 3 weeks of daily soaks, pain down >50%!
A tub or spa is covered up MOST of the time to retain heat and keep it clean.
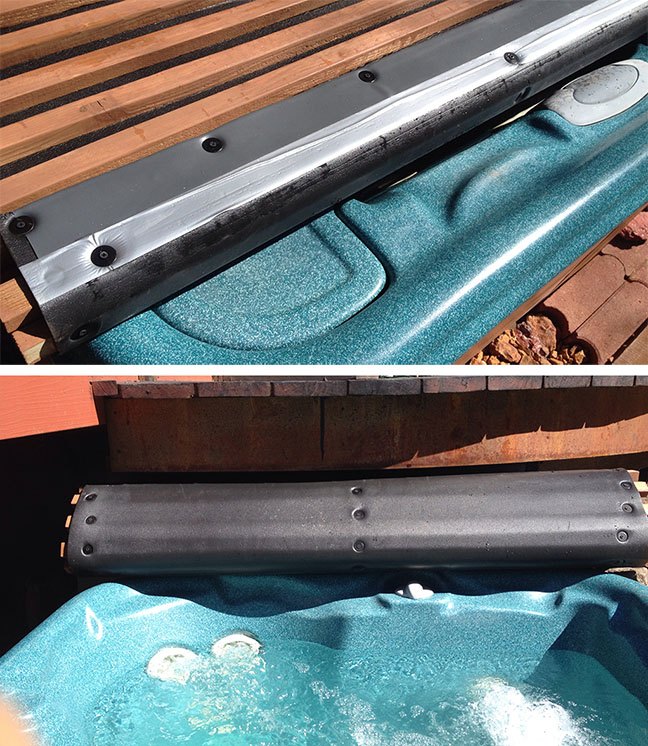
Alas, the cover it came with is OLD and UGLY and CLUMSY.
It had a lever system that didn't fit our deck situation.
Yes, I could reupholster it and customize the system.
But I found a beautiful solution from Canada, searching the net: Cedar slats over foam like a yoga mat, can roll back easily and look lovely.
Two US Companies make them: Roberts Hot Tubs in CA makes them with rivets for $1800 for our 5 x 7 rectangle, including shipping.
Great Northern Hot Tubs promised much higher quality lumber, heat-welded to foam, and estimated $2200 delivered.
OUCH!
I found a resourceful DIYer who made her version out of tarp, insulation material and cedar slats.
I made a temporary cover out of the taped tarp and insulation material while I researched for a better solution.
Here's what I came up with and at the end I'll tell you how it lasted:
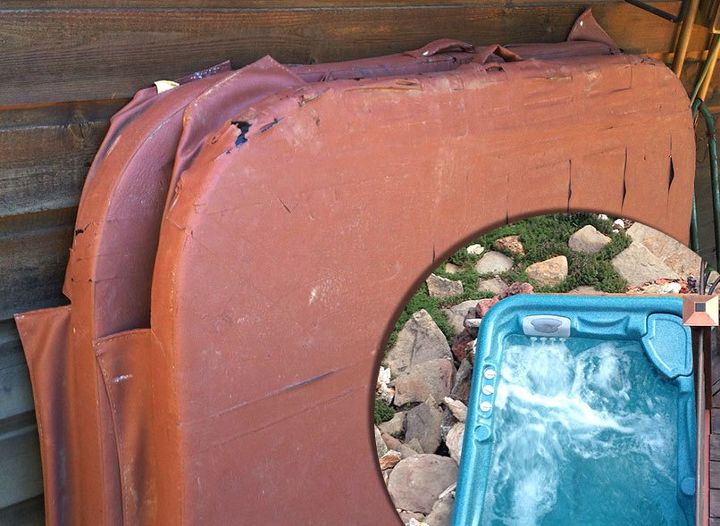
The old cover that came with the tub we installed is Heavy, Clumsy and UGLY. It would destroy our intention of blending into the landscape.
I could reupholster it, but it would still be too cumbersome.
After researching possible solutions, I bought MAIN MATERIALS:
- CEDAR 2 x 4s, ripped by Lowes in THIRDS to 2" x 1.3" approx. to make 28 slats, and trimmed to be 3" wider than my tub and cover edge. (63")
- 1/4" VOLARA foam rubber, like a yoga mat (60" x 8')
- MARINE VINYL for reinforcing edges (54" x 3')
- plus stains, glues, screws etc.... as discussed here.
SAND & STAIN Cedar Slats
I rounded the top edges too as I sanded to encourage rollability.
The glues shown here would be tested and tossed. More about that later.
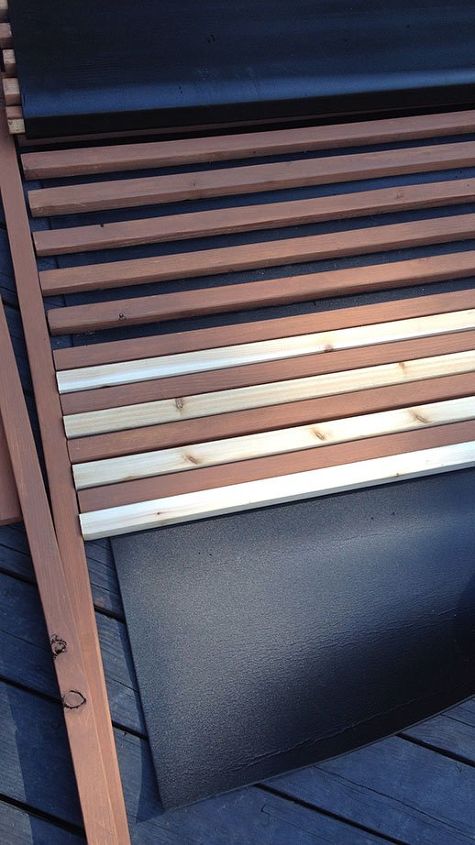
GLUE Slats to foam rubber in ALTERNATING PATTERN.
Tricky... tricky... that's the main reason I will rate this as a tough project.
You need to spray both contact sides. yet still keep neat surface
After several messy fails (which showed that the foam will peel up if you work sloppy and try to rip off at the wrong time) I came up with a method of BLOCKING in STRIPES in an EVERY OTHER Pattern.
You need to work methodically and quickly, one slat at a time. Adhesive works QUICKLY in just a few minutes.
- use spacers and side board for accurate placement, lift out when ready
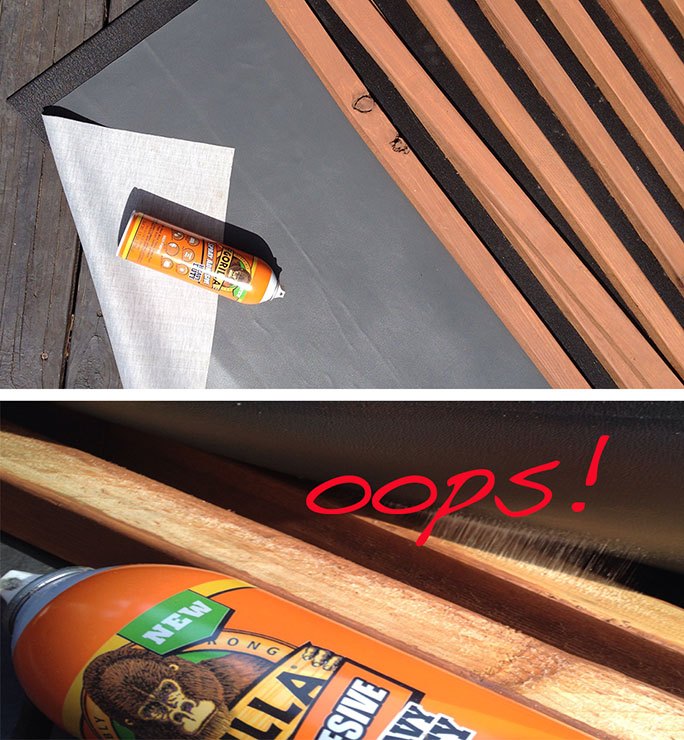
- spray adhesive onto stripes when ready, one at a time, (careful of overspray)
- insert a fresh cedar slat that had been sprayed with adhesive one minute before.
- press in place (I stood on slats for about 30 seconds)
- move onto the next one...
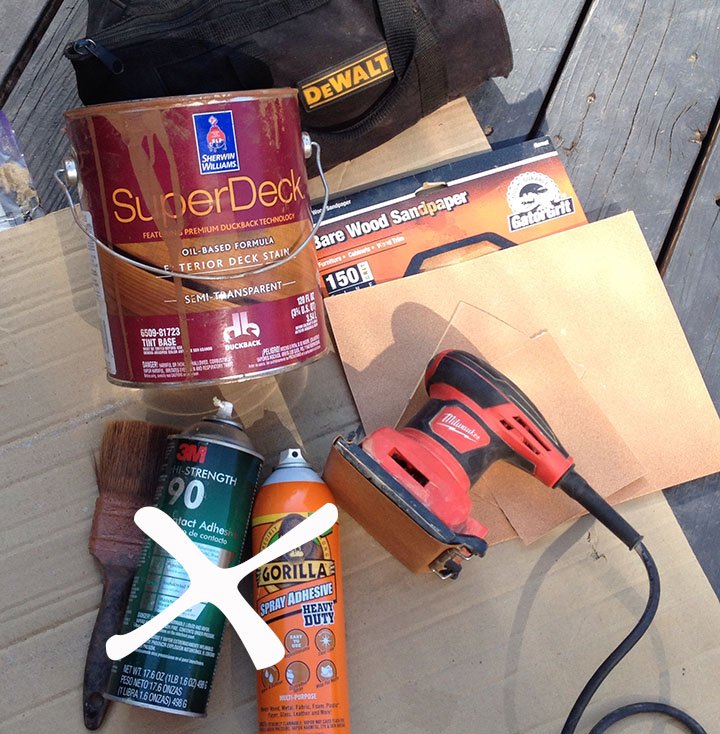
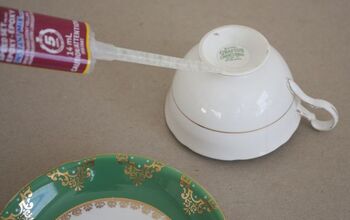
Which glue to use?
NOT Scotch 90 -- peeled right off
NOT Gorilla Glue -- still tacky one day later
YES: Scotch 77 Spray Adhesive -- holds but will still need reinforcement
Great Northern Hot Tubs use a heat bonding (welding) system to attach the slats to rubber (like used to adhere roofing membrane?)
REINFORCE EDGES WITH MARINE VINYL
The foam rubber pad is great for easy rolling and insulation. But I didn't trust that the edges would hold up. Particularly on the edge that would be secured to the tub wall. So I tucked and glued Marine Vinyl under the last two slats on each edge and left extra for securing.
REINFORCE Slats to Rubber Pad with SCREWS
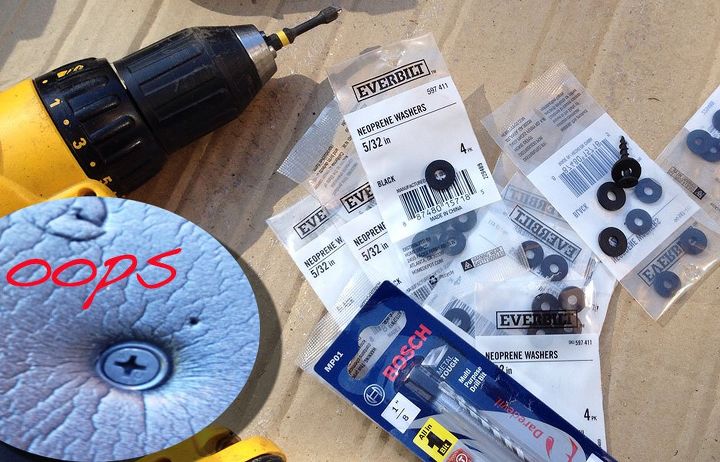
I asked for recommendations at hardware store and was steered to these ($$$) neoprene washers and screws.
After screwing more than half the job, we could see that the screws, even with these washers, would rip through the rubber pad sooner or later.
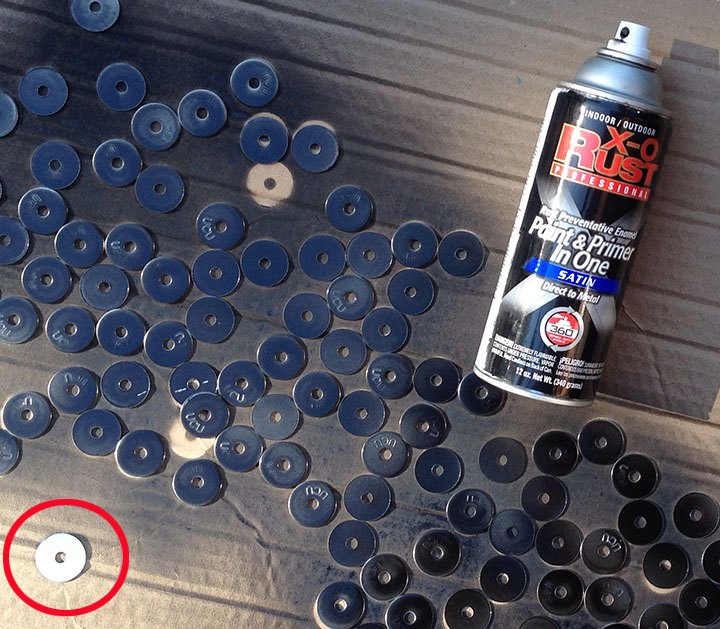
Solution: SPRAY-PAINT 7/8" FENDER WASHERS with Rust-Proof Paint with Primer for metal.
These wider washers work much better! Paint both sides.
DRILL FOAM TO SLATS
I marked and drilled edges first, then the middle. Used 3/4" rust resistant deck screws into painted fender washers above.
ATTACH One end to tub wall.
We designed our tub with a simple wall board behind it that we could drill the cover into.
We also considered attaching it directly to the tub with a flat 1.5" slat and minimal screws.
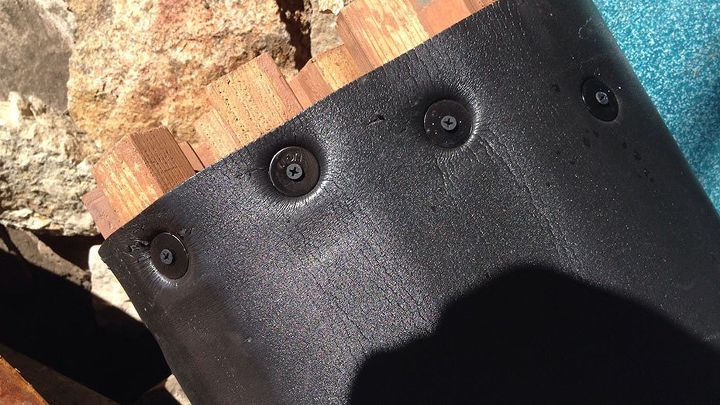
This pic shows the edge, with the Marine Vinyl folded like a hem to either insert the slat or drill directly.
After trial and error, and nominal alterations, we found we had enough clearance on the deck side to roll this cover into place using the wall BEHIND the tub rather than the tub itself.
SECURE The other end with DUCT TAPE and SCREWS.
I trimmed the Marine Vinyl, taped and screwed for a nice neat edge.
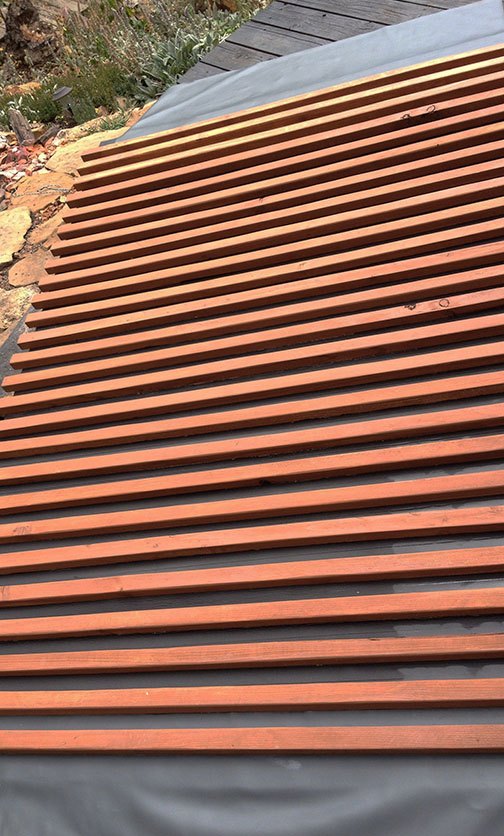
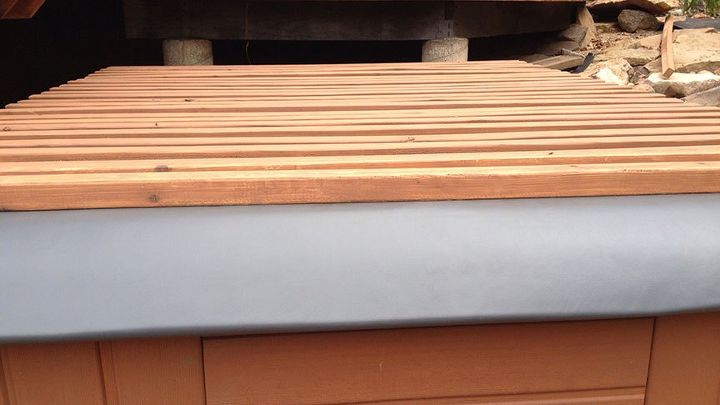
As you can see it rolls neatly into the slats and back.
YEAH!!!!! looks like a custom fit!

Neat fit, tucks right in... Takes seconds to roll up or out!

WHIPPPEEEE!
Looks neat and blends into the landscape.
When temperatures drop below freezing we will add a $30 insulated floating blanket under the cover.
UPDATE Nearly 2 years later:
We still love the cover! Held up through Colorado snows the first winter, no complaints.
However...
The second year we lost power for a while and mounding snowloads caused a tear in the foam, which we repaired using black Gorilla Tape temporarily.
We will make a more permanent patch in the spring.
Benny from Roberts Hot Tubs saw this tutorial and recommended that we add more rivets: black plastic "Christmas Tree Clips" spaced 6" apart (drill & hammer) in problem area.
If you are considering this project, try those from the beginning, (with or without washers?) Please let us know how yours turns out!
Comments
Join the conversation
-
That sounds like an amazing project! A DIY rollable cedar hot tub spa cover would definitely add a unique, natural touch while making it easy to access your hot tub whenever you want.
-
Your hot tub revamp sounds amazing—integrating it into the landscape for under $1500 is impressive, and the daily soaks easing your back pain is a huge bonus. Since you're now exploring stylish covers, I’d suggest browsing Anzzi’s options too https://www.pissedconsumer.com/company/anzzi/customer-service.html. I saw helpful insights on PissedConsumer that might guide you if you're comparing features or need support.


Frequently asked questions
Have a question about this project?
Hi there. Thank you for posting this. Ive been trying to figure out how to build something similar for my hot tub. Can I ask you for clarification on what adhesive you ended up using? Any? Also, you are using 1/4" VOLARA foam rubber and there is also a thin sheet in one of the earlier pictures. Finally, how has it held up?
wondering how the insulating factor was for you. did your electric bill go up/down/same as the traditional cover? seems like 1/4" volara wouldn't keep heat in as well as traditional 4" foam??? is there thicker volara or maybe put 2 layers? Do you know if the 2 hot tub cover stores you mentioned have their slats that far apart? what is the distance you have between the slats? I assume its heavy enough for high winds?
which volara foam did you use?