Quick and Easy Tick Removal

by
Jeremy Dixon
(IC: blogger)
Ticks are everywhere here in Tennessee, so much so that our Chickens can’t seem to keep up with them, though I’m sure they give it their best. So if you live around us or in an area where ticks are living, it pays to know an easy and safe way to remove them.
If you’re not already convinced, we have a friend who recently made a trip to the ER to find out that he is now allergic to the meat of mammals because of a tick bite.
On with the removal procedure.
The main idea with the process is that you want to end up with a living tick that still has its “mouth” in tact. If you rip off its “mouth” or kill the tick it will basically vomit inside you and any parasites or bacteria come with it. With a living tick, your chances of that are much less.
Step 1 – Locate Tick
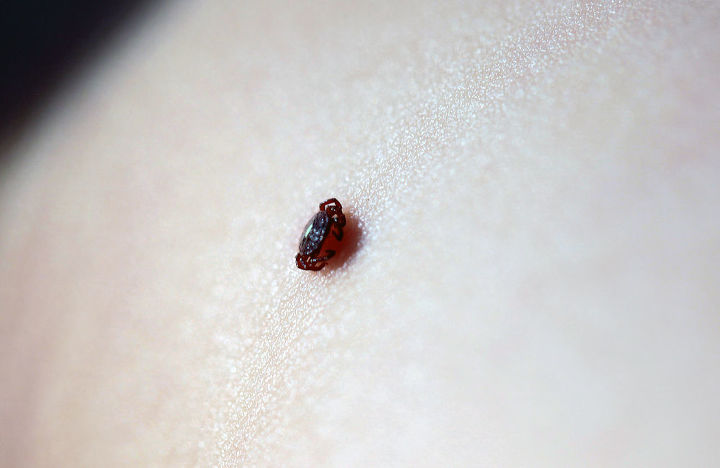
A simple visual inspection at the end of the day.
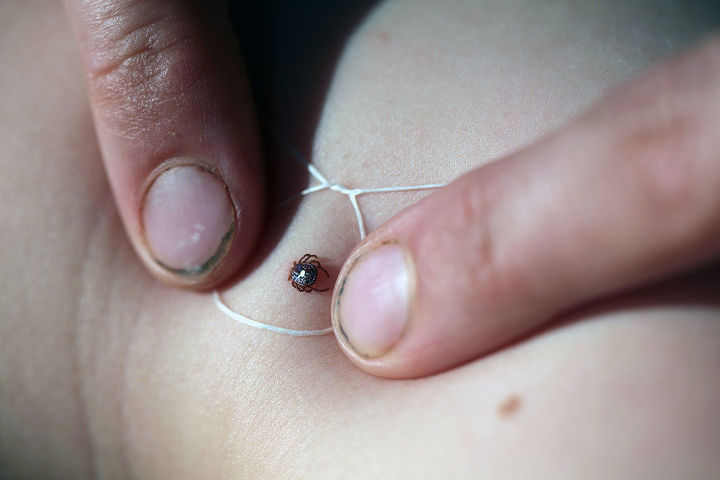
Step 2 – Take some dental floss and make a loose knot. Lay the knot around the tick area and gently tighten the knot making sure it tightens right where the tick meets your body. Once it is in the right position, tighten it down.
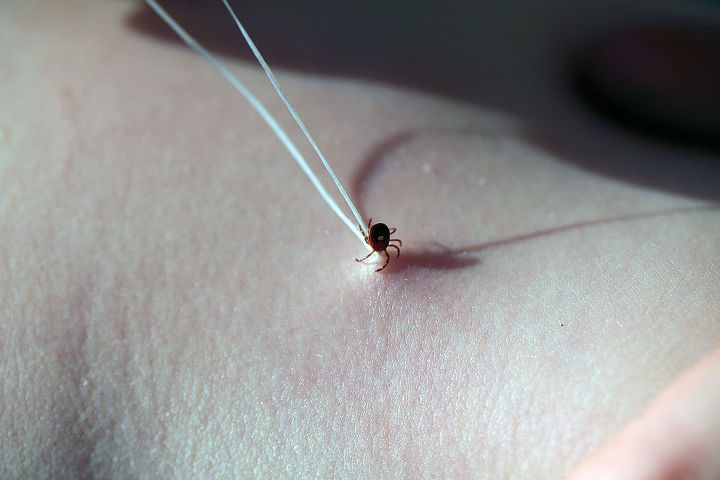
Step 3 – Gently pull on the floss/knot. Generally the tick will release if you just apply constant pressure for a little while.
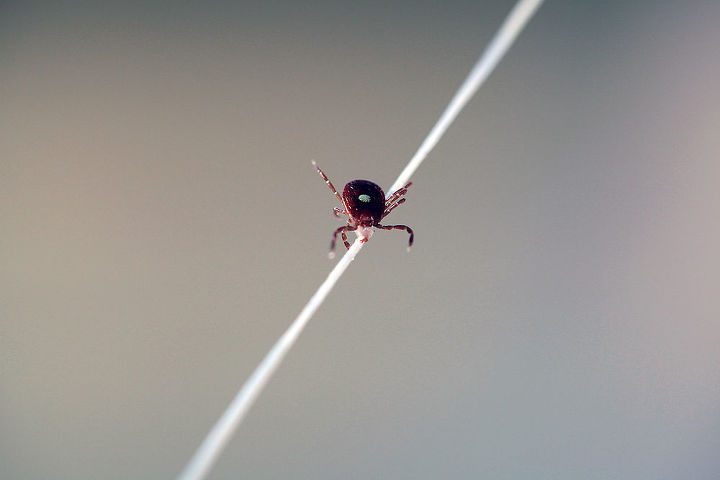
Step 4 – Once you have a live tick on a string, it’s best to put it in a plastic bag with the date of removal on it. Put that bag in the freezer to preserve the tick. This is in case your health turns and you need to get the tick tested for the various parasites or bacterias.
The tick in the photo is completely alive. Notice the knot tied around its “mouth” area.
Enjoyed the project?

Want more details about this and other DIY projects? Check out my blog post!
Published June 24th, 2013 8:58 AM
Comments
Join the conversation
3 of 114 comments
-
 Amy
on Jun 12, 2023
Or...pour alcohol on the tick, the tick dies, releases, and then you can keep it wherever you want! Works on animals as well!
-
-
 Ham121402009
on Aug 30, 2024
I’ve used a tiny dab of vassilene on the tick & it will back out as well. Amazing ideas friends. Ty for the info. I am surrounded by trees & thick woods behind my home. 😊
-









Frequently asked questions
Have a question about this project?
i'm moving to an area with ticks and know nothing about them. thank you. i will be living alone, can this be done on one's self? with one hand, i mean? if i were to get a tick on my arm, i'd only have the other arm to work with
How do you apply this technique if it has its legs also embedded?