Five Gallon Bucket Patio Table

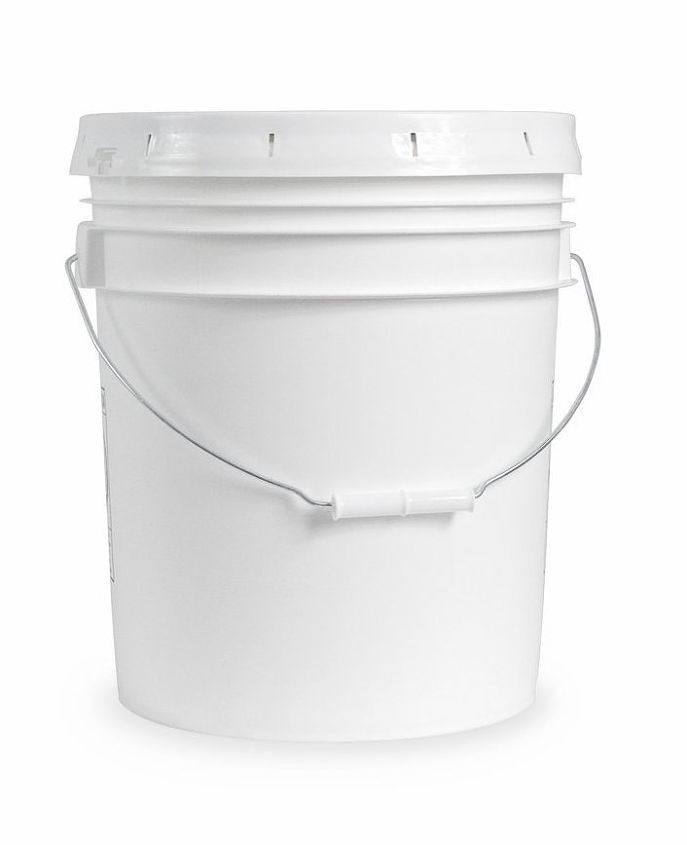
I wanted a little side table for our front deck but as usual did not want to spend any money. What to do? Look around all our STUFF and figure something out using a five gallon bucket, paint and Dollar Store glass marbles
We removed the handle and spray painted the bucket blue, then used a nail gun to attach scraps of pallet boards left over from the pallet planters we made/are making.
I painted the boards blue then added a glass microwave plate that was the perfect 15" diameter. Hmmm, this project needs some BLING!
I crashed my stash for Dollar Store glass gems and a tube of silicone caulking.
Heeeey! This turned out nice and blingy! And it was FREE, baby!
More Glass Gem Ideas
Perfect for that spot between two chairs when we visit or just sit in the sun or enjoy the day. Still not sure if the glam style of the top goes with that rustic base but I've got a few other ideas I'm going to try. For now I'm calling this a win win!
PLUS, everything about this little table is waterproof. The glass gems, the microwave plate, the silicone sealer, the bucket and the recycled pallet boards, totally weatherproof. So I don't have to worry about bringing this table inside because of bad weather or the changing seasons. Really a WIN WIN!
Enjoyed the project?
Resources for this project:
See all materials
Comments
Join the conversation
-
 Nina Schultz Nicely
on Mar 24, 2018
I like your idea- am thinking to cut the wood a bit shorter so bucket lid can be exposed. Then Keep bucket upright for storage. Out side of lid can be wrapped with natural color twine/rope, and this rope can also be pressed between the wood slats to hide the bucket. Would also fill the top of the plate with resin, so it would be smooth. Place between chairs at fire pit, use bucket to hold telescoping pit skewers, matches, Pot holders etc... for grill night-
-
-






Frequently asked questions
Have a question about this project?
Did you "fill" the microwave plate with a film of silicone and lay the stones in. Did you cover the stones with additional silicone to seal them in?
did you lay the stones first & then the silicone after ????
I love this, but one question, how do you keep the glass top from falling off and breaking?