DIY PVC Pipe Organizer for Your Shoes

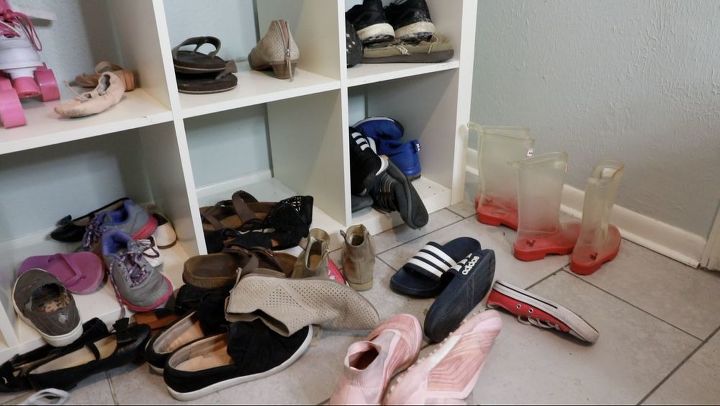
Shoe clutter has always been a problem that haunts our entryway. Between everyone's everyday shoes, sports shoes, boots, and leisure shoes, there's barely any floor space!
I'm always on the hunt for creative ways to stow clutter, so after the last time I tripped walking in the door, the wheels in my head started turning on turbo. What I came up with is an easy, affordable, and attractive enough way to store shoes, while keeping them easily accessible—using PVC pipes!
Learn tons of other hacks to an organized closet, by joining our organizing workshop! Registration ends May 15th, so hurry!
Hometalk Recommends!
I started by assessing the situation. With all the different types of shoes (at varying degrees of cleanliness), it became clear that we would need some storage method that kept the pairs separate from one another but didn't take up too much space.
Also, if I could manage it, something white would blend into the space best.
First thing's first—I measured a few of the pairs to make sure that whatever I built would be the right fit.
I sped over to Home Depot and bought a few 6" wide PVC pipes.
I needed them to be about a foot deep each, so the next step was to cut them down to size.
After cutting the pipes, there were bits of plastic confetti coating everything. I started by trying to wipe the pipes down, but then I figured out this really cool trick! I used a hairdryer on cool and blew the PVC dust off of all of the pipes. A hairdryer is especially handy, because it also helps you get rid of the little shreds clinging onto the inside of the tubes.
Next, I wiped down my pipes so that I had a completely clean surface before I added my glue.
I used Oatey All Purpose Cement to glue the pipes together. I started by spreading the glue down the bar code printed on each pipe, so that it wouldn't show when the organizer was all assembled.
*Tip: You can also erase the bar code with nail polish remover, if you'd rather.
I glued 3 rows of 4 PVC pipes and then stacked them and glued them together. I waited a full hour of dry time between each step. If you don't allow for the cement glue to dry fully, the organizer will fall apart when you try to set it up.
I stood the organizer against the wall in my entryway and began filling it up with pairs.
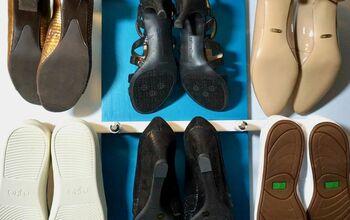
And here it is all set up! There you have it—pretty and practical organization for under $100.
My kids might even be excited enough to clean up their shoes next time!








Frequently asked questions
Have a question about this project?
would these be big enough for adult shoes??
My eyes deceived me I thought the top corner was holding a tella tubby. lol. This idea is so cute
I love it, GOOD JOB !