Reuphostered Shaker Style Rocking Chair Seat

by
Ouina
(IC: homeowner)
9 Materials
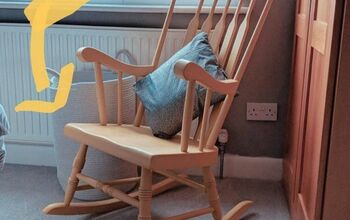
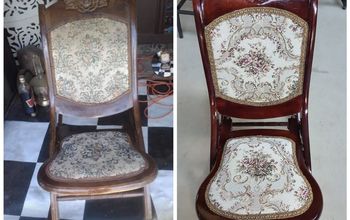
Received an old rocker from my aunt. She said is was her aunt's rocker so maybe early 1900's? The seat was horrible - the foam pad had disintegrated into dust. So....I learned through YouTube videos how to reupholster. Let's hope I learned well!
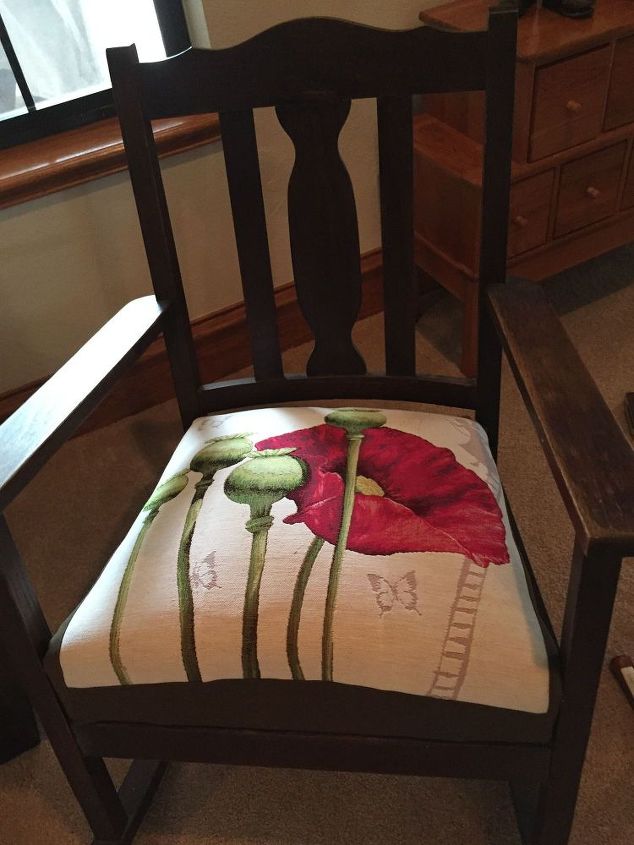
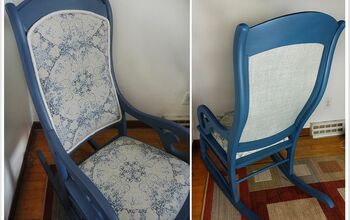
A look at the finished product. I may or may not refinish the chair itself. I kind of like the worn look knowing that my great aunt and aunt have used this chair.
This is the rocker with the old upholstery removed as well as the ties on the springs. Pretty nasty stuff!
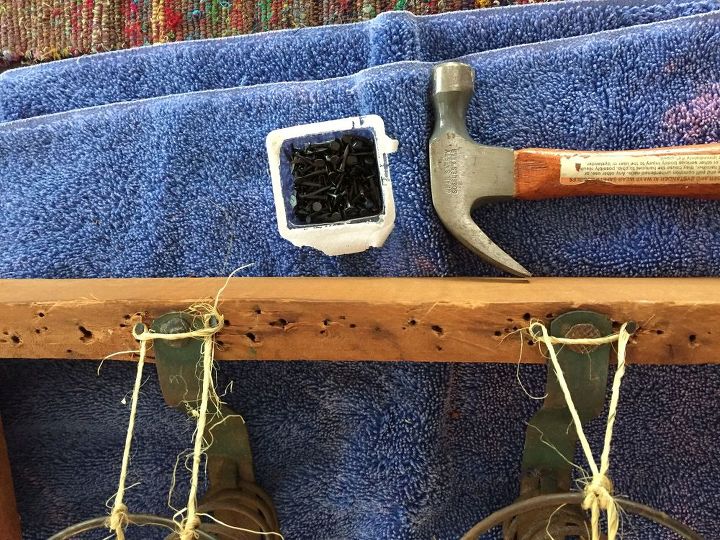
Assembled all the materials and tools needed to complete this job. The new seat cover is a tapestry I found in a "flea" market in Paris! I had this project in mind when I saw it.
I chose not to replace the chair springs. Maybe I should have but they seemed in great condition. I started by using the twine to secure the springs. YouTube is great for this!
Close up of the knots used on the springs. Again, thank you YouTube!
Finished. Ran two across and then on the diagonal.
Fitting the burlap - to cover the springs.
A look at the burlap nailed with upholstery tacks on the underside.
Sprayed adhesive on the foam pad. I cut the foam pad with a bread knife. I didn't have an electric knife which would have made this job easier. Sprayed the right side of the burlap cover with adhesive and then placed the sized foam pad over the adhesive. This helps to hold everything in place. Then used several layers of dacron padding to sort of form a "wedding cake" layered look so that the chair pad would look puffy and rounded. You can see in this photo the layers (upside down). Sorry, I forgot to take photos of the foam pad and dacron from the top!
Then started centering the tapestry (I sewed a band of dark green upholstery fabric to the tapestry so that I would have enough to cover the chair seat and sides.) Look hard and you can see the fabric as the last layer. The hard part next was pulling everything to the underside and stapling/tacking it in place. My husband luckily was around for that part!
A close up of the finished project.
Enjoyed the project?
Suggested materials:
- Tapestry (Paris, France)
- Foam pad (Local upholstery shop)
- Dacron (Local upholstery shop)
- Spray adhesive (Local upholstery shop)
- Twine (Lowe's)
- Tack remover (Local upholstery shop)
- Upholstery tacks (JoAnn Fabrics)
- Staple gun and staples (Husband had it!)
- Upholstery fabric (Local upholstery shop)
Published May 31st, 2016 5:13 PM
Comments
Join the conversation
3 of 9 comments
-
 Sue
on Mar 14, 2021
Your rocking chair is beautiful! Love the fabric and you centered it all perfectly.
-
-
 Anita
on Apr 30, 2024
It looks beautiful. I believe that the one in our basement that was given to us is the same design of rocker. I'm happy that I saw this. It gave me some ideas. I wish I was lucky enough to find some beautiful tapestry, much like yours but I'm sure that I won't. You did a beautiful job on it tool.
-














Frequently asked questions
Have a question about this project?