Painted Tile Countertops and Cabinets with SK

by
SK on Elderberry
(IC: professional)
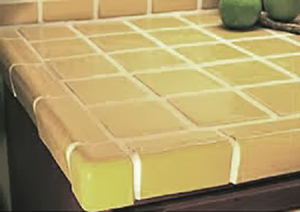
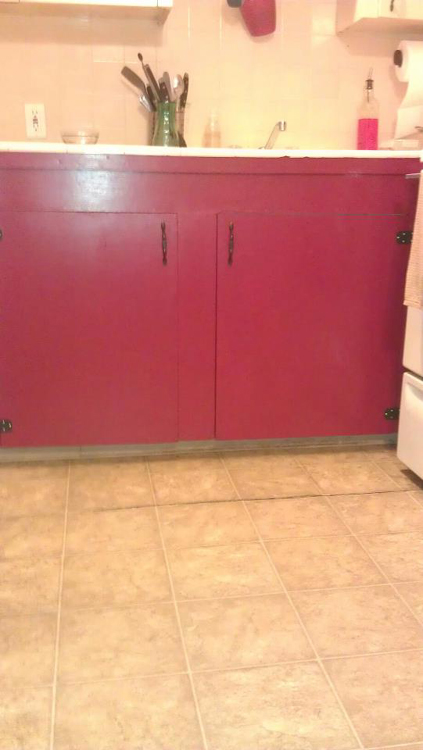
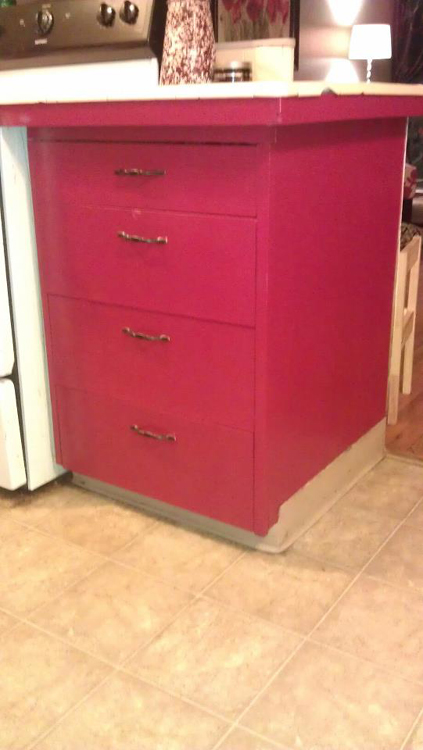
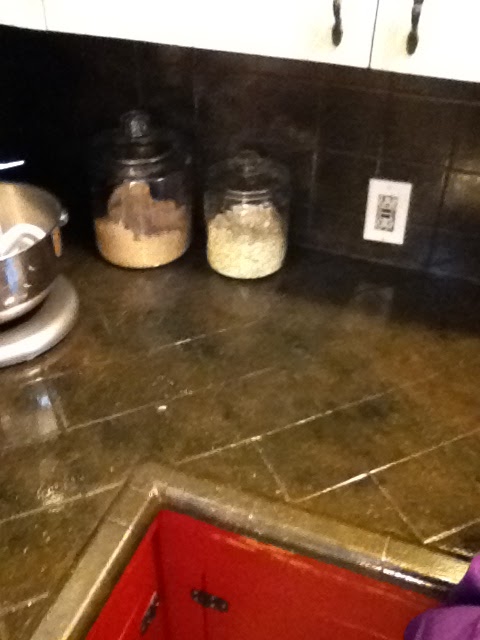
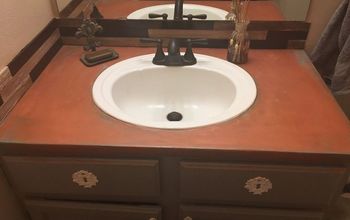
This poor old 1950's yellow tile counters and plywood cabinets had seen better days. It was time for an update and she wanted to paint the cabinets red and cream and the old yellow tile to resemble black and gray granite tiles.
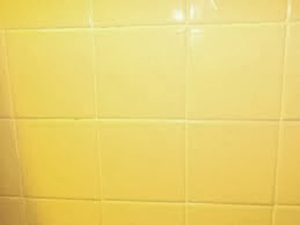
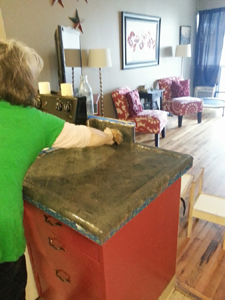
This picture is a representative of the counter. The actual counters tiles are on a diamond pattern, but are exactly the same color.
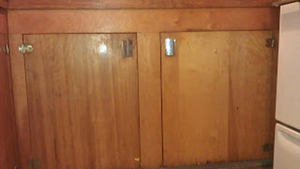
These nasty old plywood cabinets needed to be degreased, sanded and primed before painting.
The hinges were gross. They were removed and degreased then painted with a spray hammered iron paint.
Inexpensive handles were in order.
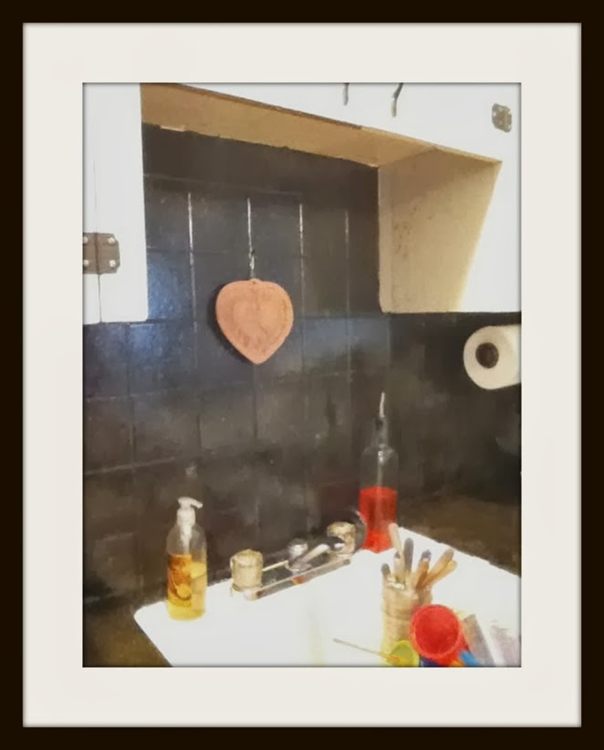
The backsplash grout was in better shape. These tiles were set squared not diamond. We scrubbed the old tile with dawn and vinegar. Then washed with clear water. We sanded all the tiles to give them a "tooth" which is a surface which will grab onto paint.
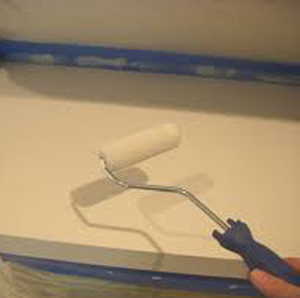
We rolled a good blocking bonding primer after sanding the tiles.
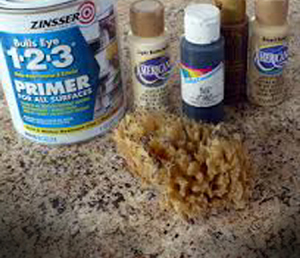
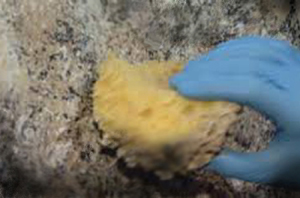
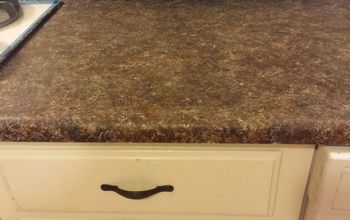
I wet the countertop and then sponged on the different paints never letting my edges dry. This is called a wet-on-wet paint technique. This keeps the edges of the colors blending and much softer. Using a watered down cream paint I flicked spots onto the surface. Then lightly sponged them to lift and soften.
I used a sea sponge and three colors of black, chocolate and taupe from Sherwin and Williams.
I used a semi-gloss clear top coat which is manufactured for hard use. We coated this three times.
Enjoyed the project?
Published June 23rd, 2014 5:36 PM
Comments
Join the conversation
2 of 144 comments
-
 SK on Elderberry
on Mar 25, 2019
Using a good Bonding primer I would do it the exact same way. I sand formica first to give the surface tooth. Something for the primer to adhere too.
Good luck and have fun.
SK
-
-
 Diana Deiley
on Aug 27, 2019
Excellent makeover. You had me when I saw the sea sponge. (I always use a wet sponge and rinse frequently.) The before and after is so amazing. Thank you for sharing your project with all of us.
-









Frequently asked questions
Have a question about this project?
What was your cost to redo your tile counter top? I have a gross old tile counter that desperately NEEDS help. Debating cost to replace or redo?
I am very intrested in the cost, I would like to try this but I think l will go much lighter, I didn't care for that finished color it just looked old. Was the final result the speckled looking picture or the one that looked like dark brown.