


How I Upgraded My Home With Malibu Wide Plank Flooring

This post is sponsored by Malibu Wide Plank.
I was so excited the day my Malibu Wide Plank flooring arrived! I had ordered both engineered hardwood and luxury vinyl plank in coordinating colors to use in this home upgrade.
When I took the engineered hardwood and the luxury vinyl plank and laid them next to each other, I was amazed at how well the colors coordinated.
French Oak Steinhart from Malibu Wide Plank is available in both engineered hardwood and rigid core vinyl constructions. Here’s how I used it to completely transform my home.
Table of contents
1. Installing the hardwood flooring
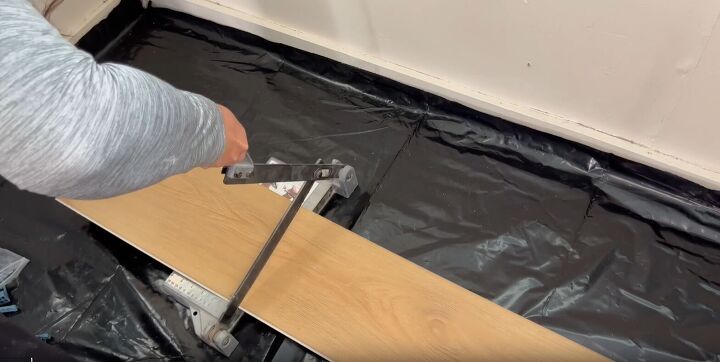
Now I’ve installed click-and-lock luxury vinyl plank on several remodels so far but this was the first time I was looking with engineered tongue-and-groove hardwood flooring.
I had stayed away from it in the past because I was worried it would be too difficult as a DIY project for me. I was happily surprised at how easy it actually was!
The hardwood flooring can be installed in a variety of ways but I chose the floating floor method. This seemed the simplest method to me and it worked well with my flooring type. The engineered hardwood planks were nice and thick and sturdy.
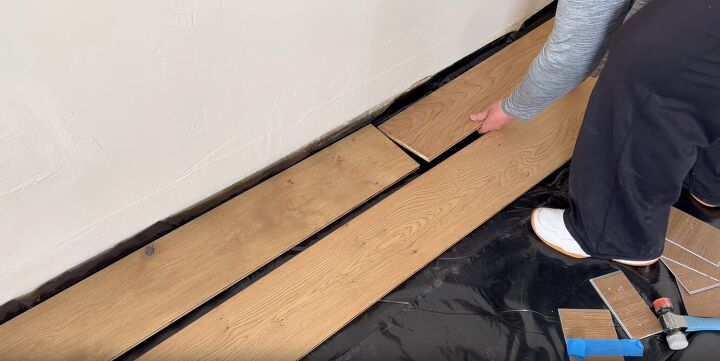
I started installing the flooring along the backwall, starting from left to right. I installed the first row all the way across, making sure to leave the half-inch pacing from the wall.
The floor is installed with the groove-side facing you, which is interestingly the opposite of the traditional luxury vinyl flooring installation. I could see why once I started adding my second row.
I added glue to the length of the tongue side and then inserted it into the groove of the first row. It fit together so easily.
In order to completely close the gap and secure the flooring, I tapped it, starting from the right side of the board and working my way left.
The gap closed right up and, in the cases where I had a bit of glue come up, I just quickly wiped it away with a wet rag.
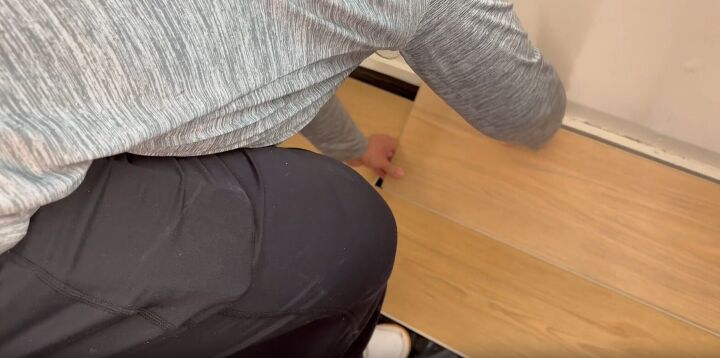
At the end of the row, using a pry bar allowed me to get behind that last piece and tap everything together securely. I can’t believe how easy and gorgeous it was.
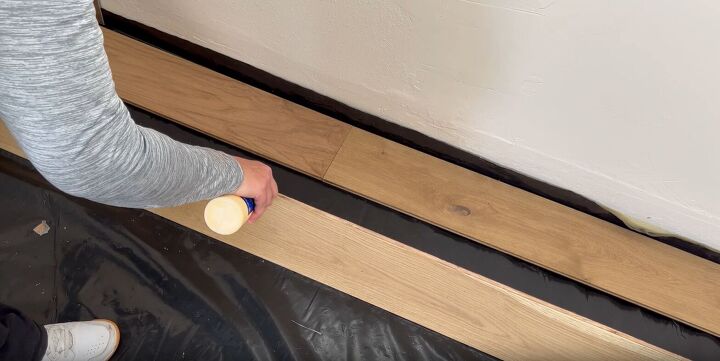
After several rows were installed, I used blue painter’s tape, specifically number 2080, as an additional way to hold everything together while the glue dried.
You’ll want to remove this tape after about eight hours so it doesn’t stay on your flooring for too long.

With the new flooring installed, I went ahead and added some nice, wide five and a quarter inch baseboards to enhance their beauty and elegance.
I absolutely loved how it looked and how it transformed the rooms I was working on. Check out these before and after photos!

2. Installing the luxury vinyl plank flooring
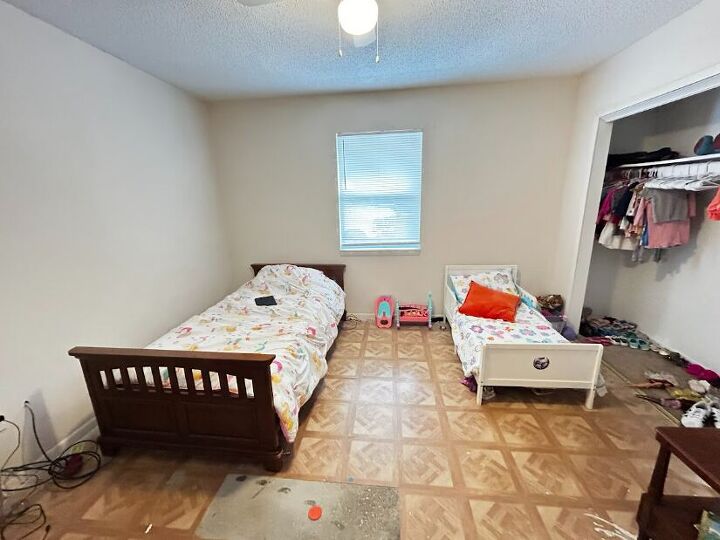
The engineered hardwood flooring was perfect for the bedrooms in this home, but I wanted to use waterproof, stain-proof luxury vinyl plank (LVP) for some of the other areas of the home.
The planks themselves have a nice underlayment attached and the pieces are nice and long.
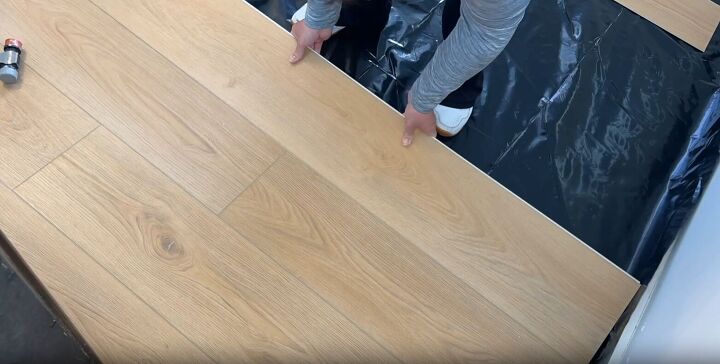
For the LVP installation, I cut the first starting piece. I used spacers for the proper spacing from the wall and set this into place, with the tongue-side facing me.
Then, I added the second piece directly below the first one, installing it at an angle to utilise the click and lock system.
Next, I added the third piece which was actually the second piece on the top row.
This way of starting provided a nice, sturdy starting point for the flooring. I took a few different planks from the boxes and placed them on the floor ready for use.
I did this so that any slight color differences between the boxes would be distributed throughout the room, giving a nice and natural look to the flooring installation.
I do love click-and-lock LVP flooring, it goes together smoothly and doesn’t require a heavy-hand in any way.
On the contrary, if the long side doesn’t go into place and slide smoothly, then I know that I need to readjust.

With luxury vinyl plank, a space can be completed in just a few hours, allowing for a great weekend project or renovation.
I absolutely love the way this transformation turned out in this home. Again, check out these incredible before and after photos.


Easy floor makeover with Malibu Wide Plank
You can achieve this same luxurious look and feel throughout your home by using both hardwood and LVP from Malibu Wide Plank. The look and feel are excellent in every way and was definitely a very doable DIY project.
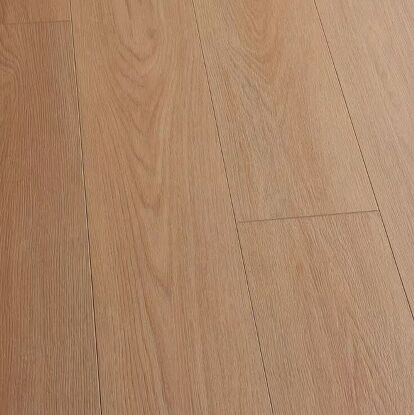
French Oak Steinhart 20 MIL 9.1 in. x 60 in. Click Lock Waterproof Luxury Vinyl
A big thanks to Malibu Wide Plank for sponsoring this post!
Comments
Join the conversation
-
Beautiful !!!
-
Great job.


Frequently asked questions
Have a question about this project?
Do you have French Oak Mountain View (Malibu) ? Where can we buy some to complete a floor? We need 14 boxes and Home Depot is out. Thanks, Sandy