


Bring the Beach Home With These Resin Pour Projects

I simply love beachy decor and today I will show you some of my favorite tricks and techniques to create a stunning beach scene on different household items using resin. Resin is fun to work with and you can create stunning visual effects with just a few products. I’ll show you how to apply the same wave effect to three different items; a serving tray, coasters, and a canvas. Feel free to use this technique on other household products as well. Follow my step-by-step guide to learn how to do it yourself.
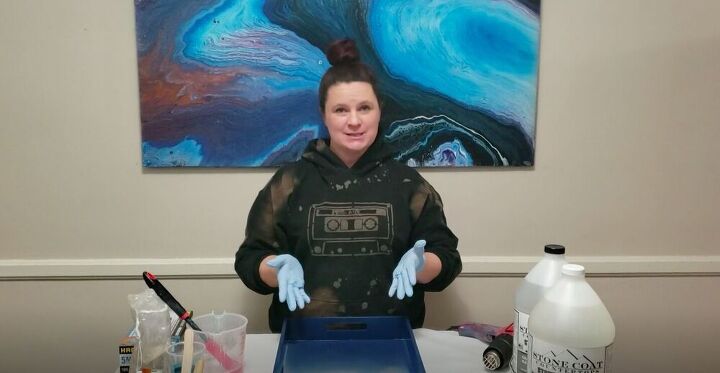
Tools and Materials:
- Serving tray
- Primer
- Paint
- Stone Coat Countertops Epoxy (I chose a countertop epoxy because it’s the most heat resistant)
- Sand
- Alumilite white opaque dye
- Alumidust blue green
- Alumilite ocean blue dye
- Gloves
- Heat gun
- Coasters
- 10”x20” canvas
Stormy Seas Serving Tray

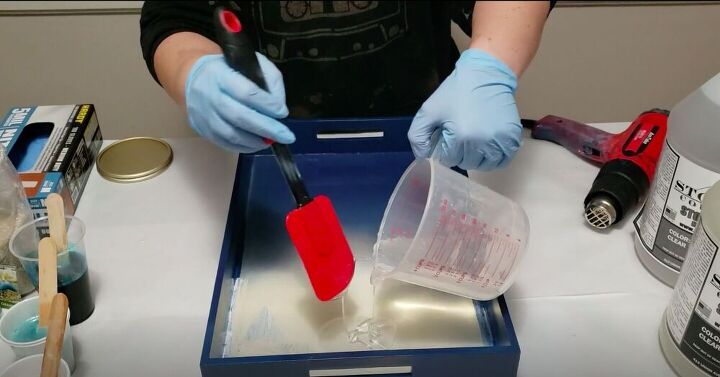
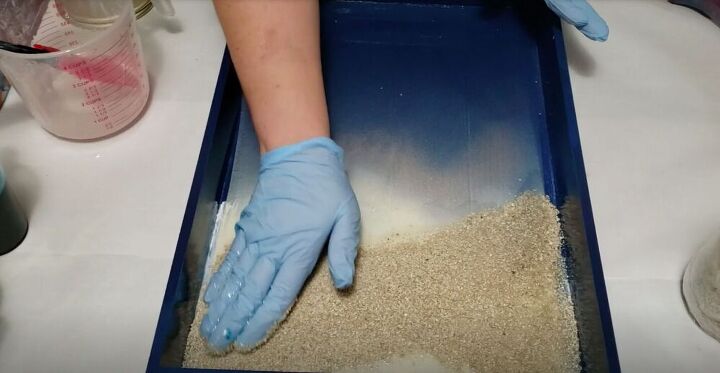
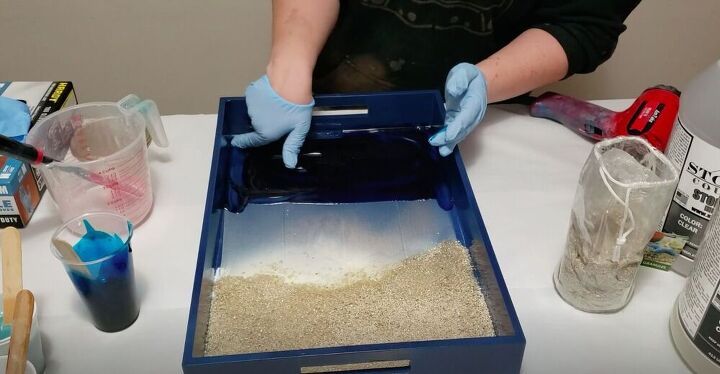
I prepped my serving tray prior to this tutorial by painting it with primer and spray paint in a white and blue design to serve as the background for the layers of resin I’ll be adding. I poured a bit of resin over the side of the tray that I had painted white. Then I added some sand on top of it. Make sure to do a thin layer as you’ll only be adding one top coat of resin once this dries. Once I was done with the sand I changed to new gloves so as not to accidentally get sand in the other parts of my serving tray.
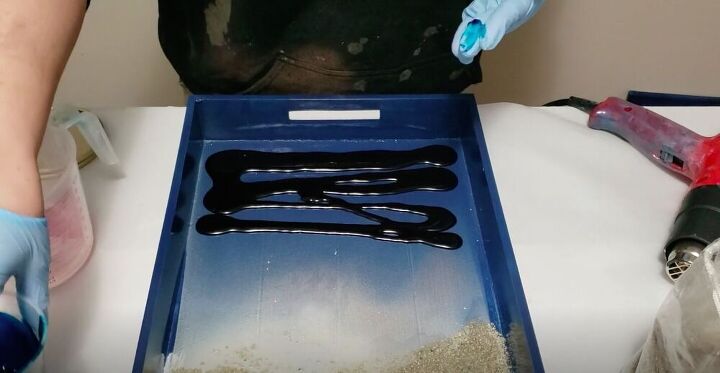
I spread blue dye along the other side of my serving tray. Try to make sure to get every nook and cranny. This is where priming comes in handy, because if I miss a spot here or there it’s not the end of the world as the blue underneath it will fill in.
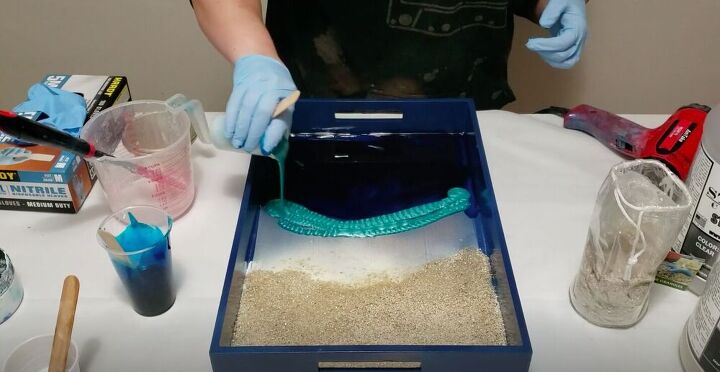
Then I added some blue-green mica powder that I had mixed with resin. Don’t worry too much about blending here, as we’ll blend a bit later with a heat gun.
I spread the color around a bit with my fingers. I simply love these blue and turquoise colors.
Finally I added some white where the sand met the water and wherever I wanted to create a wave effect.
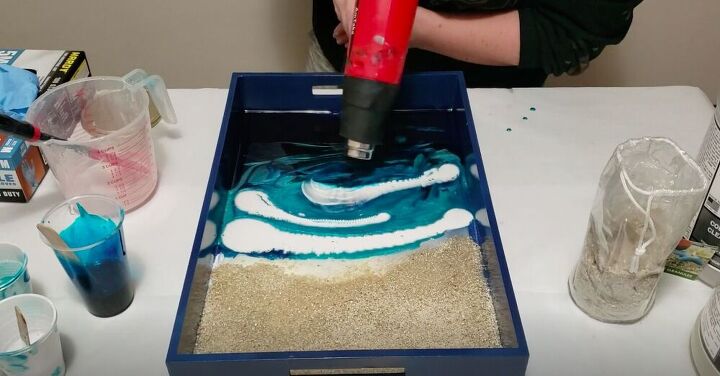
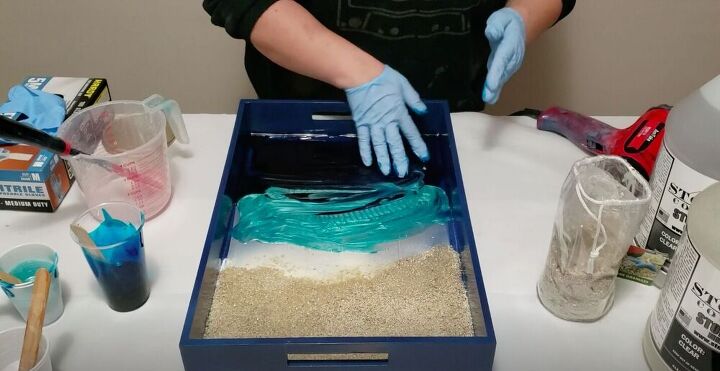
Once I had all of the resin in place, I started to heat it up a bit with a heat gun. Once it was heated up I moved the color around a bit to create some wave effects. It’s important to use a heat gun and not a hairdryer as a hairdryer won’t give you the same effect.
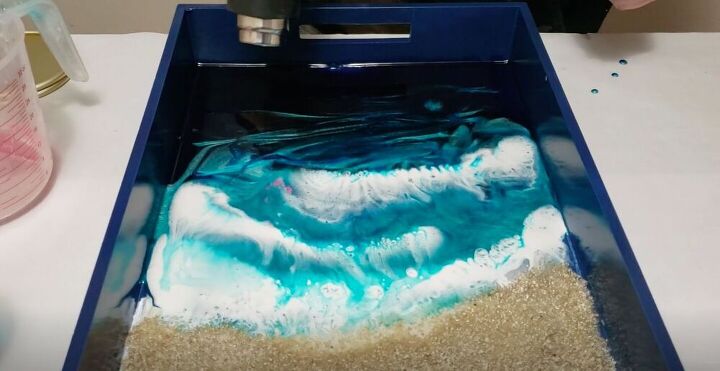
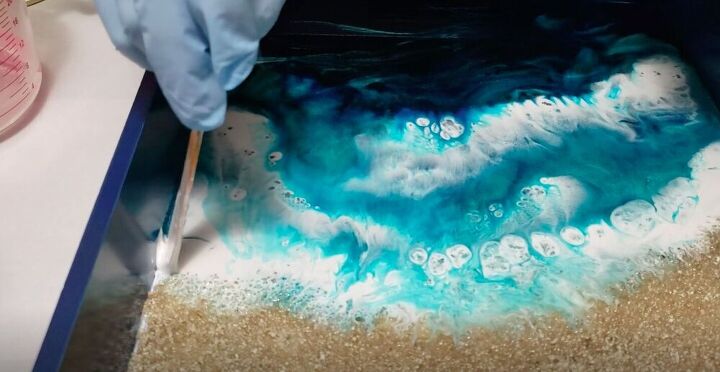
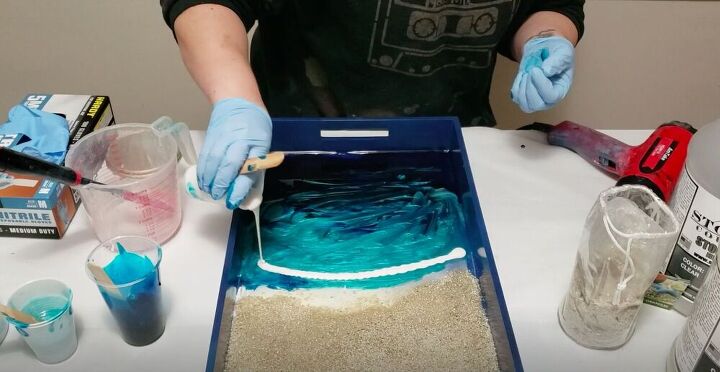
If there are any spots where you want more color, go ahead and add a bit more. I wanted a bit more white along where the water meets the sand.
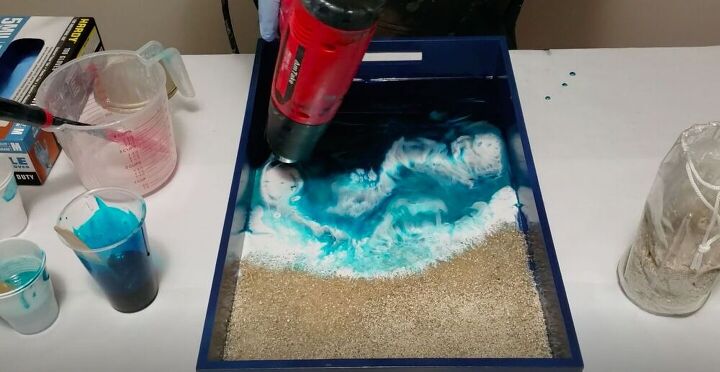
Then I hit it with the heat gun one more time.

And that's it!
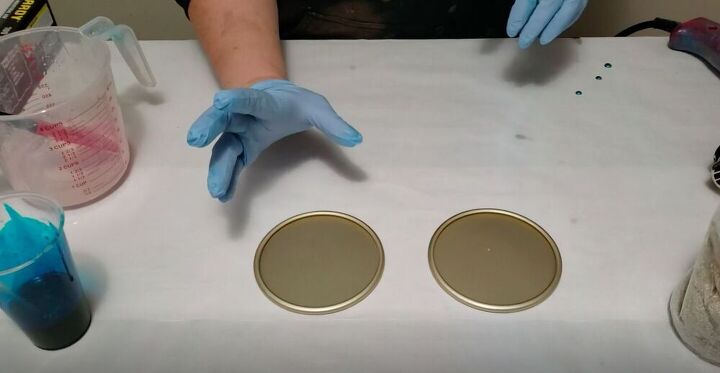
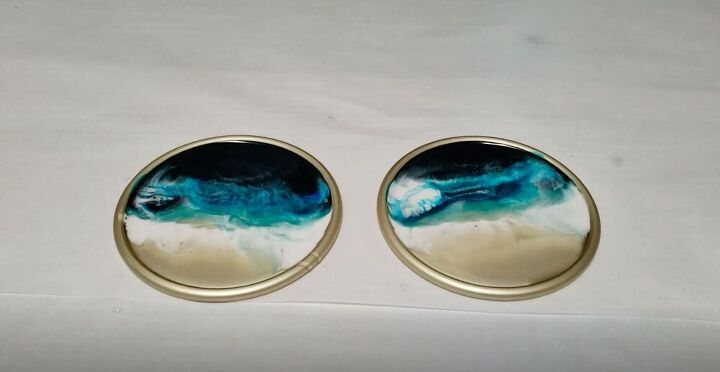
Calming Wave Coasters
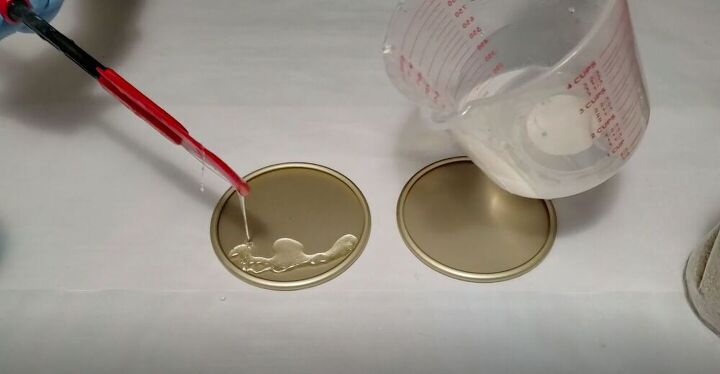
I drizzled some clear epoxy along one side of the coasters.
Then I smoothed it out a bit with my finger.
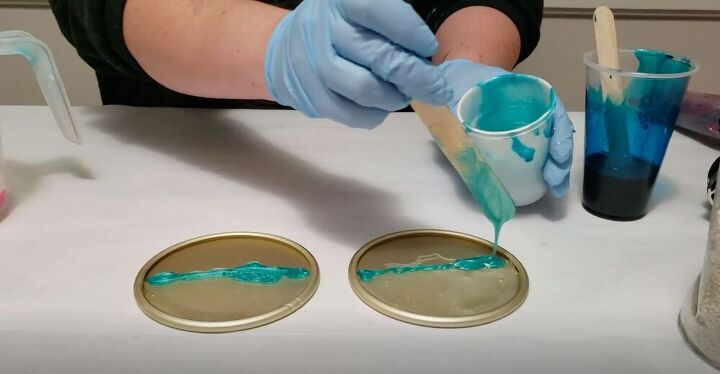
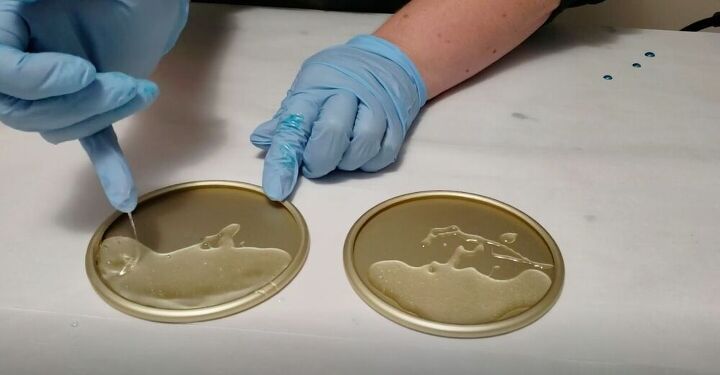
I added colors in the same fashion that I added in the serving tray project. I specifically used the counter epoxy because it is made to withstand heat, which is great for coasters.
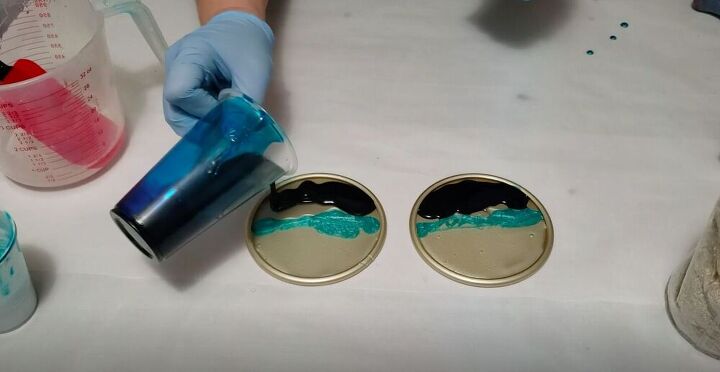
Using a popsicle stick I filled in any bare spots.
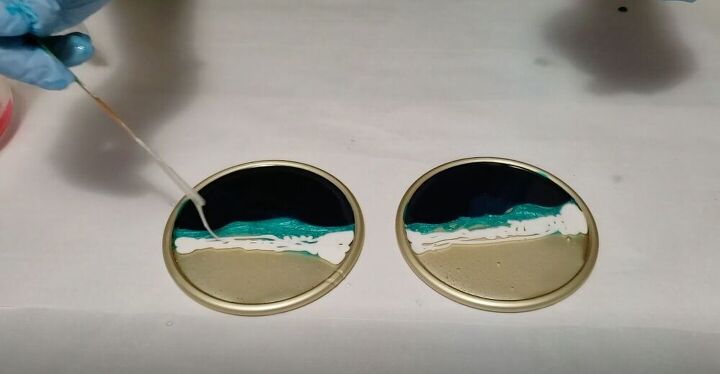
I then drizzle a tiny bit of white epoxy where the turquoise met the clear epoxy.
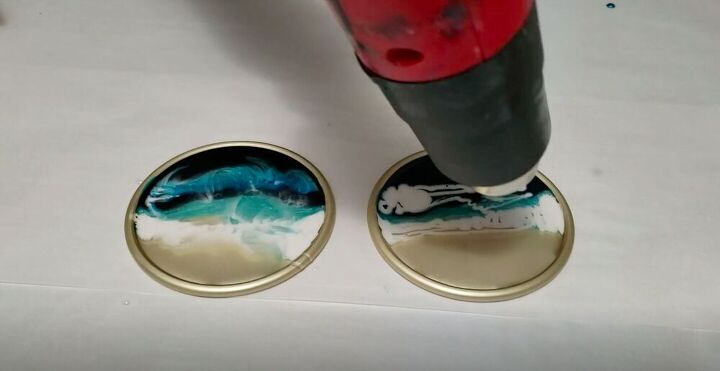
Then I took a heat gun and moved the color around a bit. There are attachments that you can get to better direct the heat in smaller projects like this one, but I find that mine works just fine without any attachments. I moved the color around until I was happy with how it looked. Also, because I used a heat gun to move the color around I didn’t need to use a torch to get rid of bubbles as the heat gun had already done the work.
Soothing Beach Scene Resin Art

I painted a 10”x20” canvas with blues, whites, and creams to set a base for the epoxy beach scene I wanted to create.You can use gold resin for the sand, but I prefer for the color to come from an under-layer so I painted the sand with brown and cream paint.
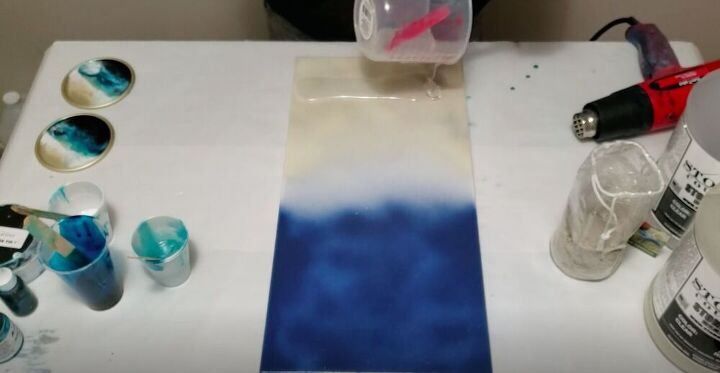
I poured clear resin over the sand color and then spread it out with my hands. If you want to add real sand feel free to do so.
I made sure that the sides were fully covered as well. Resin is self-leveling so you shouldnt have to worry about any dipped or raised spots.
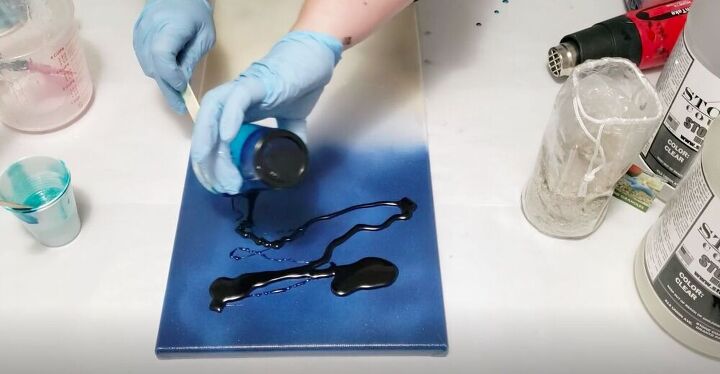
Then I added a dark blue resin to the top of my canvas where the water would be and spread it around with my hands.
Tip:
When working with resin on canvas there are a few things you should do beforehand to make sure that it works well. Make sure to prime the canvas first. It also helps to spritz the back of the canvas with water as this will tighten up the holes in the fabric, preventing the resin from seeping through.
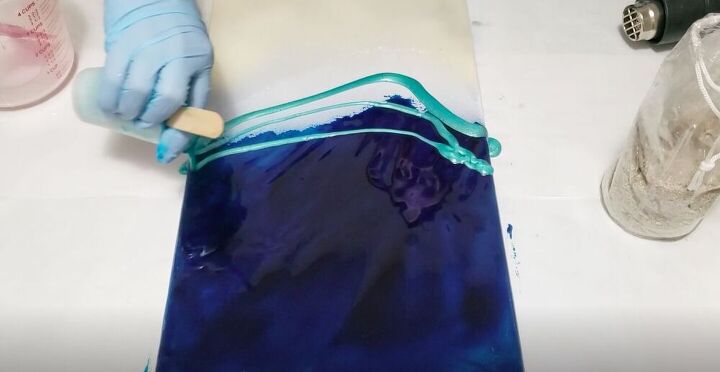
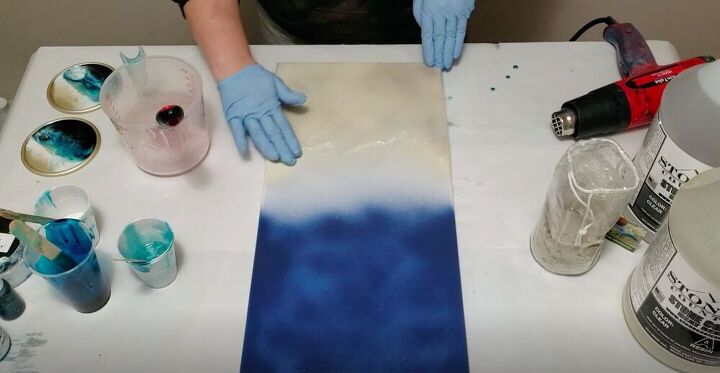
Next I added some light blue resin along the edge of the dark blue resin and spread it around.
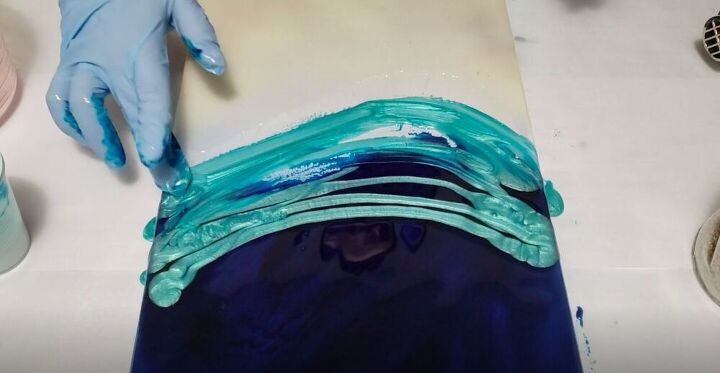
And finally I added a line of white where the water meets the sand. Don’t overdo it with the white because it can end up looking like a cloudy sky instead of waves on a beach if you’re not careful.
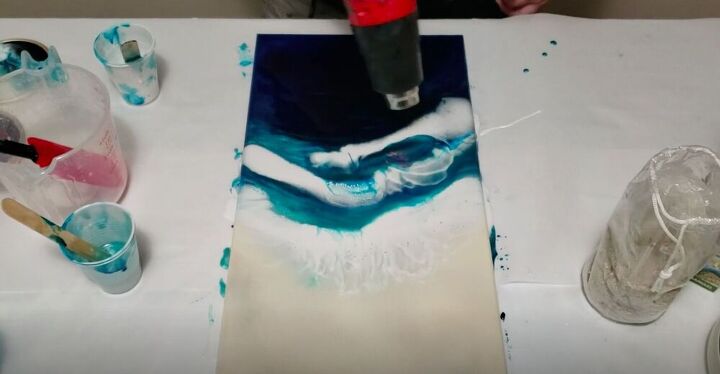
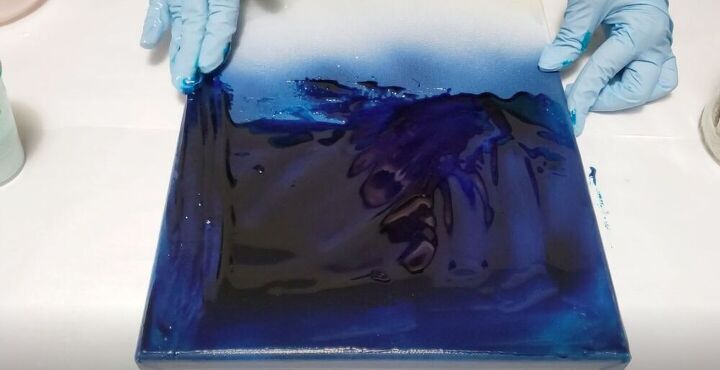
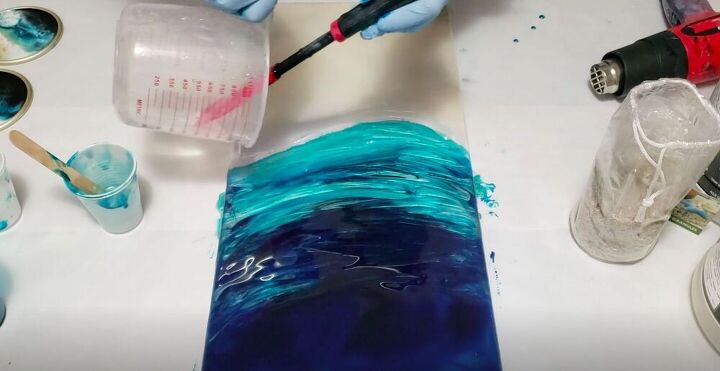
As I showed you in the two previous projects, the next step was to move the resin around with a heat gun. This creates the wave effects I was looking for. I love watching the resin move around. Make sure not to over mix the colors here as you’ll lose the effect. If you added real sand go ahead and add another coat of clear resin to seal everything, however if you didn't use sand there is no need for a clear coat.

And there you have it, three easy beachy resin projects to brighten your home. How would you apply the techniques I showed you in my tutorial? Let me know in the comments below!
Resources for this project:
See all materials


Comments
Join the conversation
-
this effect of water in motion is a powerful Feng shui element. I would place this art in an area that feels hot or too metallic, to create a sense of openness, motion, and breeze.
-
Whoa ~ your work is GORGEOUS! You're very talented and creative. Thank you for sharing AND inspiring!


Frequently asked questions
Have a question about this project?
Is that dye you added to the epoxy a special type? Can any dye be used for any colors?
Very pretty projects. Is epoxy the same as resin, or are you using two different products. Love the colors!