5-Step Nursery Makeover With Chair Rail Picture Frame Molding

Welcome to this step-by-step tutorial for a nursery makeover. In this guide, I'll take you through the process of painting, adding wallpaper, and creating a chair rail picture frame molding to give the room a charming and cozy feel.
Let's dive into the details and create a space that both you and your baby will love!
Tools and materials
- Paint color of your choice
- Wallpaper of your choice
- Wood for chair rail picture frame molding
- Measuring tape
- Saw
- Nail gun or hammer and nails
- Caulk
- Caulk gun
- Sandpaper
- Drop cloths or plastic sheeting
Nursery room makeover
Step 1: Paint
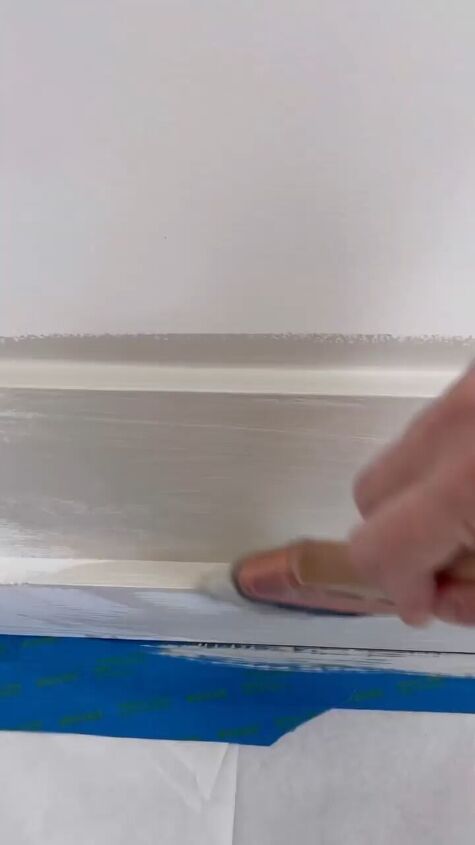
Start by preparing the room for painting. Remove any furniture or cover it with drop cloths. Paint and coat the walls, ceiling, and any other surfaces you want to transform. Allow the paint to dry completely before moving on to the next step.
Step 2: Add Wallpaper
Once the paint is dry, apply the wallpaper to the accent wall or the entire room, depending on your preference. Follow the manufacturer's instructions for the wallpaper application process. This step adds a delightful touch to the nursery.
Step 3: Create chair rail picture frame molding
Measure the desired height for the chair rail and cut the wood accordingly. Use a saw to achieve precise cuts. This molding will add an elegant and timeless look to the room.
Step 4: Install the framing
Using a nail gun or a hammer and nails, install the chair rail picture frame molding onto the walls. Ensure that the molding is level and securely attached. Take your time to create a neat and professional finish.
Step 5: Cover nail holes with caulk
Once the molding is in place, fill any nail holes with caulk. Use a caulk gun to apply the caulk and then smooth it out with your finger for a seamless finish. Allow the caulk to dry completely.
Congratulations! You've successfully transformed a basic bedroom into a beautiful nursery for your baby.
Nursery makeover
The soft color tones, wallpaper, and chair rail picture frame molding have come together to create a cozy and welcoming space.
I hope you and your little one enjoy the new, beautiful space you've created together. Leave me a comment to let me know how your nursery came out.
Follow @kristina.roy on Instagram for more DIY ideas.











Frequently asked questions
Have a question about this project?