Asked on Aug 10, 2016

Drill only went in wall half-way

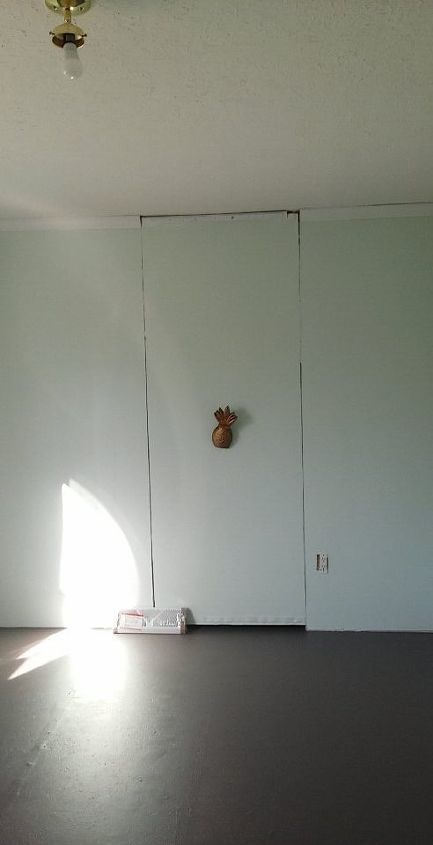
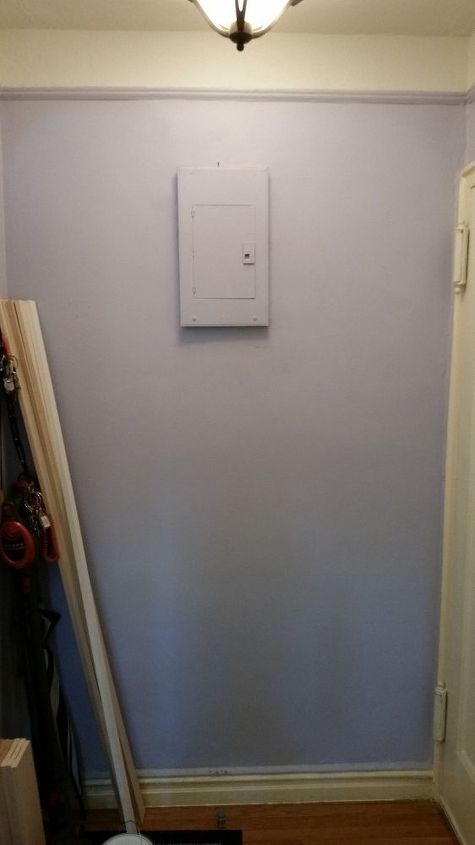
I installed a curtain rod tonight. The end brackets went up just fine. I went to put up the middle support bracket, and the drill hit something very hard and would only go into the wall so far--about half what it should have. The wall anchors wouldn't go in, because they were too long for the short holes, and even the shortest wall anchors I had were too long. I tried shorter screws without wall anchors, and no matter what width screw I used, the holes were just too big, and the screws wouldn't stay in the wall. Without the middle support bracket, the curtain is going to sag really bad. Advice?


Best drill bit set

Handle any project you have with this drill bit set that Amazon reviewers swear by!


  31 answers
  • Madame G. Madame G. on Aug 11, 2016
    We've had this problem so many times! We now place our curtain poles high enough to allow for a simple support to be screwed into the ceiling instead of the wall.
  • Jan Jan on Aug 11, 2016
    Maybe you have hit right on the head of a nail in the architrave??? Try moving a bit to the left or right... Hope this has helped.
  • Lesley Lesley on Aug 11, 2016
    I think you may have hit the lintel above the opening, this could be made of steel or possibly reinforced concrete. The end supports are probably just beyond where the lintel reaches. I suggest still using the holes you have made but you will need to cut down the rawl plugs (what we call anchors here in the UK.) and then whichever length screws will fit. I had this self same problem when putting a curtain pole up over my french doors. Although the central support wont be as deep as the end ones, I found that didn't matter. It was still enough to stop it sagging.
  • Jennie Lee Jennie Lee on Aug 11, 2016
    Lesley probably has the best idea, but here's another, in case it's useful: fill the hole(s) that wouldn't go in far enough with some type of filler, let it harden, then re-drill them with a smaller bit, so you can use smaller screws.
  • Sophia,M.,McConnery Sophia,M.,McConnery on Aug 11, 2016
    Just move your support wall anchors!
  • Lynne Webb Lynne Webb on Aug 11, 2016
    Good advice from Jan. Depending on where you live, your windows may have some sort of metal casing as support. And, the anchors to the sides are missing it but the one at the top is spot on. My daughters home in FL has metal strips everywhere instead of 2X4's. Hanging pictures can present a problem. So, if you've hit metal, use a drill with a bit designed for it and install with metal screws instead of wood screws.
  • John Inacio John Inacio on Aug 11, 2016
    Don't know if anyone else mentioned this, but there could be a metal plate under the sheetrock to protect either wiring or pipes that could be running through this area
  • Johnchip Johnchip on Aug 11, 2016
    Metal. I would first try using a metal drill the drill you have is strong enough. Then I would get an awl and 'punch' a hole in it, it may not be very thick.
  • Marleina Marleina on Aug 11, 2016
    You can use self tapping screws, easily screws into steel beams.
  • Betsy Wilson Betsy Wilson on Aug 11, 2016
    Do u really need the center support?
  • Karen Williams Karen Williams on Aug 11, 2016
    We've lived in many different places (in the USA & Europe), so we've learned that you never know what's behind a wall. Best to check your center mark with a small diameter nail (easy to fill) long enough to check depth needed. Masonry or Wood is fine, but I wouldn't drill thru Metal - it could be a simple support or protecting pipes. Move up until it clears, do this for each window & you'll know how high to hang your rods. Side brackets should then not be an issue. Now you'll also know the length your drapes need to be. If you don't want to move the brackets on already installed on the sides, use Lesley's tip.
  • Sally-Charles Evans Sally-Charles Evans on Aug 11, 2016
    I had the same thing happen and my super smart hubby attached a 1X2 piece of furring strip and then mounted the curtain support to that.
  • RichandTammy Whiteside RichandTammy Whiteside on Aug 11, 2016
    I've run into that exact same issue! Fortunately dh is way stronger than me and was able to drill through where I was unable. Hope that helps!
  • Michael Morrow Michael Morrow on Aug 11, 2016
    Depending on the age of the home the window frame edge may have a piece of angle iron or a thinner piece of sheet tin angle piece. These were used to protect the edge of the lath and plaster or sheet rock. You will need to drill the metal then use self tapping screws, if it is tin the self tapping should drill them selves through.
  • Margaret Margaret on Aug 11, 2016
    If you have a hole in the hard material that is too big to hold a screw, you might be able to plug the hole with a piece of wooden dowel and then attach your middle bracket by screwing into the wooden dowel. The screw will expand the dowel into the hole and may be tight enough to hold the bracket.
  • Virginia Prestridge Virginia Prestridge on Aug 11, 2016
    YOU PROBABLY HIT A KNOT IN THE WOOD VERY H TO GET THRU
  • Zza9791091 Zza9791091 on Aug 11, 2016
    Fill the hole as tight as you can with bamboo scures used for barbacue or tooth picks and drive screw into hole with the scures or tooth picks make sure hole is as tight as you can get with scures or toothpicks
  • Mark Mark on Aug 11, 2016
    1) Must ask... is the drill spinning in the right (CW) direction? 2) Drill the hole using a 1/8" NEW drill bit for steel. Spin it at maximum rotation speed in a clockwise direction (and push gently. You are likely drilling into a nail or nail head. I promise you will have your hole.
  • Kathy Porterfield Kathy Porterfield on Aug 11, 2016
    I just did this also. The end brackets needed to have the plugs (sorry I can't remember what they are called, installed to hold the screws, as there was only drywall. But, the center bracket was centered on a 2x4 used to frame the window so I drilled into the wood and then then screws went in just fine.
  • Susan E Susan E on Aug 11, 2016
    Try a titanium drill bit. Goes through metal, so if it is a knot, it should go through that, too. The things Kathy is talking about are drywall anchors. They are very handy!
    • See 2 previous
    • Mun9702998 Mun9702998 on Aug 15, 2016
      Leave nothing to chance. I live in a house that was built in 1831 and has gone through many facets of wiring run in places you would not expect.
  • Laura Laura on Aug 11, 2016
    While suggestions I've read so far can be helpfull, some are incomplete and some MAY be dangerous. If you need to put in fillers to narrow and ultimately strengthen the hole, toothpicks can do wonders as can making thin sliver of wood using (very carefully) a sharp cutting hand tool. then use a regular or better waterproof wood glue to precoat the pieces and pack the hole. Be sure to spray PAM, use Vaseline (sparingly) or any other parting agent on the screw you intend to use being sure to insert it BEFORE the glue dries. This will insure reinsertion later and provide the maximum pullout strength. NOTE: placing pencil vertical and horizontal lines around the desired location point is always a good idea when creating an attachment point in this manner. A simple wipe with a damp cloth after the screw is inserted will remove both the pencil marks and any glue that oozes past the hole. If trying to do this over a porous wall covering, use painters tape over the area first to protect the underlying from discoloration /permanent staining. As to the METAL which may be the underlying impediment to drill-bit insertion, STOP IMMEDIATELY whenever you hit metal because there are likely three culprits. The 1st is a nailing plate put there SPECIFICALLY to prevent someone from easily penetrating that area to protect electrical (typically) below (or anything else needing protection). The 2nd would be nail (6, 8 or 16 penny) whose head or shaft will exceed all but dedicated self-drilling metal screws ability to cut threads/penetrate before shearing. The 3rd would be a hardened drywall screw which will dull your drill-bit right away. Additionally of note I add a cautionary note . . . WHENEVER drilling blind into a wall (not knowing what is behind/below the drill-bit) and the debris along the flutes become white with PVC, black with ABS. blue or yellow with poly-vinyl or any other color of a plastic nature, IMMEDIATELY withdraw the drill because what is below should very likely not be penetrated!! In some homes there may be an orange flexible gas line or red fire sprinkler/white potable pressurized water lines. Other flexible water lines (manufacturer dependent) may supply drinking or in-floor heating just to name a few DANGERS lurking below a bit! Routing of these necessary hazards may not always be logical, but sometimes necessity dictates for the builder. So, forewarned is forearmed. I apologize for unintentionally offending anyone in my poor attempt to inform. BE SAFE and happy self-installing!!! PS knots can be drilled with titanium bits (heat) but shaft size has to be increased accordingly for screw bite/penetration. Remember, if you shear off a screw for whatever the reason, the hole is buggered forever without MAJOR substrate work ;-)
    • See 1 previous
    • Branna Branna on Nov 25, 2019

      what do you mean by "if you shear off a screw"? What is buggered forever?

  • Miki Miki on Aug 13, 2016
    Is it possible to move the brace a few inches to the right or left (or would it look odd if its not centered?) If the problem behind the wall is a horizontal problem, it wouldn't help to move it right or left but if the issues is a vertical issue, it might help. Make sense?
  • Margaret Margaret on Aug 15, 2016
    If the centre bracket is moved off-centre to avoid the problem in installing screws in the centre, it will look a bit odd when the drapes are open. When they are closed, the off-centre bracket won't show at all of course. I would recommend getting a second centre bracket and installing the two of them, dividing the rod width into thirds. This will result in an installation that looks good....and it will also be stronger. Since wall anchors had to be used for the end brackets, having two centre brackets will provide valuable structural support.
  • Mlc9631128 Mlc9631128 on Aug 15, 2016
    I did not read through all of the answers so I'm not sure if anyone said this. I have used a shorter screw and cut a plastic wall anchor to a shorter length.
  • Mun9702998 Mun9702998 on Aug 15, 2016
    Use a 3" metal plate that can easily be purchased at any hardware store a, paint it the wall color and use it to spread your load out to the side where you should be able to mount using 2 outside screws and then mount your bracket to the center.
  • Virginia Prestridge Virginia Prestridge on Aug 16, 2016
    YOU CAN ALYS TRY ID NAIL TO HANG IT NO SCREW OR NAIL NEEDED
  • Debra Lynn Kime Venezia Debra Lynn Kime Venezia on Aug 24, 2016
    Sorry it's taken me so long to get back to you...it took me a week after I posted my question to start working on the curtain rod again (had to work around son's schedule)! I ended up cutting the plastic wall anchors and gluing them into the hole with gorilla glue. Then I waited 24 hours and screwed in a shorter screw and secured it with gorilla glue. Without the gorilla glue, nothing would hold, so it was a necessary step. The screw still didn't go in quite all the way, so I wish I had used a couple of washers also, but my son says the curtain rod is secure. Thank you all for your replies! :-)
  • Libbie B Libbie B on Jun 23, 2021

    That is brilliant! I am glad it worked.

  • Annie Annie on Jun 24, 2021

    Sounds like you found a great solution! Is it still holding up?

  • Lindsay Aratari Lindsay Aratari on Jun 30, 2021

    Glad it worked out! I will have to try this if it ever happens to me

  • Johnavallance82 Johnavallance82 on Dec 16, 2021

    You probably hit the RSJ across the window. Maybe you could stick it up with No more Nails?