How to Create a Picture Frame Around TV for a Stylish Look

Have you ever looked at your TV and wished it blended better with your room’s decor? A DIY picture frame around a TV is a clever way to make your screen look like an art piece, rather than just an electronic device.
Let me show you how you can build this simple yet elegant frame with just a few materials. It’s easier than you think, and in no time, you’ll have a gorgeous frame that makes your TV a stylish focal point.
This post was transcribed by a member of the Hometalk editorial team from the original HometalkTV episode.
Hometalk Recommends!
Tools and Materials
- Miter saw
- Measuring tape or ruler
- Pencil
- 1x4 decorative trim
- Wood glue
- Flat corner braces
- Screws
- Screwdriver
- Brad nailer
- Spackle
- Sandpaper
- Gold paint (or any paint of your choice)
- Velcro strips
Hometalk may receive a small affiliate commission from purchases made via Amazon links in this article but at no cost to you.
1. Measure and Cut the Trim
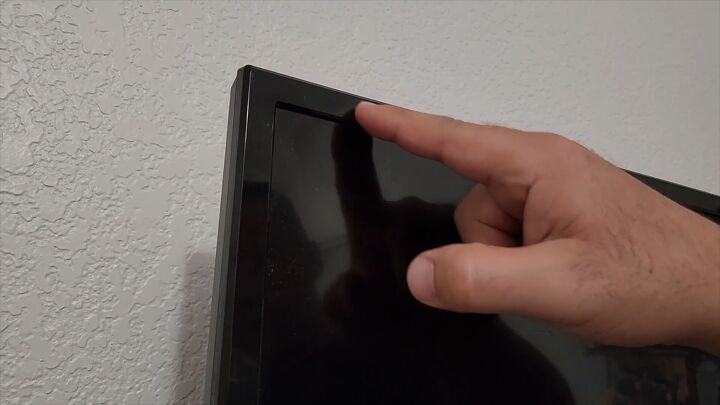
To get started, grab your decorative trim and measure the size of your TV. Be sure to account for any excess space you’d like to include for the frame itself.
Begin by setting your miter saw to a 45-degree angle. You’ll keep this angle for every cut, which ensures consistent corners for your frame.
Start with one end of the trim and cut at 45 degrees. This will be the first corner of your frame.
From the inside edge of this cut, measure the length down to the size of your TV. This gives you the length for one side of the frame.
Once measured, turn the miter saw to the opposite 45-degree angle and cut at the other end of the trim.
This completes one side of the frame.
Take the cut piece and align it with the next piece of trim. This will allow you to match the length perfectly without needing a tape measure.
Use a pen to mark where the next cut should be, and then cut the next piece at the marked line.
This will give you two perfectly matched frame sides, with both top and bottom sections cut to the exact same size.
2. Dry Fit and Glue the Pieces Together
Before gluing, lay out all four pieces around your TV to ensure they fit perfectly.
When you’re happy with the fit, apply a thin layer of wood glue along the edges.
Smooth out the glue to make sure it holds the pieces evenly.
Repeat for each corner.
3. Secure with Corner Braces
Once the glue is set, use flat corner braces to hold the frame together.
Lay a brace down on a corner.
Use a pencil to mark out where each screw should be inserted.
Carefully pre-drill holes to prevent splitting.
Screw the braces into place being sure not to overtighten the screws.
4. Build a Box to Cover the TV Sides
Cut pieces of 1x4 wood to create a box that will cover the sides of the TV. Make sure each piece fits snugly around the TV's edges.
Use glue on the edges of each 1x4 piece to secure them together.
45-degree cuts will ensure smooth corner joints, giving the box a clean look.
For extra stability, use a brad nailer along each side of the box. Three nails per side should provide a smooth, firm hold without causing visible marks.
Apply a layer of glue around the edges of the box frame and carefully place the outer frame on top. Take your time to align it, ensuring a perfect fit.
Add a few more brad nails around the frame to hold everything in place.
Check that all edges are aligned and that the frame sits securely on the box.
Use a small amount of spackle to fill any visible nail holes. Once dry, sand the area until smooth to prepare for painting.
5. Paint and Final Touches
For the final step, apply a few coats of gold paint (or any color you choose). Let each coat dry fully before applying the next.
6. Attach the Frame to the TV
After assembling the frame, place Velcro strips on the back of the TV and the frame. This will allow you to attach the frame easily and remove it if needed. Make sure the frame is aligned with the screen before securing it in place.
More Decorative TV Ideas
How to Build a Picture Frame Around TV for a Seamless Look
Now that your picture frame around TV is complete, you can enjoy a stylish new look for your screen. The best part? It doubles as art when you’re not watching TV!
Building your own TV frame is a simple project that adds an elegant touch to any room. Whether you want to disguise your TV or simply make it a part of your decor, this frame does the job beautifully.












Frequently asked questions
Have a question about this project?