How to Make Inexpensive DIY Light Sconces

by | DIY
Hometalk Recommends!
Check out how we turned vintage lights into functional and stylish wall sconces. Make wireless wall lamps in a few inexpensive and easy steps!
Have you ever had something super specific in your mind but it is nowhere to be found in real life? That’s exactly how I felt about my DIY light sconces. I knew there must be the perfect sconces out there somewhere. I looked at the really expensive ones, the dupes, the vintage, and everywhere in between.
And then…it’s always when you least expect it…I walked around the corner at an antique mall and saw the perfect lights.
I immediately snapped this picture and sent it to my husband, who sent it on to my dad, and the back-and-forth began about how we could turn these into the perfect sconces! They had everything I was looking for. White, chippy, industrial feel, and true vintage. Plus, the size couldn’t have been more perfect for the space.
After some discussion, the guys thought they could definitely figure something out and into my car they went! I just loved them…and still love them…so much! Isn’t it such a great feeling when you’ve hunted for months and the perfect thing comes along?!
No joke, I even had friends watching for sconces for me, whether they were working or not. I knew with some creativity, we could turn them into DIY light sconces!
Let me just insert here: If you’re hunting for that perfect piece, don’t settle! It will come along and it is always worth saving and waiting for.
I got lucky (or blessed!) that these DIY light sconces ended up costing hundreds less than other things I’d found. But sometimes, you have to save up and it’s always worth the wait!
Is there that “perfect piece” you’re always hunting for? Tell me about it in the comments! I’d love to hear because I can totally sympathize!
Now…onto the actual DIY light sconces…
How to Make DIY Light Sconces
Materials We Used:
- Vintage lights (or old lights that you want to repurpose
- French Cleat (Wall Mount)
- Forstner Bit
- Puck lights
- Command Strips
DIY Light Sconce Step One:
Since our new sconces didn’t have a mounting plate, Robb had to re-create one. We found an old piece of wood with enough thickness to hold the light in place.
Once we had our piece of wood, all we had to do was decide how tall we wanted the mounting piece, and cut it to size.
DIY Light Sconce Step Two:
With the wood block cut to size for the wall, we next had to drill a hole to fit the metal tubing. A 7/8″ forstner bit cut the perfect hole to keep the lamp snug in the wood mount.
DIY Light Sconce Step Three:
With both wood blocks cut & drilled, it was time to move the operation inside & start hanging stuff! We love using french cleats for all our wall hanging projects. If you’ve never used them before, they’re a life changer!
To use a french cleat:
- Using a level, screw one half of the cleat into a stud or anchor.
- Attach the other side of the cleat to the back of your wood block (or picture, or mirror, or whatever else you need to hang)
- Rest the cleat from the back of your object on the cleat screwed into the wall–and you’re done!
DIY Light Sconce Step Four:
Once our sconce was mounted, we purchased these wireless puck lights. We used heavy duty command strips to attach the lights in the sconce itself. I love how the lights came with their own remote and various light settings!
No wires, no mess, no fuss!
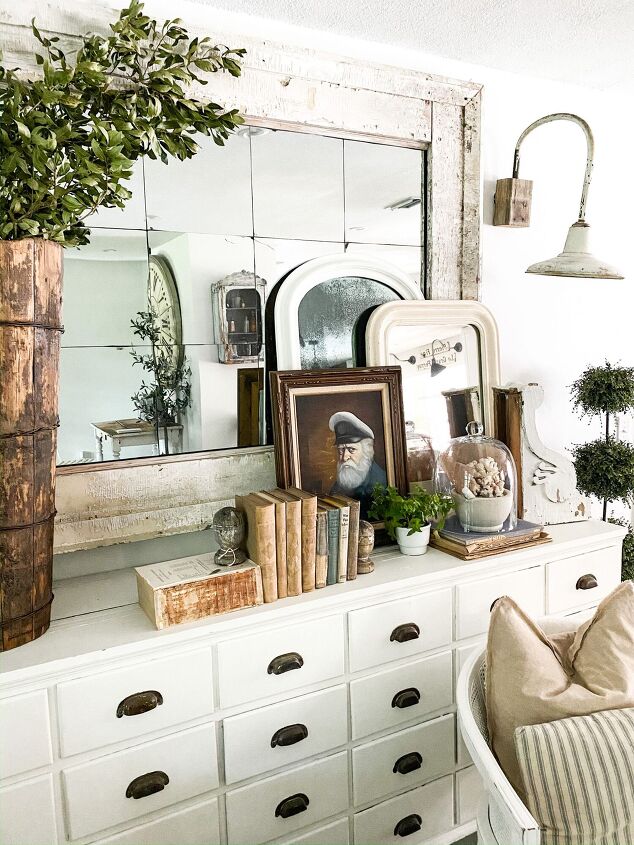
Now that you have your DIY light sconces hung, it’s time to think about what goes under them. I saved up and waited for the perfect piece and we absolutely love how this 10 foot apothecary balances out the large scale of the piano in our music room.
It makes amazing storage and you can read more about how I use it to store my home decor in THIS post!!
In case you’re in the market for an apothecary, I found some that are worth the wait. Prepare to drool over these. Just WOW!!!
Check out these gorgeous (and super functional) pieces:
A gallery wall is also a beautiful option and looks amazing when anchored between sconces. I shared my favorite gallery wall tips and ideas on THIS post!! DIY light sconces are a perfect choice to flank a fireplace or mantel as well. You can find some ideas for mantel styling on THIS post.
Sconces are a great choice anytime you want to “bookend” your wall decor or add some symmetry. While my personal preference is to have asymmetrical decor for my mantel or gallery wall, the sconces add just the right amount of symmetry to balance out the rest of the wall decor.
There is something that I love about the traditional idea of sconces, also, even if you use your own unique touch by making them DIY light sconces!
I hope this gives you a little inspiration as you work on creating the perfect lighting situation for your wall. When you’re out hunting for those vintage lights, keep in mind that there are a lot of creative ways to create your perfect DIY light sconce. If you love the sconces and they have all the elements you need for your space, grab them! You can tackle the DIY challenge!
While your lights may have a totally different look, I hope you’re inspired to get creative and come up with your own way to make those sconces a functional part of your decor!
I’d love for you to follow me on social media! You can find my home decor inspiration on Instagram, Pinterest, and Facebook!
Blessings,
Gallery
Enjoyed the project?
Resources for this project:
See all materials
Comments
Join the conversation
-
-
 Maggie Nesbitt
on Jan 17, 2025
Loved this idea when I first saw it a while ago. I had no task lighting over the kitchen sink and concrete walls made the idea of running wiring a daunting task. So, I rigged puck lights inside vintage sconces after much fiddling with the "guts" of the lights. Now there are rechargeable light bulbs that would be brighter and easier to make this than mess with the puck lights. Rolling a re-do around in my head. LOL!
-














Frequently asked questions
Have a question about this project?