


Duvet Cover Tie Dye

After I had tie dyed my pillow cases, I had to add some colour to my covet cover. If you missed my last project, check it out here: https://www.hometalk.com/diy/decorate/pillows-throws/pillow-case-shibori-technique-tie-dye-44313740
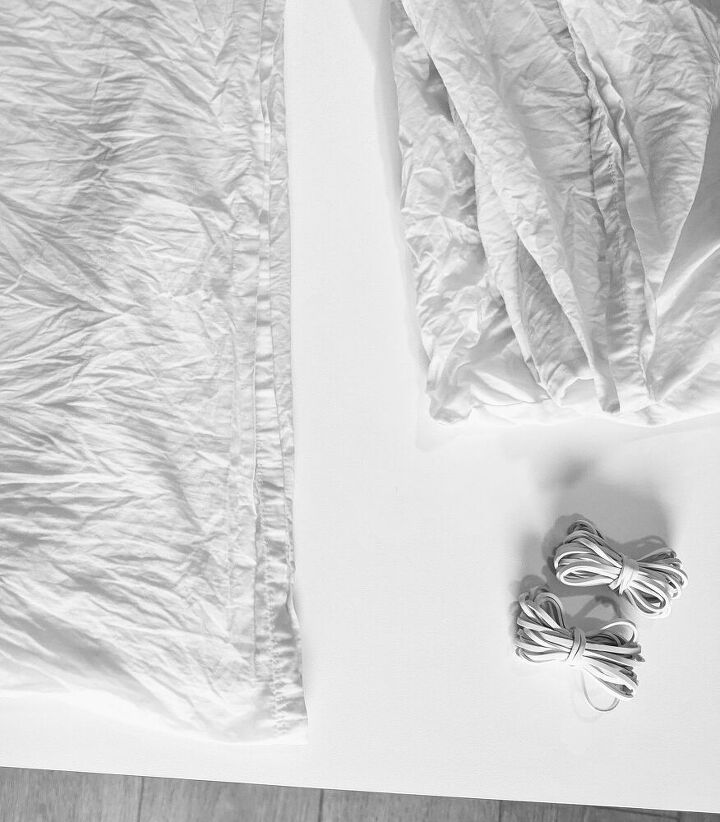
I washed the duvet cover under running water and squeezed out all the water, leaving the cover damp. This makes it a bit easier to control the shape and folds.

I folded it in half, knowingly that it would create a line in the middle of the cover, creating a her/his side.
Then, I removed a shoelace from my husband's shoe (sorry, hubby!) and placed it on the edge of the cover. I made sure it was a dare-blue shoelace, that the colour of the dye would not affect it.
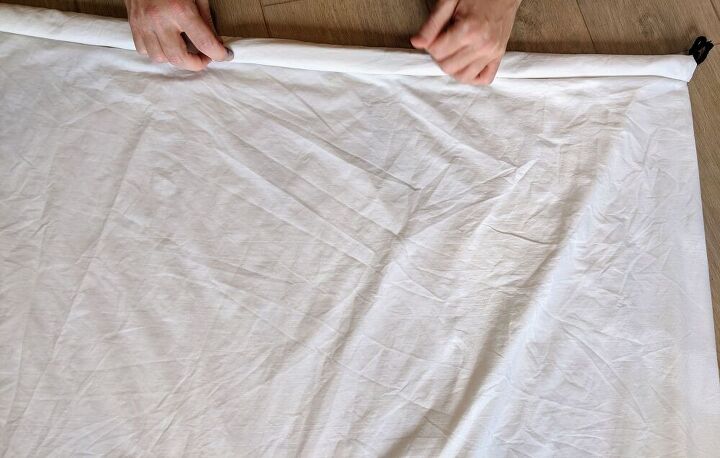
I wrapped it around the shoelace,
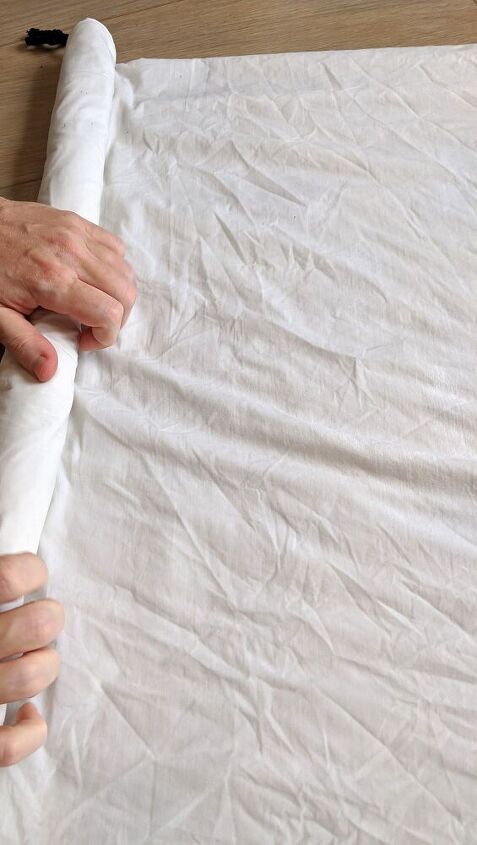
all the way to the end,
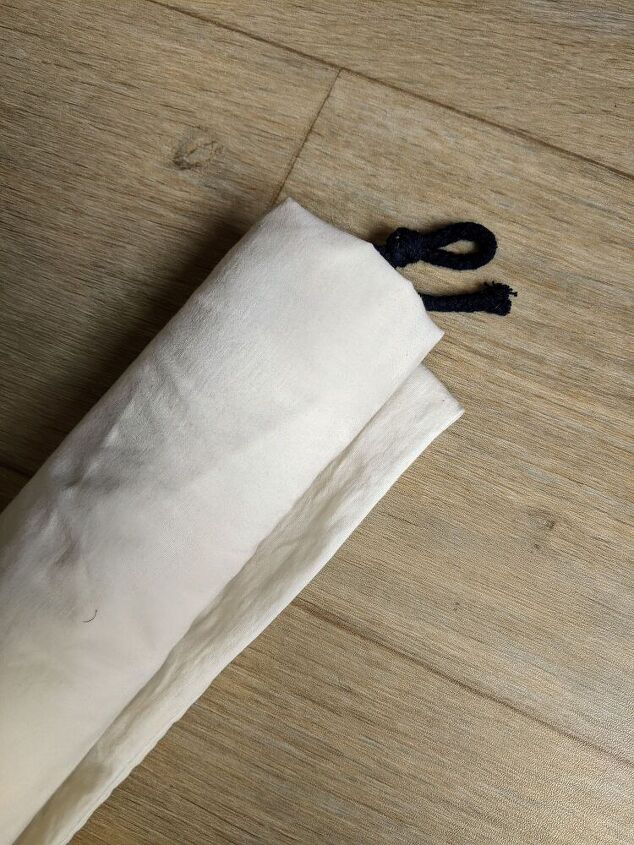
until it looked like a scroll.
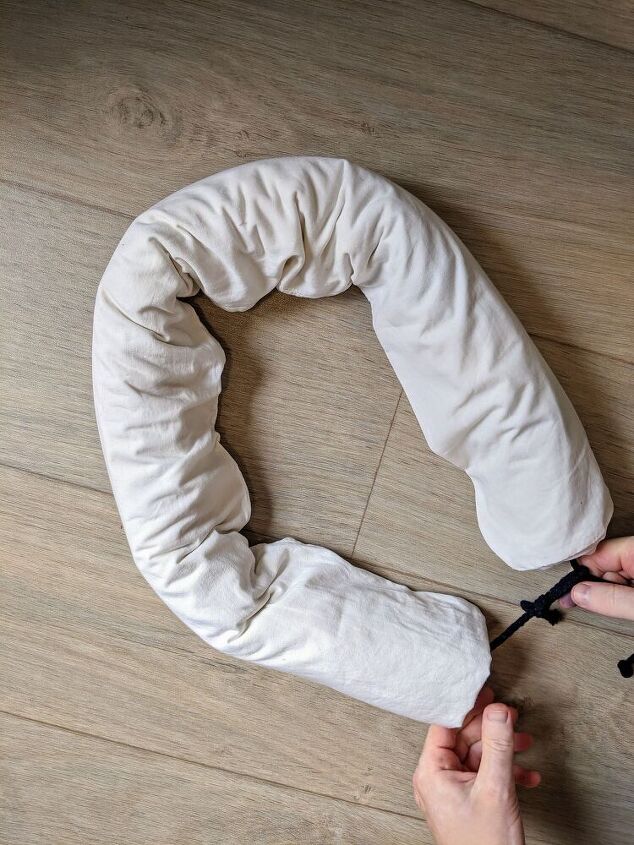
Then, with a great force (and my husband's help) I pulled the shoelace from the edges, trying to create an O shape. I tied a knot at the end.
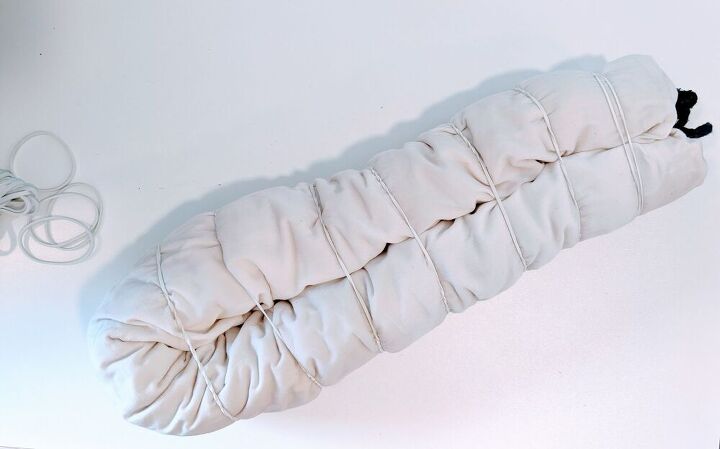
Once I got the O shape, I folded it in half, and added rubber bands to secure the location of the fabric. At the edges I had to use a bigger rubber band to make sure it is tight enough.

My tie dye box from Amazon.
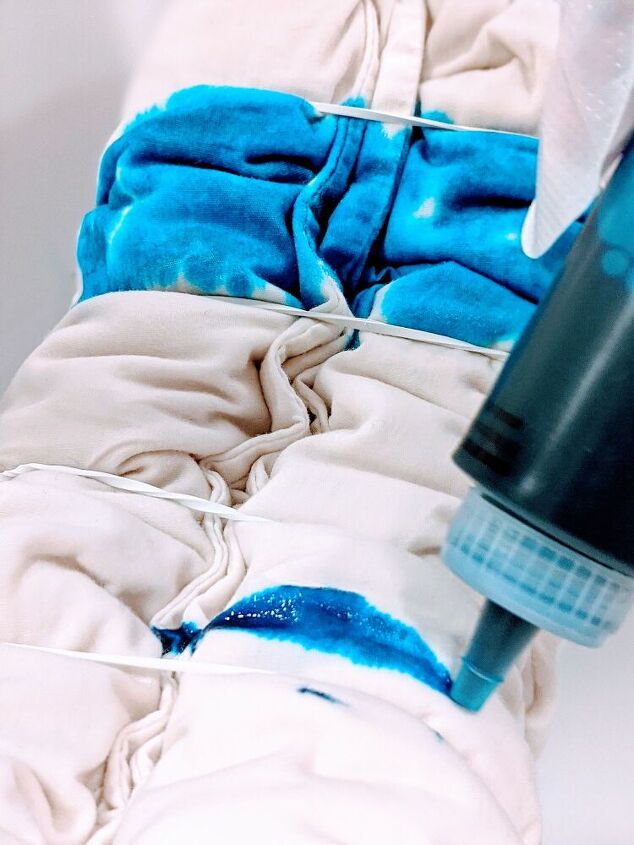
Then, I mixed the tie dye. It comes in a tube with the powder already inside, all I needed to do was add water to the marked line. I shacked it well, and wore gloves and an apron to cover my hands and clothes. Everything this colours are touching, stays there forever. I placed the cover in a ceramic sink, as it is easy to clean and remove the paint from.
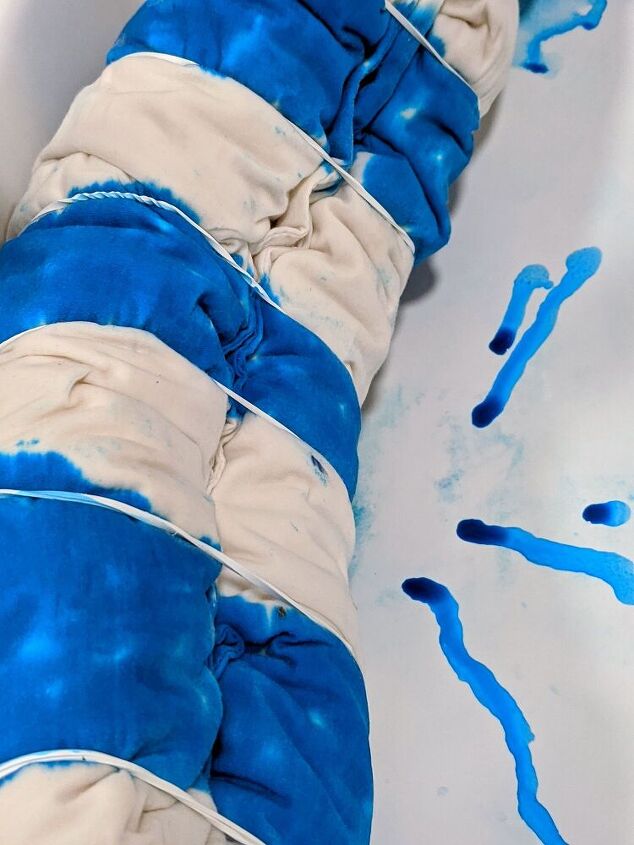
I created a zebra strips effect.
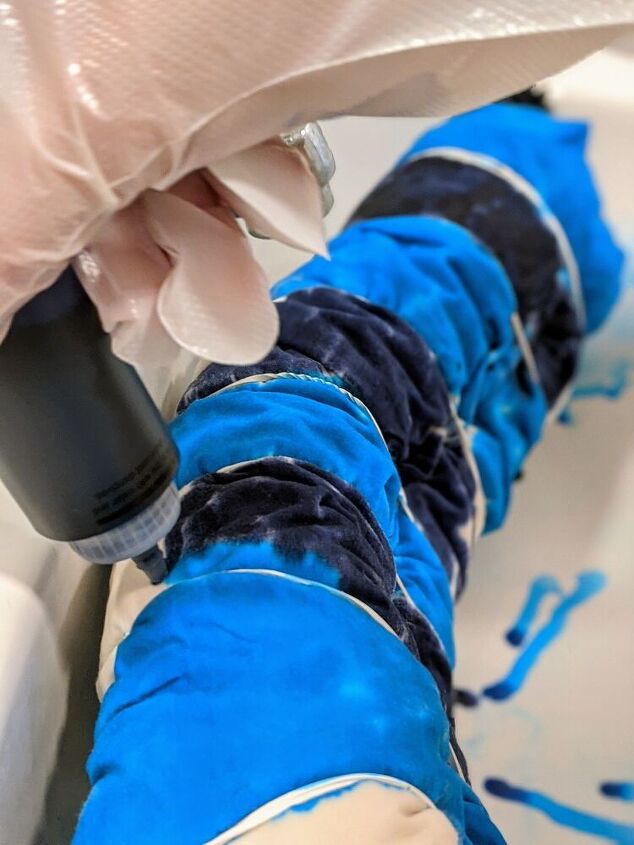
Adding light blue to one and dark to the other.
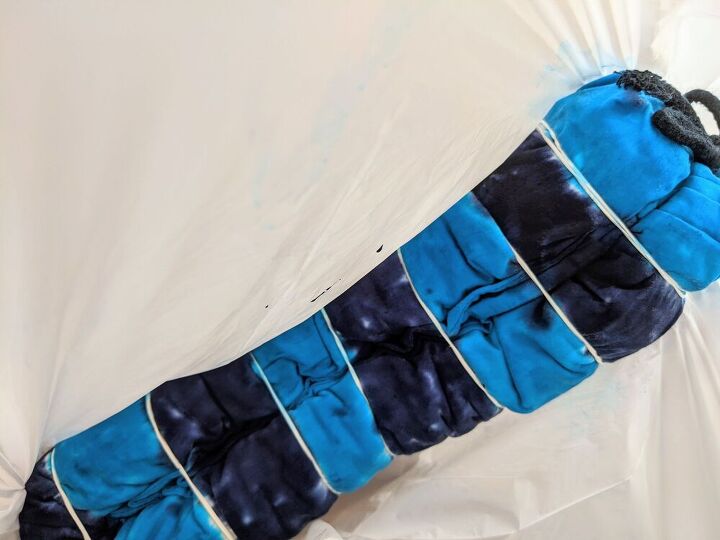
Once all faces, edges and shapes were covered with colour, I bagged it for 6 hours. I didn't seal the bag, to allow air to come in, but it wasn't completely open either to allow it to dry from all sides at the same time.
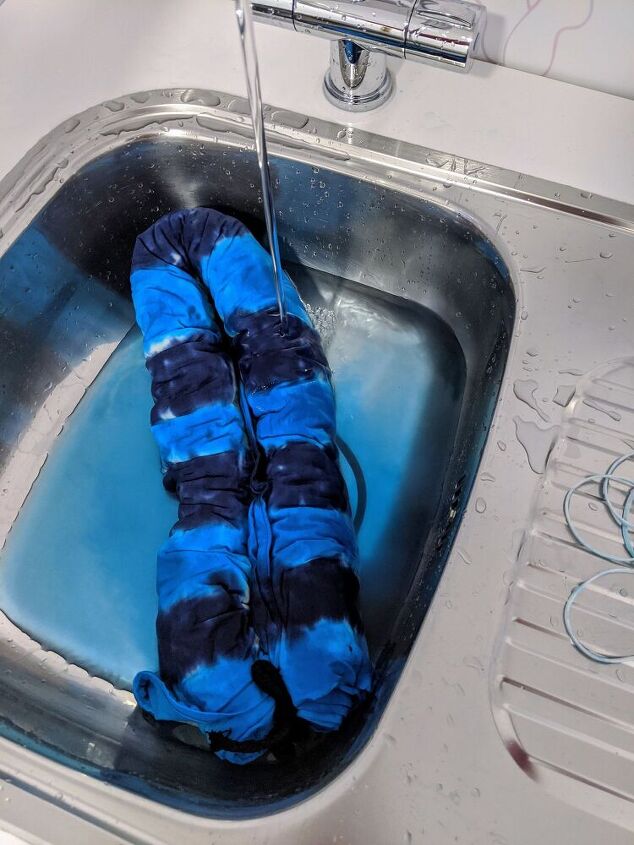
After long 6 hours, I removed the rubber bands and left it under cold running water for about 20 minutes, rotating it and shifting it every couple of minutes. This stops the dye from evolving.
After that, I washed it with warm water, until the water were clean. Then, I squeezed everything out (that took all my energy!) and cleaned the sink and the table from the splashes of colour. I squeezed it until I was sure the water coming out are clean, then I placed it in the washer.
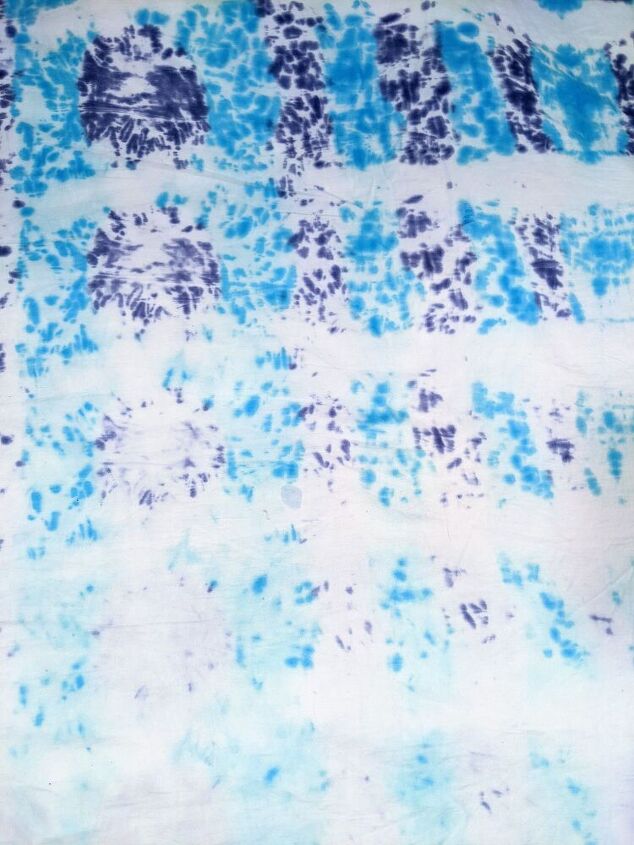
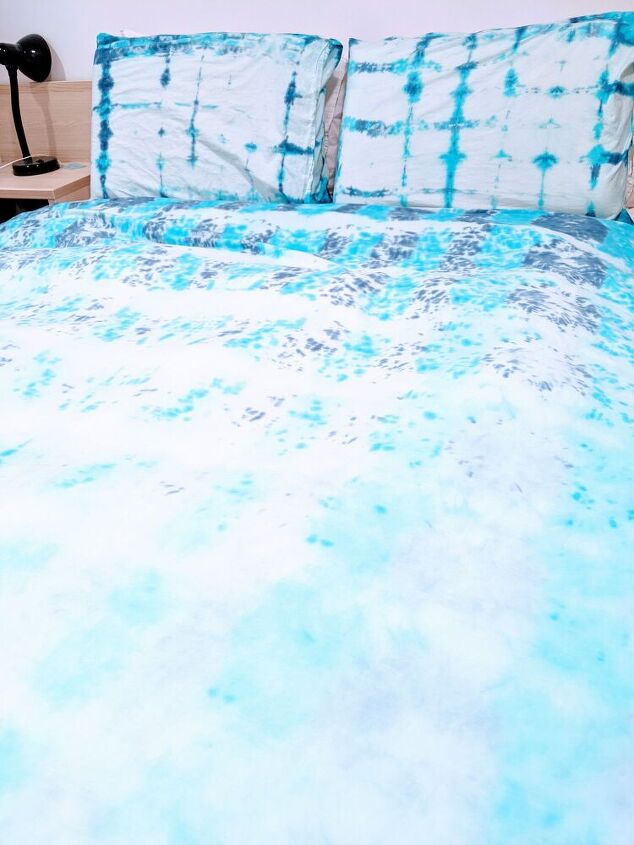
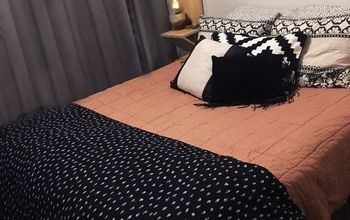
How cool is the pattern?
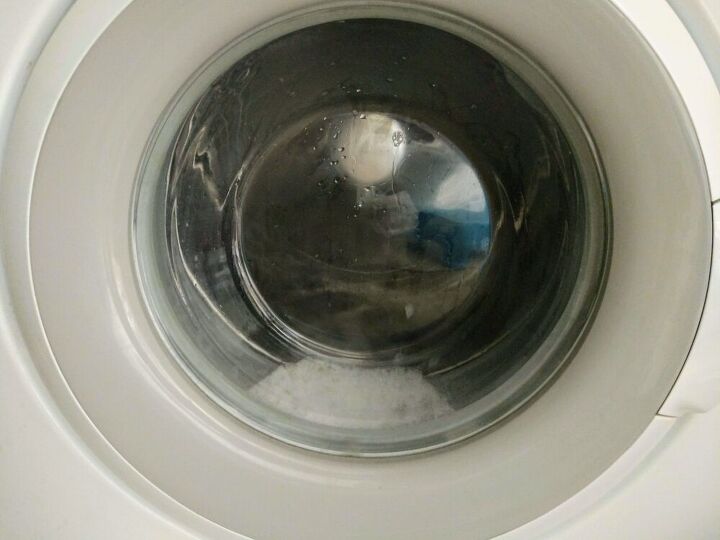
I washed it alone in the washer with a little amount of detergent and a short cycle with hot water. Afterwards, I placed it in the dryer.

Then, it was ready. A perfect set with my pillow cases "Shibori" folding tie dye.
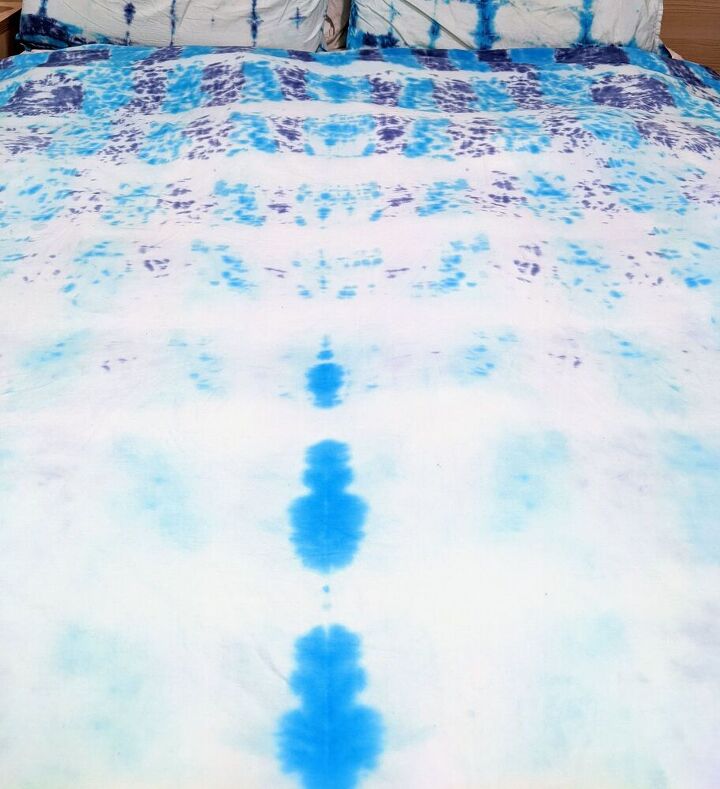
The line for his and hers side is only visible at the end of the cover, adding a nice touch to it.
Resources for this project:
See all materials


Comments
Join the conversation
-
Quite attractive. I confess that IMHO the duvet cover would have truly popped if the pillow cases and sheets were dyed a solid complementary color
-
Next time, try running the washer with no detergent & cold water the first time after you dye your fabric-the color will stay much brighter.
Just a suggestion from an avid tie-dyer! :)
- See 1 previous


Frequently asked questions
Have a question about this project?