


Wood Slice Pumpkins

I live on a very wooded lot and we have to cut down more trees every year because either they are aging or leaning towards our house and cars. So of course I have lots of opportunities to have wood slices cut up for craft projects.
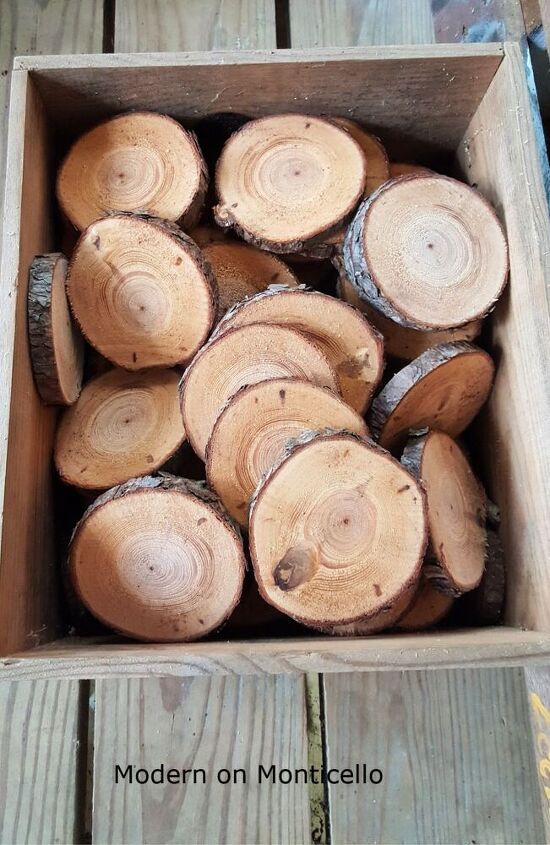
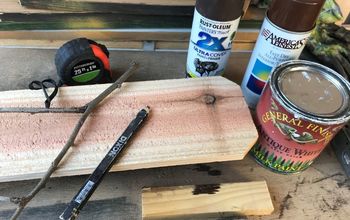
Preparing to use natural wood slices
Since my husband cuts these wood slices for me, I have to cure them and dry out the sap before I can actually use them in craft projects.
If you have never tried this it is very simple.
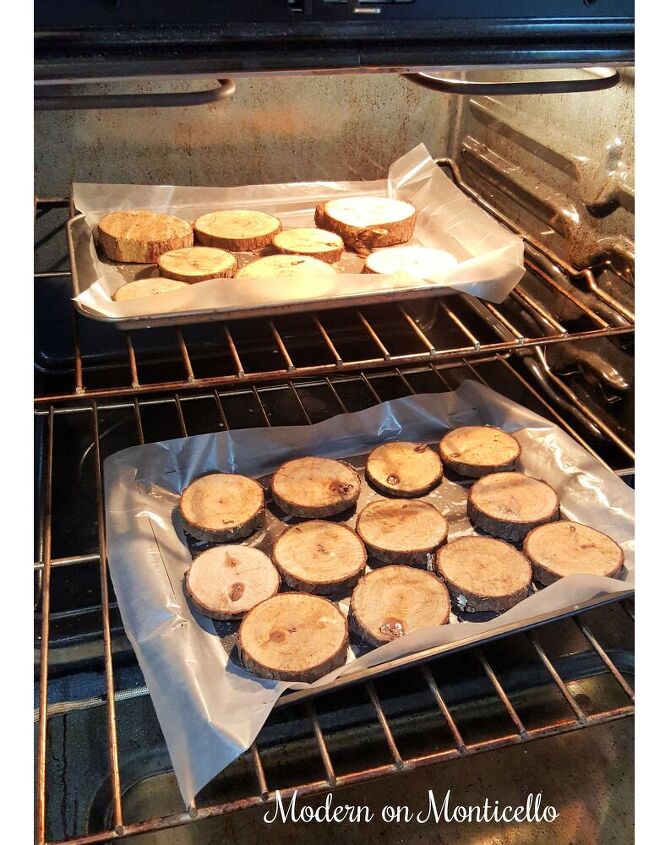
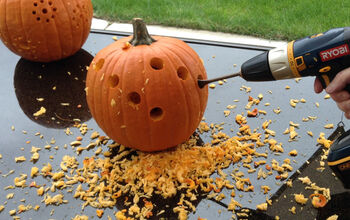
Heat in oven at 200 degrees
Preheat your over to 200 degrees.
Line several cookie sheets with wax paper and lay out the wood slices in a single layer.
Set the timer for 30 minutes and bake the wood slices in the oven.
Once the timer goes off, flip over each wood slice and bake the other side for another 30 minutes.
Allow to cool before trying to use them. Once they are cooled down, you can then sand the centers of the wood slices for a smooth finish if desired.
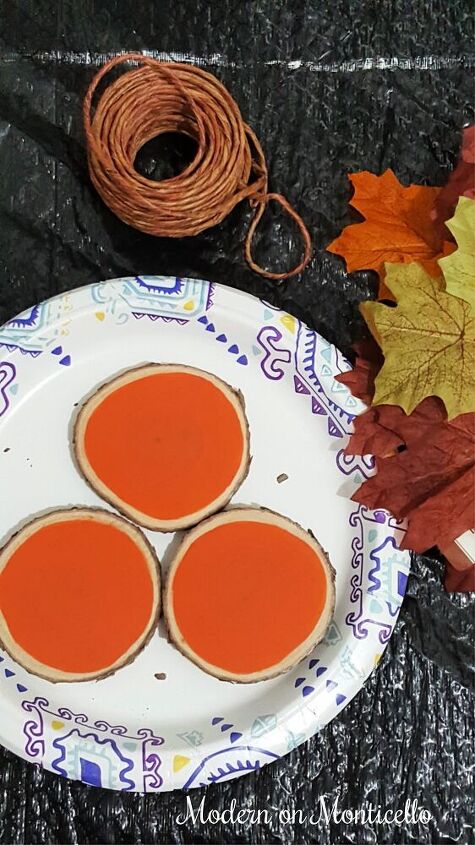
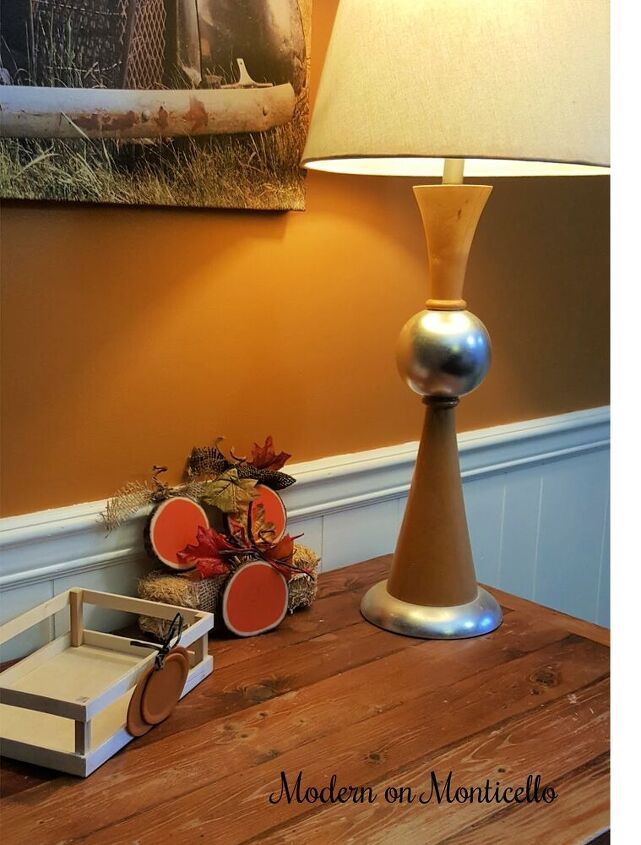
Fall wood slice pumpkins
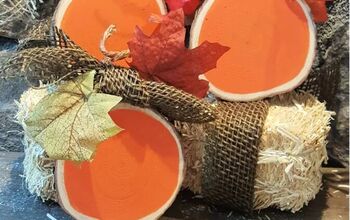
To make the wood slices in to rustic pumpkins, you just have to paint the center of the slices in an orange paint. I used a Harvest Orange color from Apple Barrel acrylic paints.
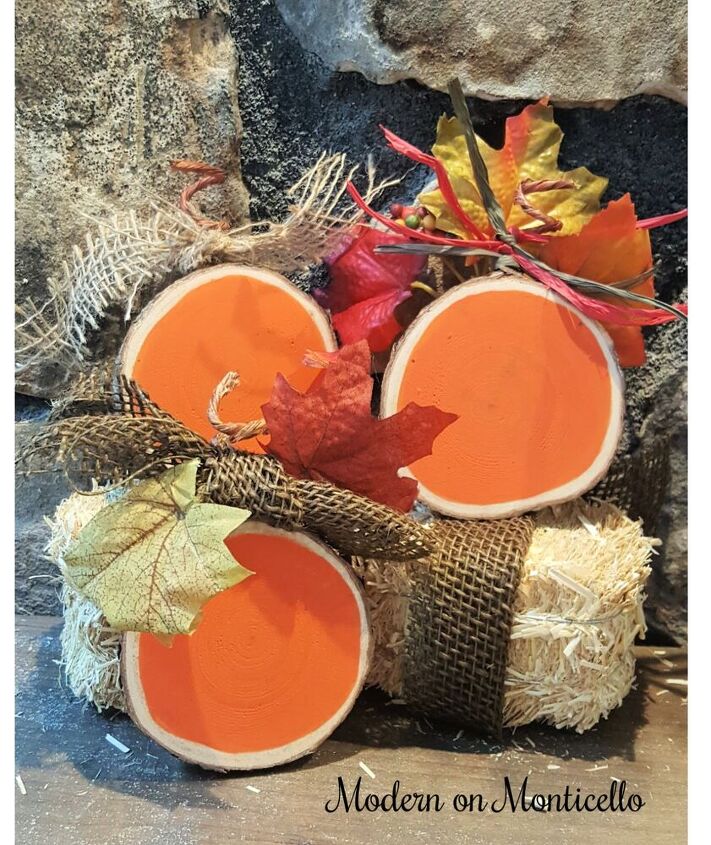
Add the decorative details
Using a hot glue gun, I attached twine, burlap, faux fall leaves, and raffia ribbon to add decorative Fall details to each wood slice pumpkin to make them each unique.
I also used small sections of barbed floral wire to make the stems of the pumpkins, attached also with hot glue.
Display the pumpkins
The wood slices I used for this project are cut too thin to actually stand up on their own but you can very easily cut thicker slices to get the pumpkins to stand.
These would also be adorable on a wreath.
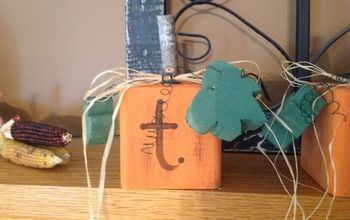
DIY fall project ideas
Resources for this project:


Comments
Join the conversation
-
Cool simple idea.
-
I LOVE the color of your wall !! It says WARM and COZY to me. Bold and beautiful.


Frequently asked questions
Have a question about this project?
200 degrees Fahrenheit or Celsius please?
Does the wax paper melt to the wood? Think I'd use parchment
If I may; what is the point of baking the wood in the oven? Why not use it raw?