A Twist on Shibori: Denim Bleaching

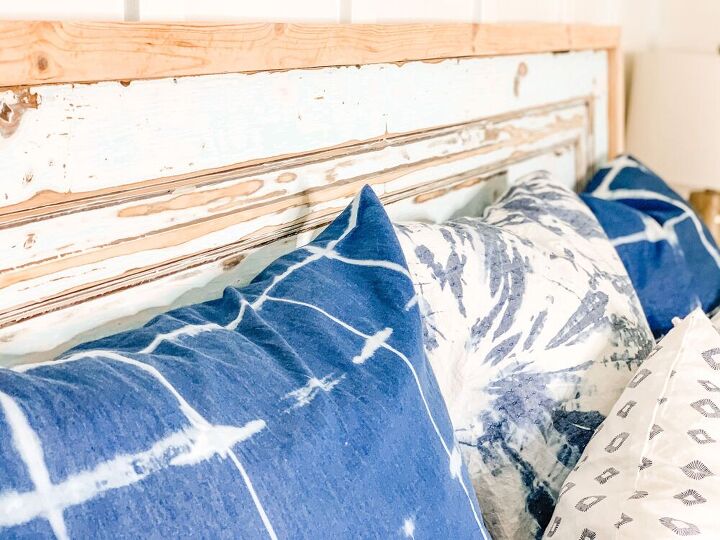
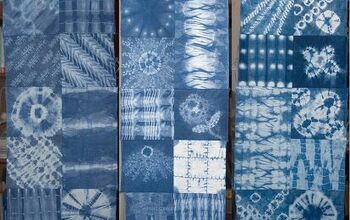
I LOVE dyeing and bleaching fabrics. I love the surprise when you untie the items and see the beautiful and unique patterns you’ve created. It’s somewhat controlled in that you pick the technique, but then you have to let go of control and it gets a little wild ; ) What I like about bleaching as opposed to dyeing is there is less experience required. When you dye fabrics, you have to do more to ensure you won't lose the color after you dye the item. With bleaching, that won't be a concern! You can bleach denim jeans, pillow shams, bolts of fabric, etc. These projects are inexpensive, simple ways to add a lot of interest. For most, this could be completed in under a couple hours, so this is a great project if you are short on time.
First you need to pick the material. I recommend 100% cotton denim, but you can probably use it if it has 95% cotton. The issue with less is that you may get unexpected results from the different fabrics. In my experience, cotton tends to turn white when bleached, but other fabrics can turn yellow or brown. Also consider the contrast you’d like. The darker the fabric, the greater the contrast you can achieve.
You can buy fabric from your local fabric store, or up some old jeans, depending on the application. Consider the weight of the fabric and what you’ll use it form. Here is a stool I made from a pair of old jeans from a garage sale. The thick denim was perfect for this application, but not as idea for a euro sham for your bed.
Once you’ve selected the fabric, you’ll need to decide what look you want. There are many ways to fold and tie (and even sew) fabrics to get different looks.
For this tutorial I will discuss you how to get the square look. You’ll want to find a couple square thin plastic pieces (I used an old CD case) and some rubber bands. Thin cotton twine could work too, but I prefer rubber bands for this technique as it’s easier to undo at the end. For the plastic squares, keep in mind whatever you pick will determine the size of the squares on the fabric.
I first lay out the fabric square. Then accordion fold to the size of the plastic square. Then accordion fold again to the size of the plastic square until you are left with a square.
Fill a bucket (or your sink) with bleach and water. You may be able to use less, but I tend to use about half and half to get quicker and more dramatic results. You only need enough total liquid to be able to fully submerge the fabric, so make that determination based on how much you are bleaching at one time.
Then add the pieces you are bleaching. I like to use a wood stick to move the fabric around and flip if I need to (just to be able to see and monitor the process).
Wait time will depend on the amount of bleach you used, the fabric, and what look you are hoping to achieve. I like to leave it overnight for a very dramatic, high-contrast look. If you want it more subtle, keep an eye on it. Please note: I recommend doing this outside so you don’t damage anything in your home that could be ruined by the bleach and because of the pungent, irritating fumes. However, if it is in the sun too long it can start to turn the white areas brown so keep an eye on it.
Once you’re happy with the color, remove from bleach water and rinse immediately. I would then wash alone so the bleach left on the fabric doesn’t ruin anything.
Now you have beautiful, unique fabric you can use for whatever you like!
Enjoyed the project?
Resources for this project:
See all materialsComments
Join the conversation
-
-
 Joa97439107
on Jan 18, 2025
Ayes!, I love the look of shibori
-










Frequently asked questions
Have a question about this project?
When do you add the rubber bands? After each fold? And do you use only one cd cover or one for each fold?