Witches Broom Halloween Candy Bag

Crazy that we quickly are jumping right into Halloween. This year has been a strange one anyway and I suspect some people may not be celebrating and enjoying the festivities of Halloween. Every year we get together at my very good friends home, we take the kids trick-or-treating and eat lots of yummy food. This year will be a little different due to the pandemic, everyone in our group decided it was best we don’t take the kids trick-or-treating. We decided to just enjoy the festivities from her backyard; bobbing for apples, games, s’mores, a campfire and movies. Each family will bring a goodie bag for each child so no one will leave empty handed and there will be plenty of candy to go around. I decided to make them these adorable witches broom bags. It’s super simple to make too. Let’s get started!
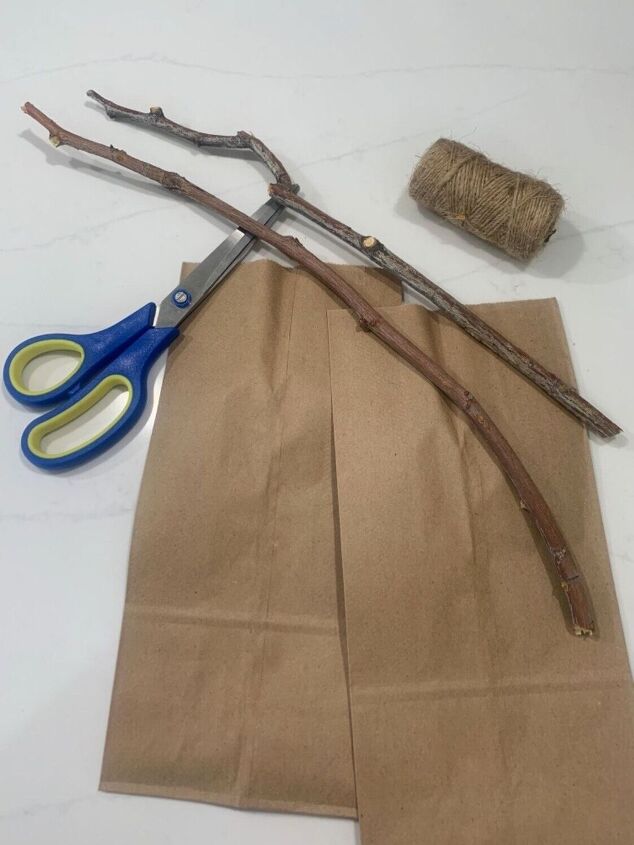
Step 1 Supplies
There are very few supplies that you will need for this project.
- Two brown paper lunch sized bags
- Twine
- Scissors
- A stick, twig or wooden dowel
- Labels
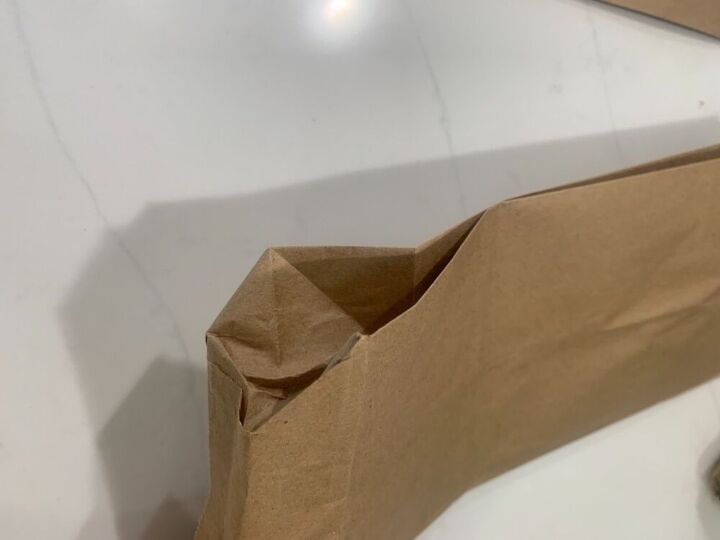
Step 2 Fold one bag
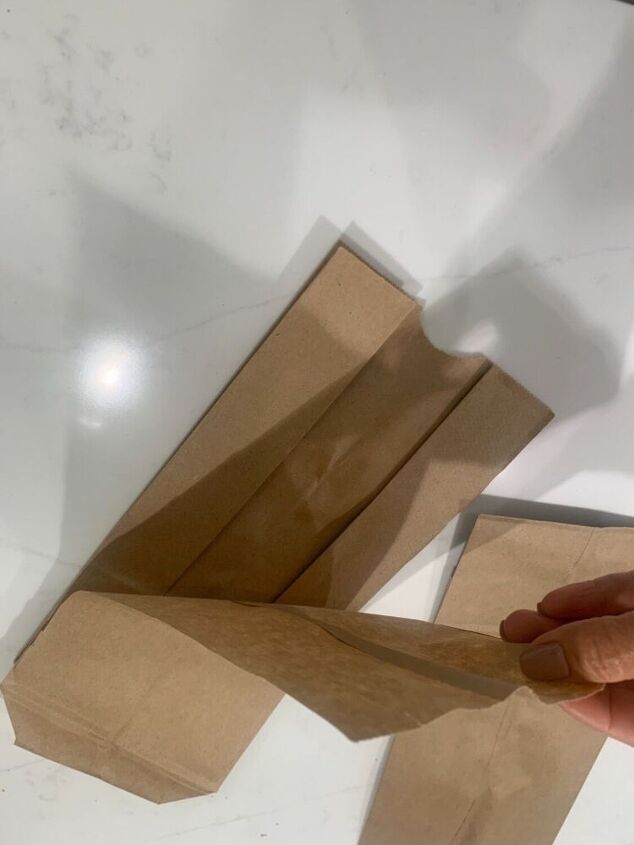
For one bag, push out the bottom of bag, while keeping the sides folded in and press it flat to a solid surface. You can see from the next photo what it should look like.
Step 3 Cutting the folded seams
Once the bag is flat on a solid surface, using a pair of scissors cut through the seams until you reach approximately 1/8 to 1/4 of an inch to the base of the bag. You should be cutting a total of four seams.
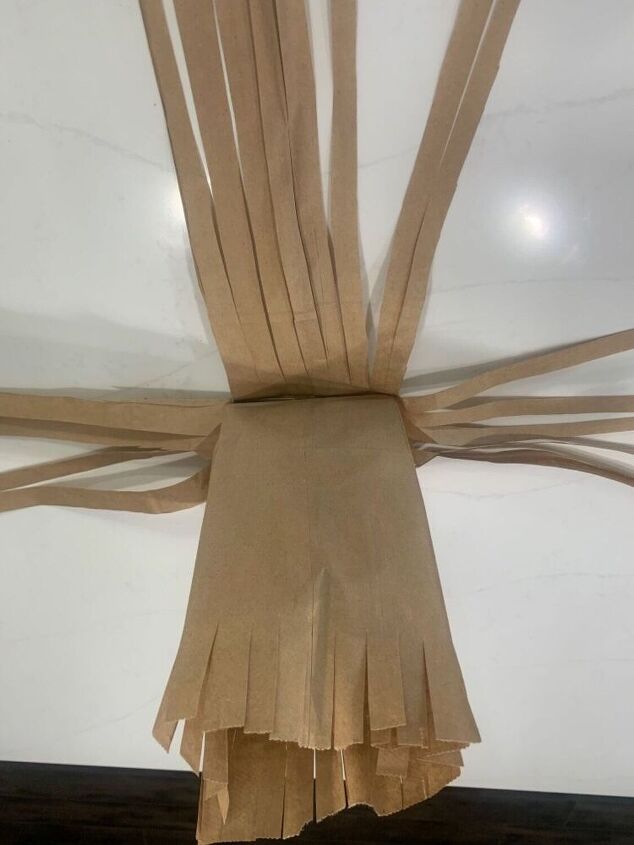
Step 4 Cutting Strips
Cut approximately 1/2 in thin strips down to the base of the bag until you reach approximately 1/8 to 1/4 of an inch to the base of the bag. Don’t cut through the base, you will need that to hold your second bag 😉
Step 5 Lay the bag open
In the open position, lay the bag that you cut down to the base on a flat surface.
Step 6 Cutting the second bag
For the second bag, cut approximately 1/2 inch strips but this time only about 2 -3 inches long, from the top of the bag. This bag will be used to fill with goodies.
Step 7 Place second bag over 1st bag & fill with goodies
Place the second bag on top of the base of the first bag and fill with your goodies. Mine has juice, candy, and a small bag of chips.
Step 8 Adding the twig/broom handle
Next, place your twig into the center of the bag. My twig goes to the base of the bag but you can use a shorter one and only insert it about 2 inches from the top and cinch/secure it in place.
Step 9 cinching/securing the bag and labeling it
Once your twig is inserted into the bag, gather the first bag over the second bag and cinch/secure it in place with twine or ribbon, and add your labels/name tags . That’s it, super easy right?
If you’d like to see what else I do please come visit me at https://www.instagram.com/mycreativekneads/
Get as creative as you want with this. I’ve made some with ribbons and stickers. Let your imagination run wild and make it fun for the kids. Hope you all have a wonderful and safe Halloween 🎃
Looking for more Halloween inspiration?
Enjoyed the project?
Resources for this project:
See all materialsComments
Join the conversation
-
 Louise
on Oct 10, 2020
This is a great idea! We were trying to think of a way to put out treats for anyone who stopped by on the porch. This is a very safe way to set out cute goody bags and let the treaters take one, keeping a safe healthy distance! Not putting hands in to a bowl is ideal! I have plenty of little paper bags at home, twigs, and twine. Brilliant.

-
-
 Linda steaples
on Oct 21, 2020
ABSOLUTELY ADORABLE LOVE 💘 THEM THANKS FOR SHARING THIS WITH US 🇺🇸 😊 GO VOTE !!!!
-
 Irma | mycreativekneads
on Oct 21, 2020
Thank you kindly and YESSS! 🇺🇸
-
-















Frequently asked questions
Have a question about this project?