


How to Create a Spooky DIY Topsy-Turvy Halloween Cauldron

Halloween is just around the corner, and what better way to add some spooktacular vibes to your decorations than with a DIY Topsy-Turvy Halloween Cauldron?
In this guide, I'll walk you through the step-by-step process of creating this eerie masterpiece that's sure to bring some spine-chilling fun to your Halloween setup!
This post was transcribed by a member of the Hometalk editorial team from the original HometalkTV episode.
Hometalk Recommends!
Tools and Materials:
- Hot glue gun and glue sticks
- Adhesive glue (suitable for foam and plastic)
- Zip ties
- Black cauldrons
- Wooden board (large enough to support the cauldron)
- Floral foam blocks (for filling the cauldron and creating the base)
- Spooky eyeballs
- Old bones
- Realistic fake spider
- 1.25-inch PVC pipe (length determined by desired height)
- Green fairy lights
- Fairy lights
- Clear plastic cups (small size)
- Water-based expanding foam
1. Gather Your Supplies
Head to the Dollar store and grab your supplies:
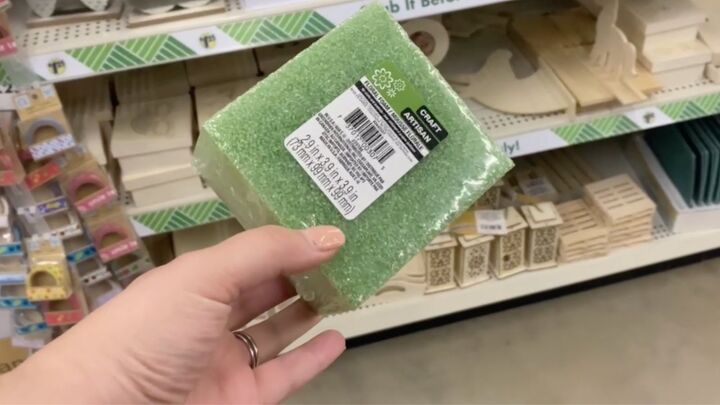
Some floral foam.
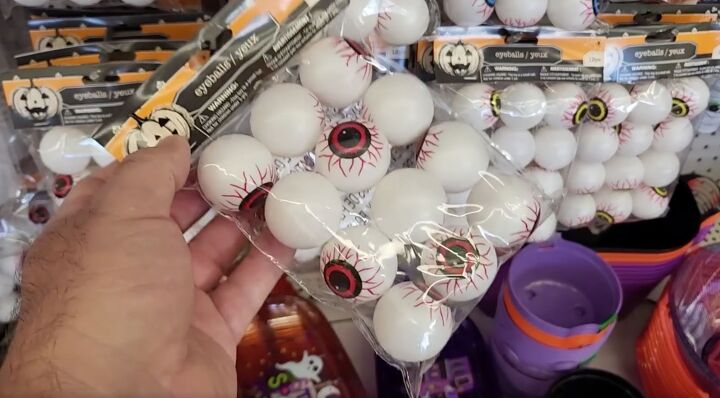
You will also want some spooky eyeballs.
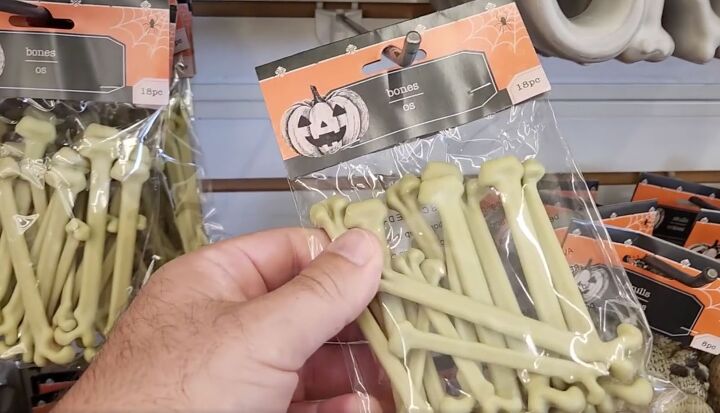
Grab some old bones. They look great.
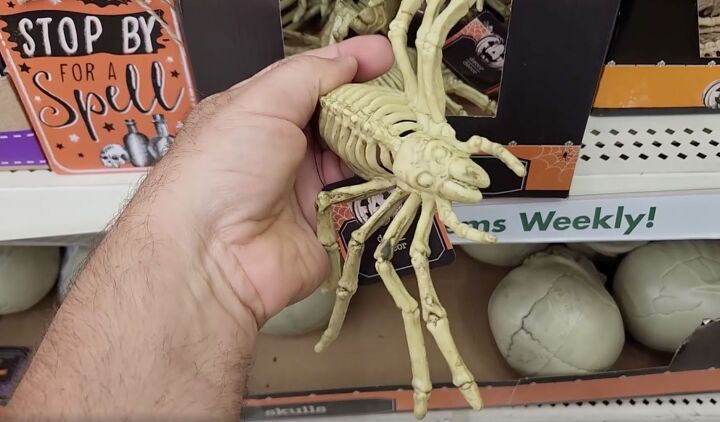
Then, the spookiest of all; a creepy spider.
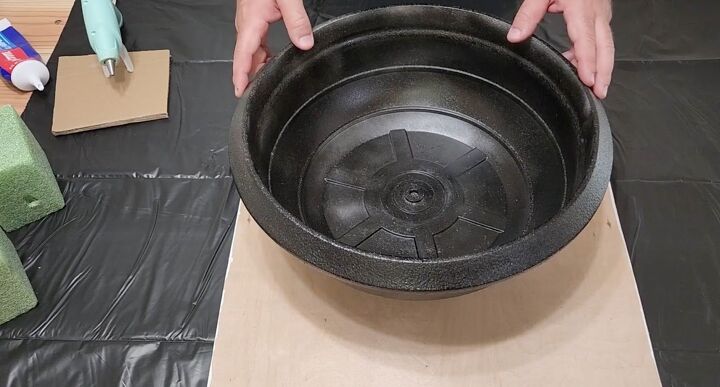
2. Prepare the Base
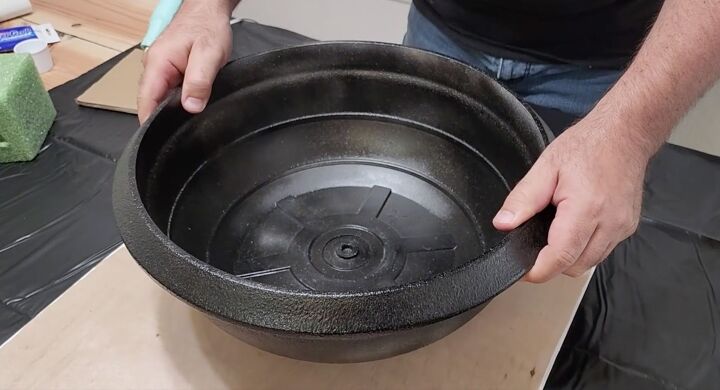
To assemble our topsy-turvy cauldrons, you are going to need a large, black cauldron and a wooden board. This will be the base.
Flip the cauldron over, and add some glue to the bottom. I also added a little hot glue to keep it in place while the adhesive is drying.
When all the glue is on, flip it over and push it onto the board.
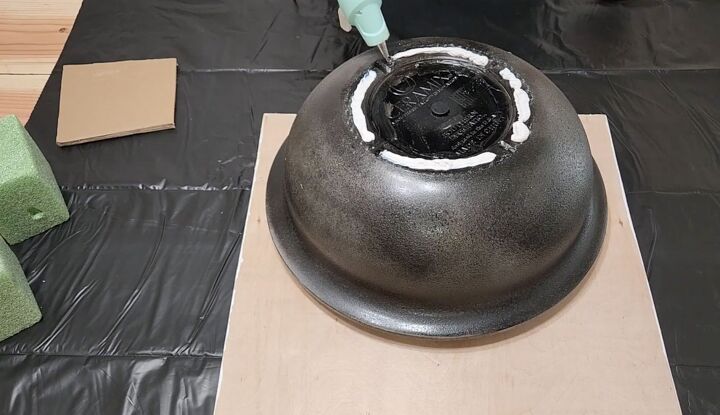
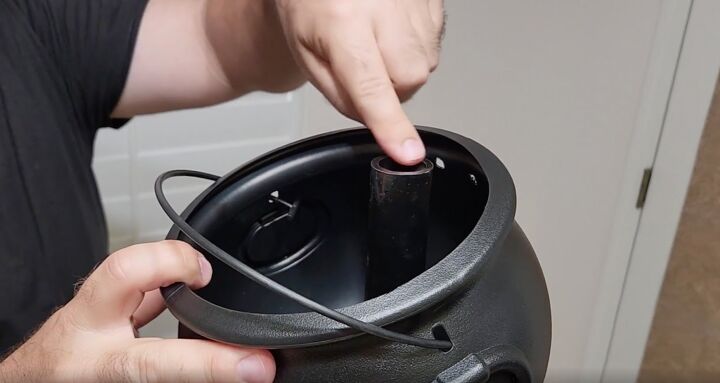
3. Create the Cauldron's Centerpiece
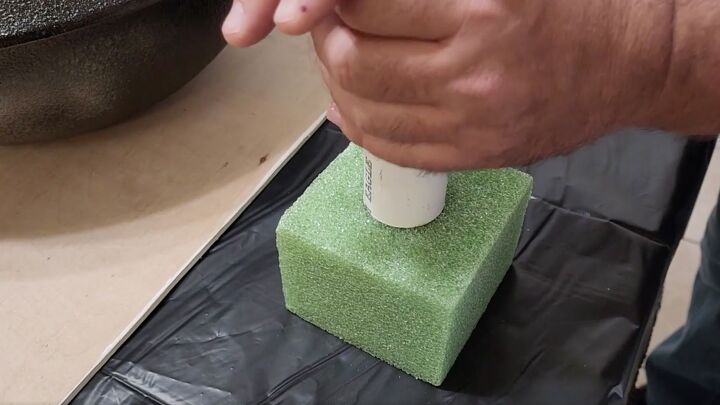
Insert a 1.25-inch PVC pipe through the center of a square piece of floral foam to create a hole.
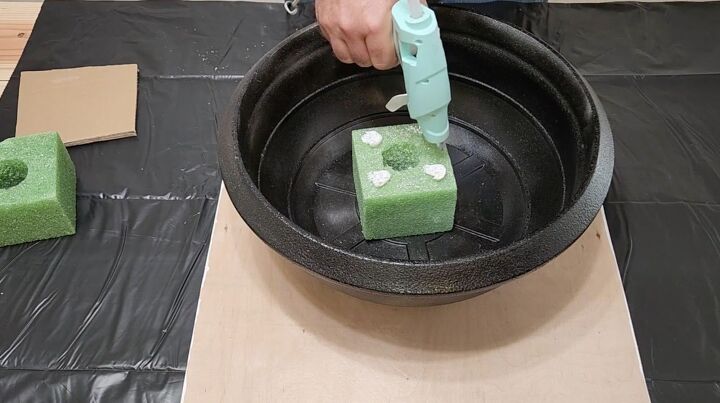
Again, take the same adhesive and put it in the corners of the foam block, and add some hot glue. Then stick it in the center of the cauldron.
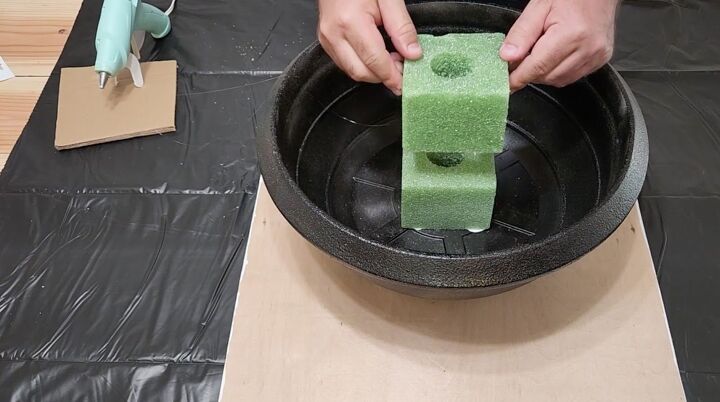
Repeat the process with another piece of floral foam and place it on top of the first creating a solid base.
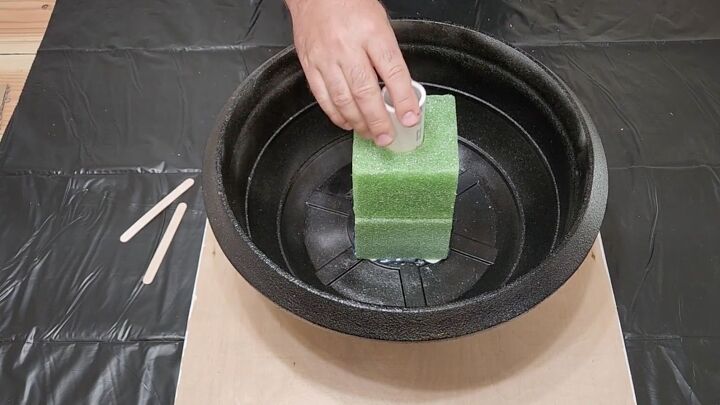
Once they are together, stick the PVC pipe right in the middle.
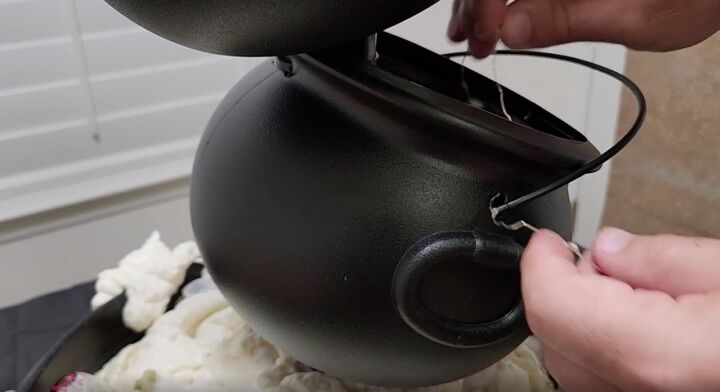
4. Add Illumination
Next, grab some green fairy lights.
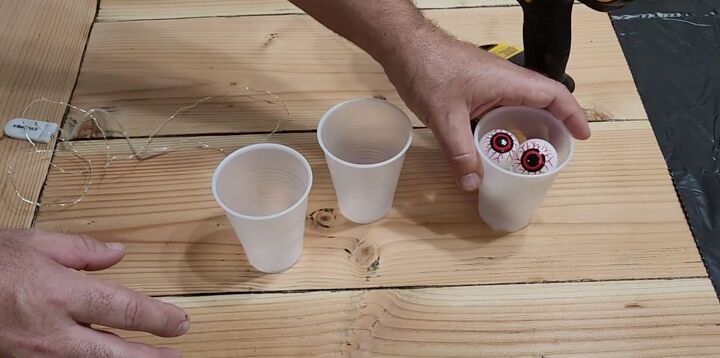
Now take two clear cups and the plastic eyeballs.
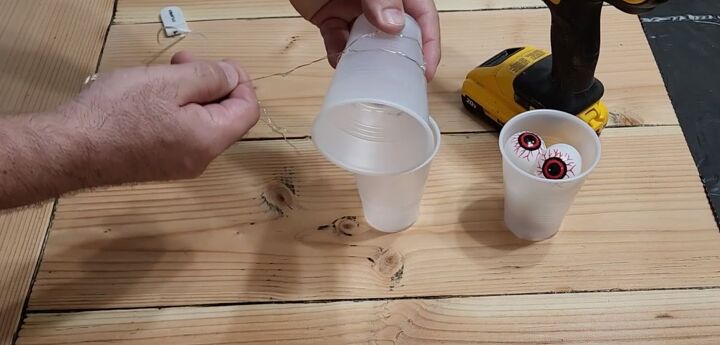
We're going to take the fairy lights and put them all around the cup.
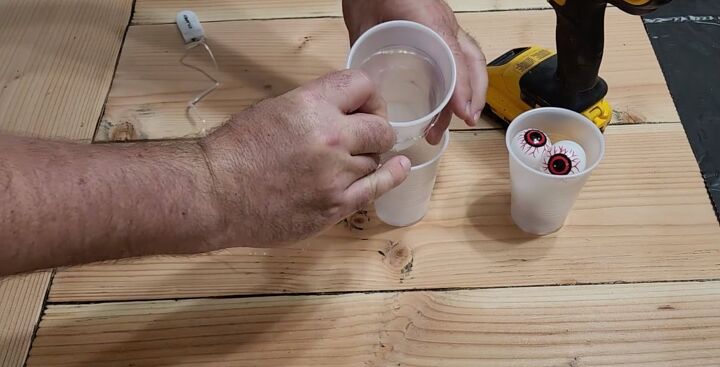
Then place it right inside the next one. You'll see the magic with that later.
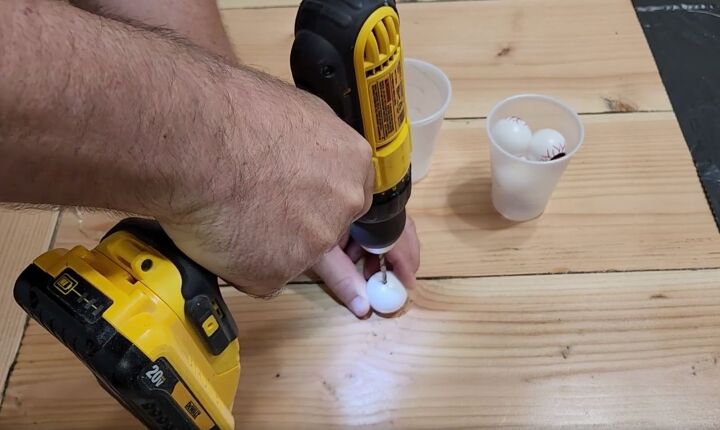
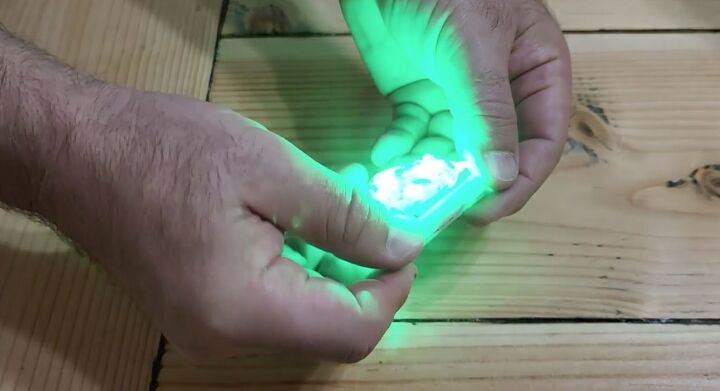
Take those eyeballs, and drill a little hole in the back of each.
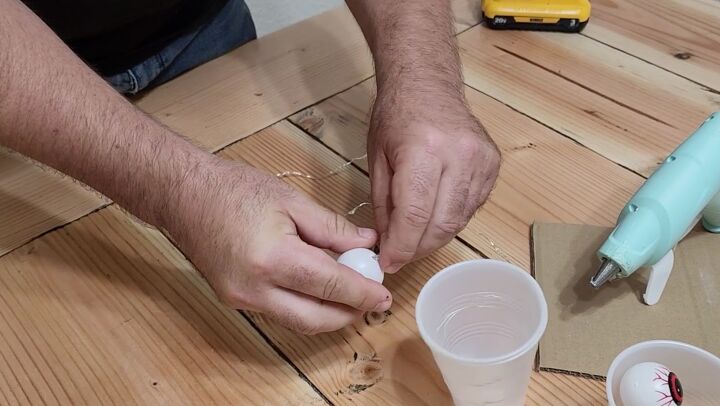
Take the fairy lights and put one light in each of the eyeballs.
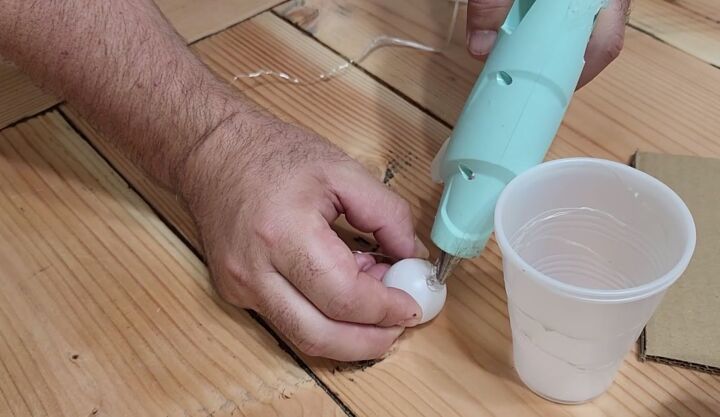
Use a little dab of hot glue over the hole to hold them in place.
Next, use hot glue to attach the battery pack of the fairy lights to the back of the base cauldron.
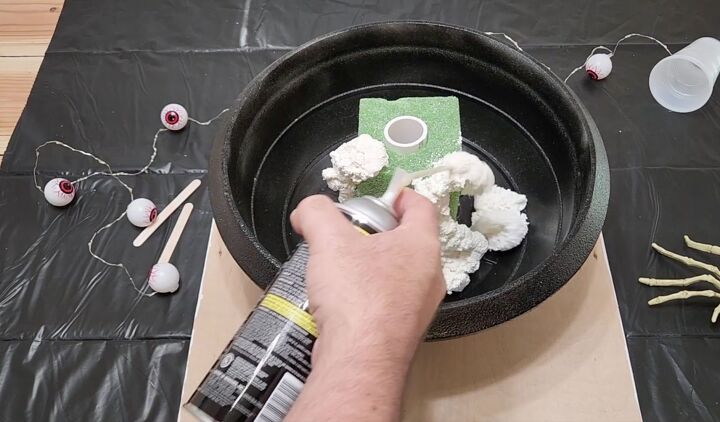
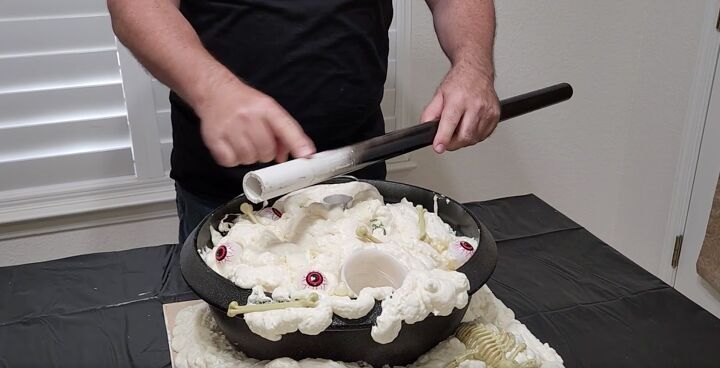
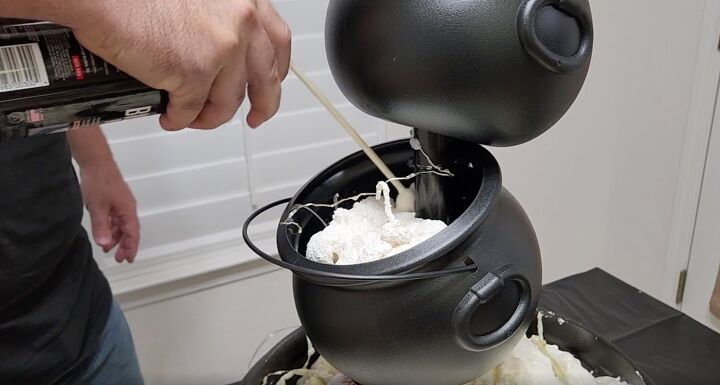
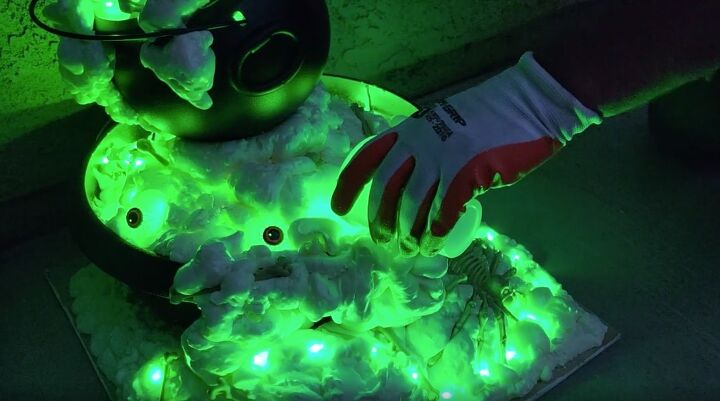
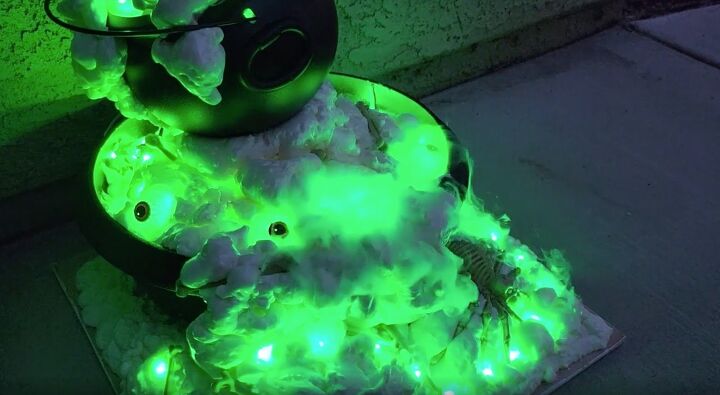
5. Fill the Base Cauldron
Use expanding foam to fill the cauldron.
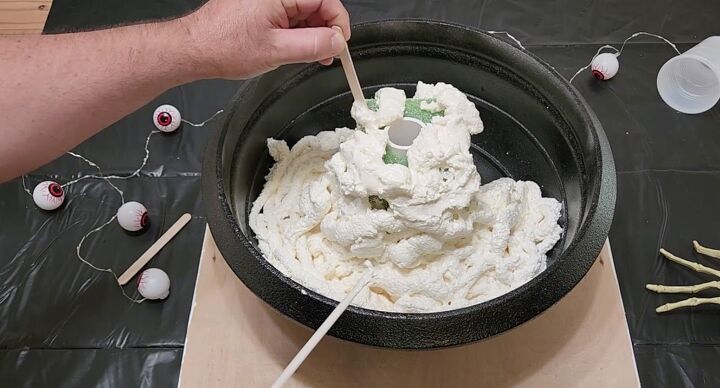
Once done, use a little popsicle stick to remove any foam from the pipe opening.

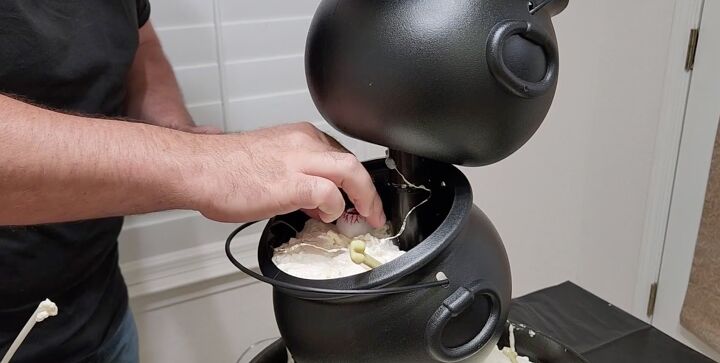
6. Create a Boiling Effect
Apply expanding foam to the cauldron's lip and board to make it appear as if it's boiling over.
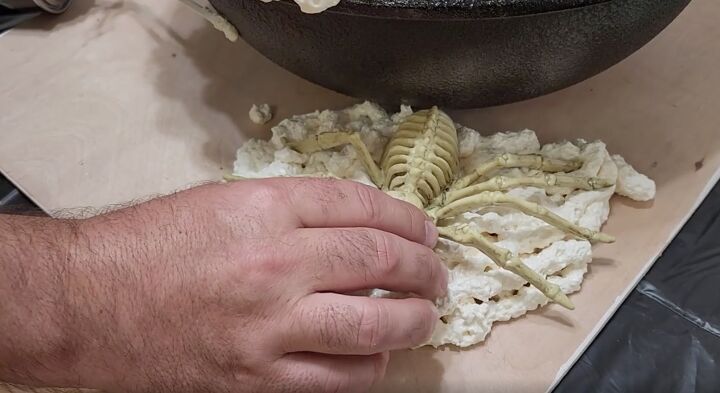
Embed the creepy spider into the foam.
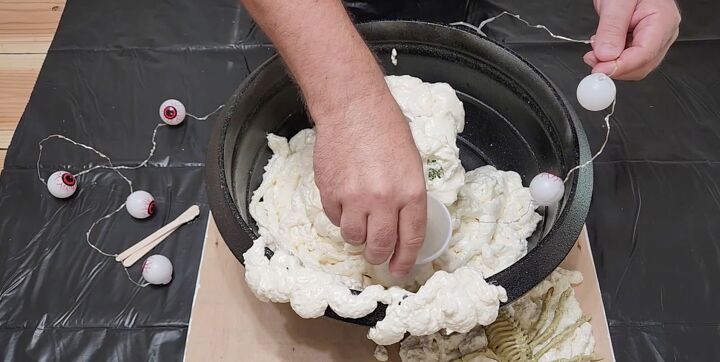
7. Finish Decorating the Base Cauldron
Take the cup with the lights and stick it in the foam, near the front edge of the cauldron.
Fill the leftover space in the cauldron with extra pieces of floral foam so you don't have to use too much foam.
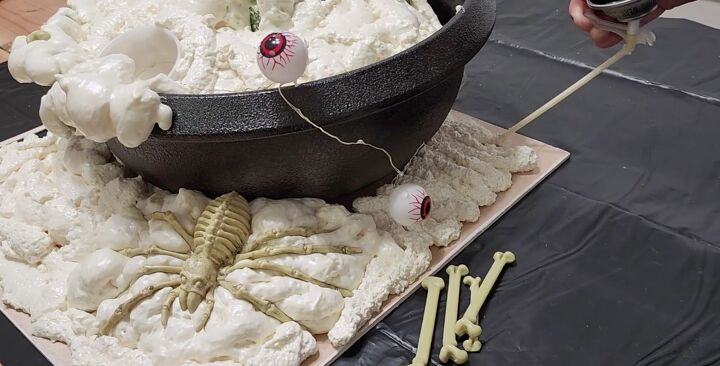
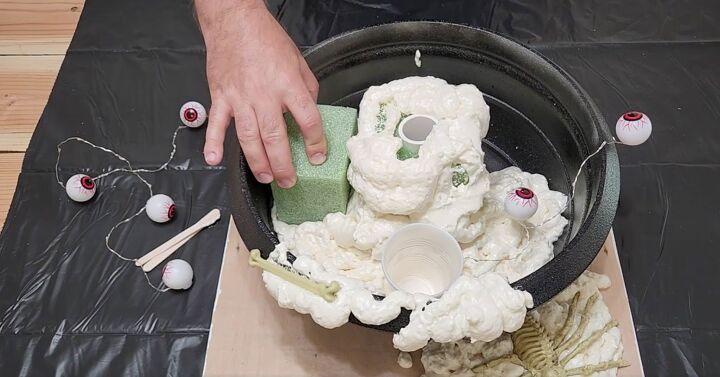
Now take that foam, and put it all over the base. Add some eyeballs and bones as well. They will make it look cool.
8. Build the Multi-Level Display
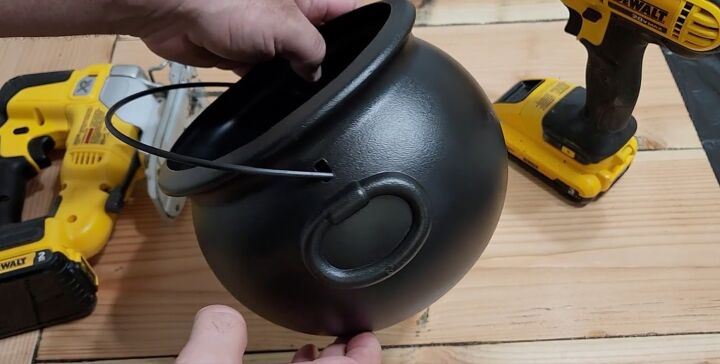
Now it's time to create the topsy-turvy design using three, eight-inch cauldrons.
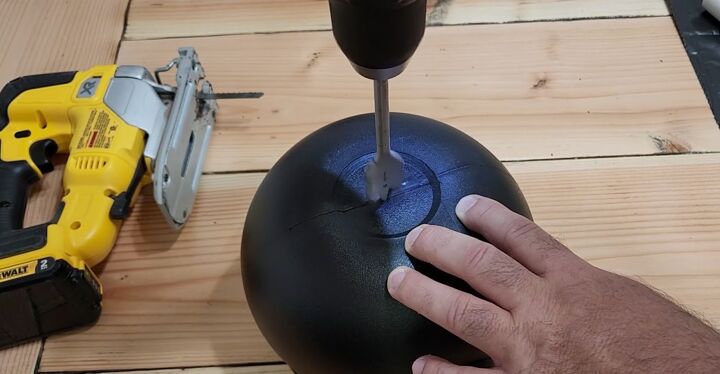
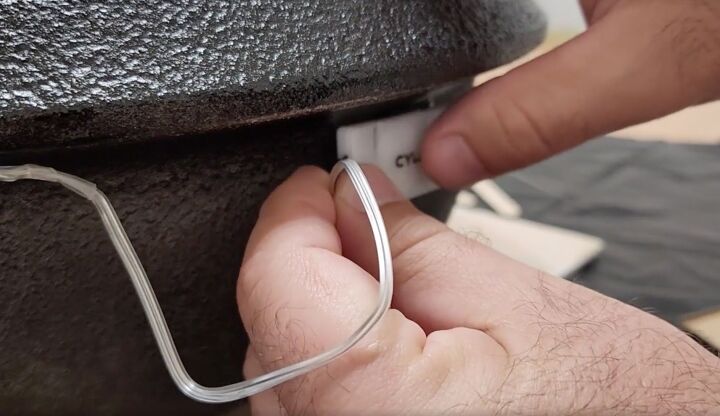
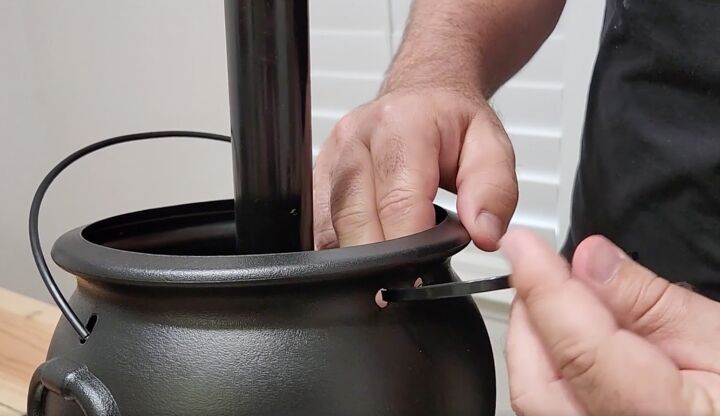
Cut out a one-inch hole for our pipe in the bottom of each. Use a little drill and pop it through.
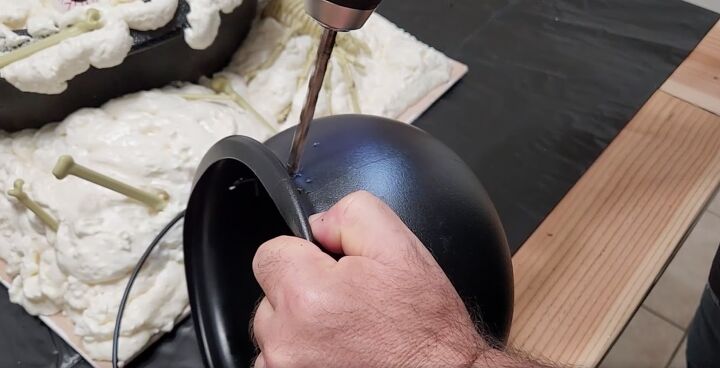
Next, put two little drill holes on the sides. That is what's going to help adhere it to the pipe.
To build up my display, I want to add a one-inch pipe right inside of the small one we added at the bottom.
I painted it black.
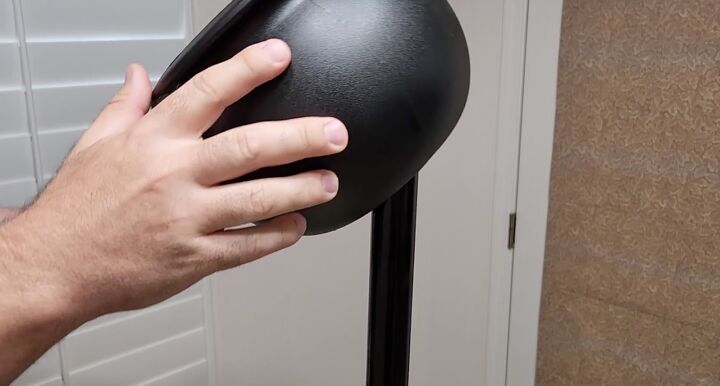
Then, slip one of the small cauldrons down the pipe.
Once it’s in place, we want to tip it over to make it look like it's pouring out.
So take some zip ties, put them through the holes, and pull one side close to the pipe.
You're going to do that with all three.
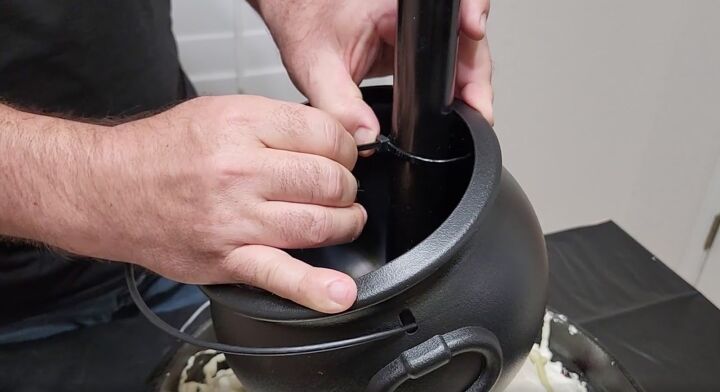
After you have it tight, cut that excess off.
When you get to the top one, make sure the pipe is level with the side of the pot.
8. Illuminate the Smaller Cauldrons
It's time for more lights. Take these fairy lights and put them in there and glue this on the switch to the back of that cauldron.
9. Fill the Smaller Cauldrons
Take some foam and fill up the three small cauldrons.
Add some bones and some eyeballs while the foam is still wet.
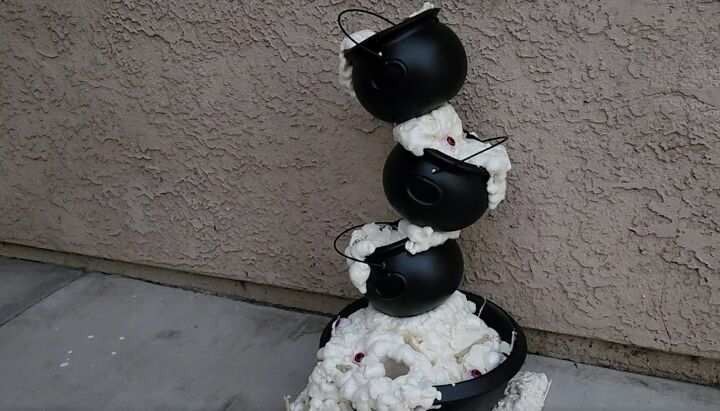
Once we get them full and it looks like it's spilling over, take it outside and get it ready to display. Doesn't that look great?
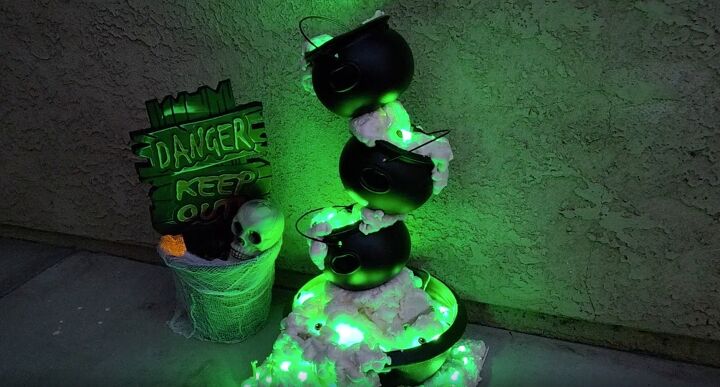
With its eerie glow, creepy critters, and mesmerizing effects, this decoration will be the highlight of your Halloween setup.
Optional:
Remember that cup we added? Well, to finish it off, we're going to fill it with water and put some dry ice in there.
More Halloween Front Porch Ideas
It makes a wonderful sound and has an amazing special effect. Your little trick-or-treaters are going to love this!
Did you enjoy creating your Topsy Turvy Cauldron? Share your thoughts, tips, and photos in the comments below. Let's celebrate the spooky season together and inspire fellow crafters to join in the fun!
Comments
Join the conversation
-
That is my plan B. Also since early enough May stumble upon a sale. Thanks for sharing
-
That is so cute... I may try it with just one cauldron since our dollar tree raised all their prices, I could probably afford to do it on a lesser scale for my budget, but this one is really cute... good job!!


Frequently asked questions
Have a question about this project?