


How to Clean Dresser Drawers Properly in 5 Simple Steps
Wondering how to clean your dresser drawers? I've got you covered! Over time, dresser drawers can accumulate dust, grime, and even unpleasant odors.
In this step-by-step tutorial, I'll guide you through the process of cleaning and revitalizing your dresser drawers, leaving them looking and smelling fresh. Let's get started!
Tools and materials
- All-purpose cleaner
- Soft cleaning cloth
- Howard's wax
- Sponge brush
- Old sanding sponge
- Small bowl (optional)
- Microfiber cloth
How to clean dresser drawers
Step 1: Clear Dresser Drawer
Empty the contents of the drawer, placing items in a safe and clean space. This will give you ample room to clean and work on the drawer's interior.
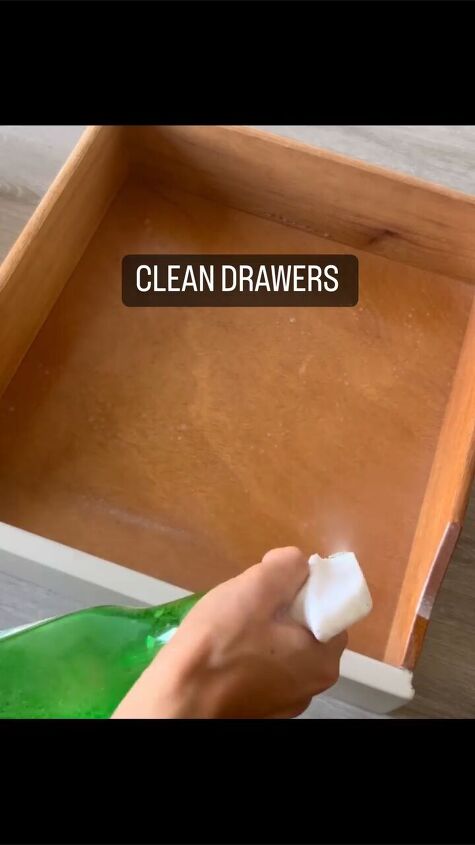
Step 2: Spray and Wipe
Start by spraying the interior of the drawer with an all-purpose cleaner.
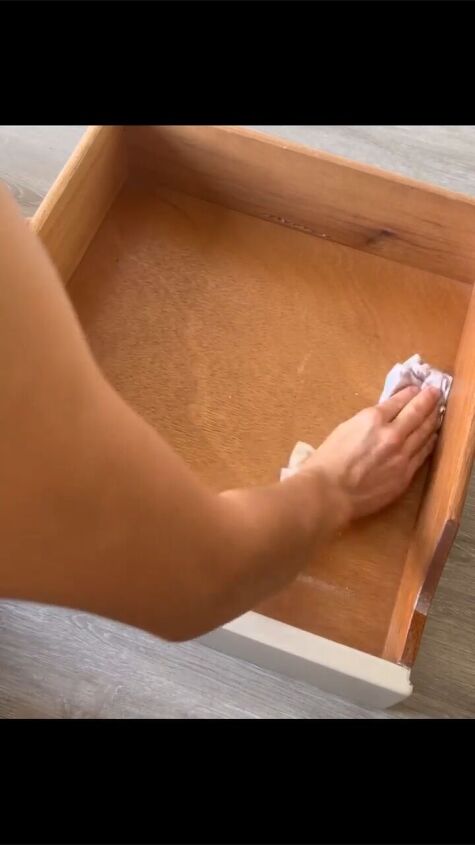
Use a soft cloth to wipe down the entire interior of the drawer, removing any visible dust, dirt, or sticky residue. Pay extra attention to corners and edges.
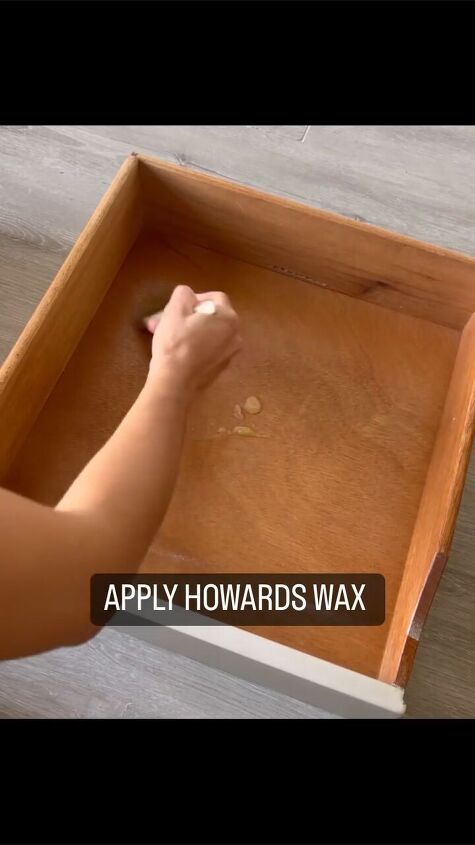
Step 3: Apply Howard's Wax
Using a sponge brush, apply Howard's wax to the inside of the drawer. This high-quality wax not only cleans but also nourishes the wood, leaving a protective layer.
You can pour a small amount of Howard's wax into a small bowl or just pour it straight onto the wood for easier application with the sponge brush.
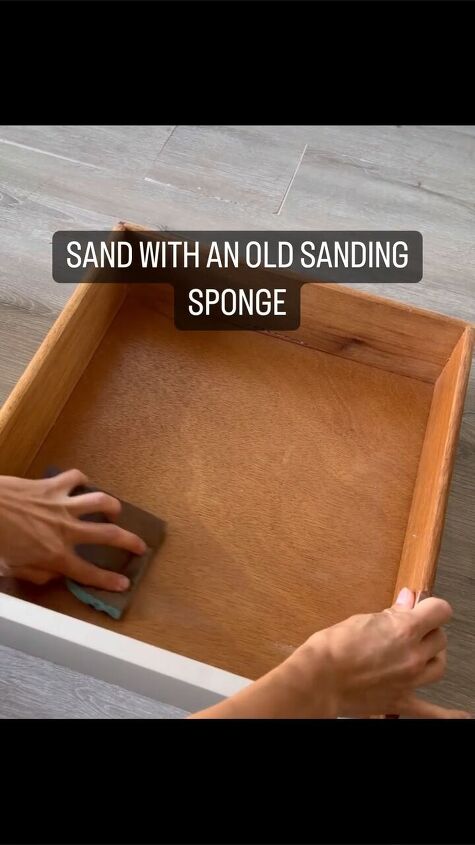
Step 4: Sand the Interior
Once the wax has been applied and allowed to sit for a few minutes, grab an old sanding sponge.

Gently sand the inside of the drawer, focusing on any rough or uneven surfaces. This step helps smooth out the wood surface and enhances the absorption of the wax.
Step 5: Wipe Away Excess
Using a clean microfiber cloth, wipe away any excess wax or dust particles from sanding. This ensures a clean and polished finish on the interior of your dresser drawer.
How to clean dresser drawers
Now you know how to clean wooden drawers and give them a fresh and welcoming feel. By following these simple steps, you not only maintain the cleanliness of your furniture but also extend its lifespan.
Feel free to repeat this process periodically to keep your dresser drawers in top-notch condition. Now, enjoy the organized and refreshed space you've created within your furniture!
Did you find this helpful? Leave me a comment and let me know.
Follow @moderntouchbyjanette on Instagram for more DIY ideas.


Frequently asked questions
Have a question about this project?