


DIY Concrete Pavers: The Best Way to Build Raised Circular Garden Beds

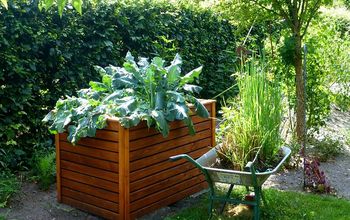
If you’ve got a space in your yard that needs a little sprucing up, why not add a raised circular garden bed?
It’s easy, affordable, and fun to make, especially when you use homemade concrete pavers.
In this guide, I’ll walk you through how I created my own concrete pavers for a raised circular garden bed in my front yard.
Let's begin!
This post was transcribed by a member of the Hometalk editorial team from the original HometalkTV episode.
Tools and Materials:
- Concrete mix
- Water
- Drill with a mixing attachment
- Concrete colorant (red terracotta)
- Saran wrap (plastic wrap)
- Spatula or spoodle
- Torch (optional)
- Bark dust
- Potting soil
- Flowers or plants of your choice
Disclosure: Hometalk may receive a small affiliate commission from purchases made via Amazon links in this article but at no cost to you.
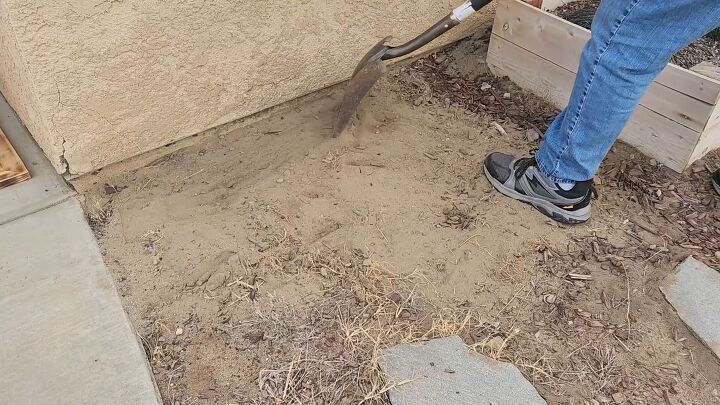
1. Preparing the Area
First, I took a look at the area in front of my house. It was uneven and looked pretty bad.
To start, I made sure the ground was level by smoothing it out, so I had a nice flat surface to work with.
This is an important step to ensure your pavers lay flat when they dry.

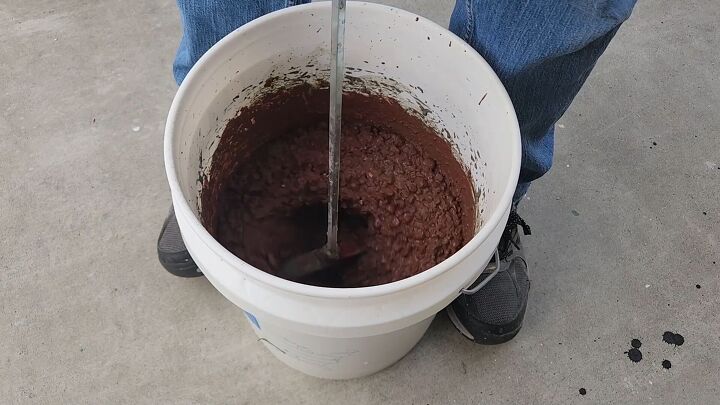
2. Mixing the Concrete
Next, I grabbed a bucket and filled it with a little cold water. Not too much, just enough to get the concrete mix going.
I used about half a bag of concrete mix and started mixing it up using an attachment on my drill. If the mixture is too dry, add more water until it reaches a consistency you’re happy with.
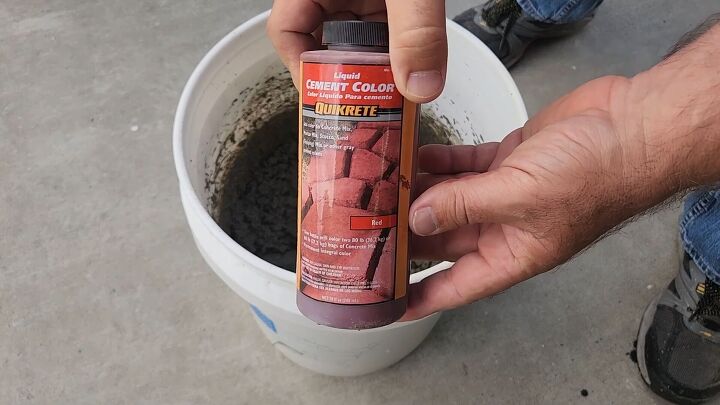
Once the concrete is mixed, I added red terracotta concrete colorant to give it that beautiful reddish color. You can add more or less depending on how deep you want the color to be.
Keep mixing until it's well blended.
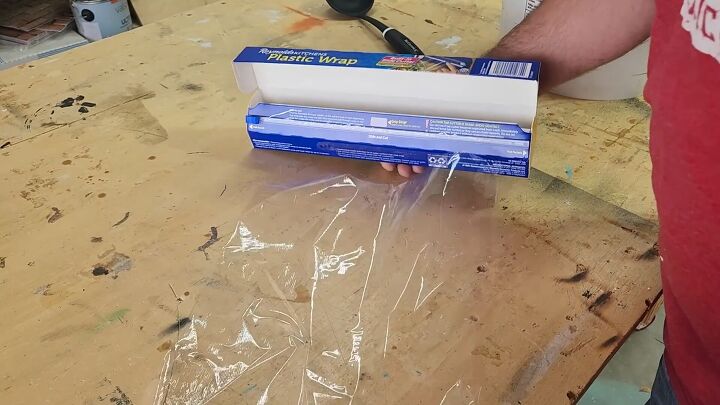
3. Preparing the Paver Mold
I grabbed some plastic wrap.
I found these new boxes that made tearing off pieces really easy!
I laid down about 3-4 pieces of wrap at a time to speed up the process.
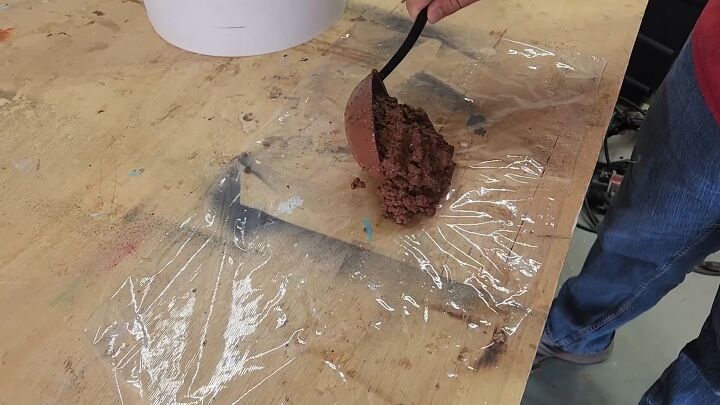
Then, using my spoodle, I carefully spooned the concrete mixture onto the Saran wrap, making sure each piece was covered evenly.
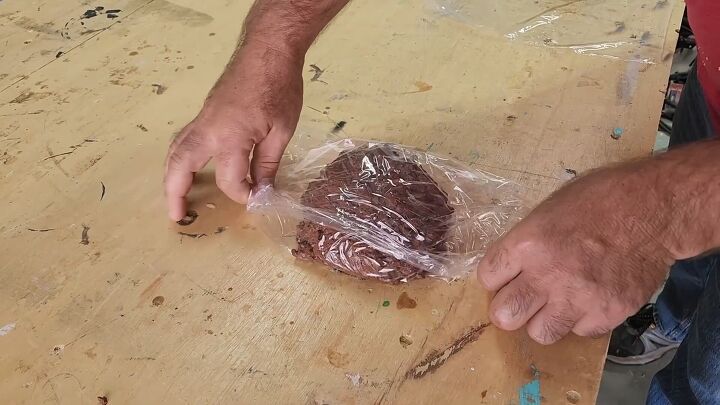
4. Shaping the Pavers
Once the concrete was on the plastic wrap, I folded the plastic around it, wrapping each paver up securely.
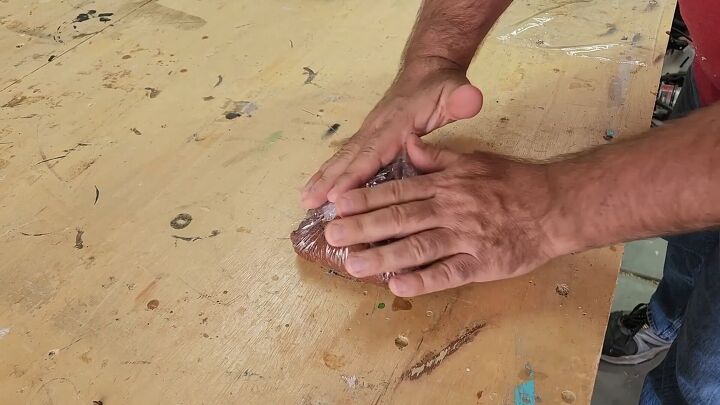
It’s important to work quickly at this point so the concrete doesn’t start setting up on you.
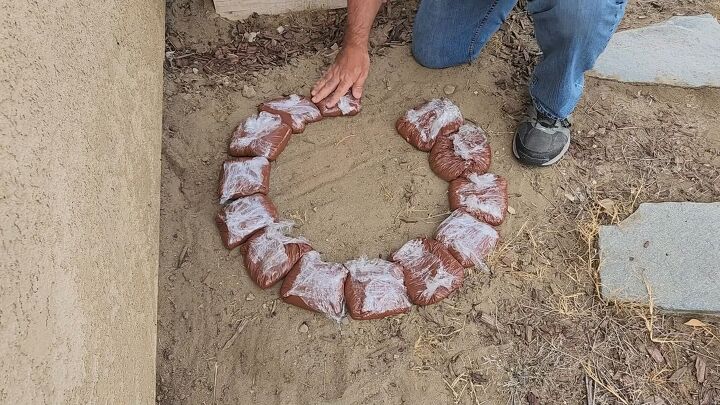
5. Stack the Pavers
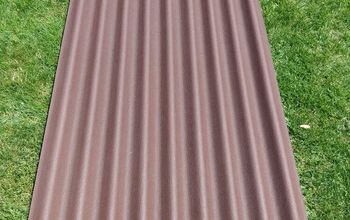
Once I had them all wrapped up, I took them outside and began placing them in a circle on the ground.
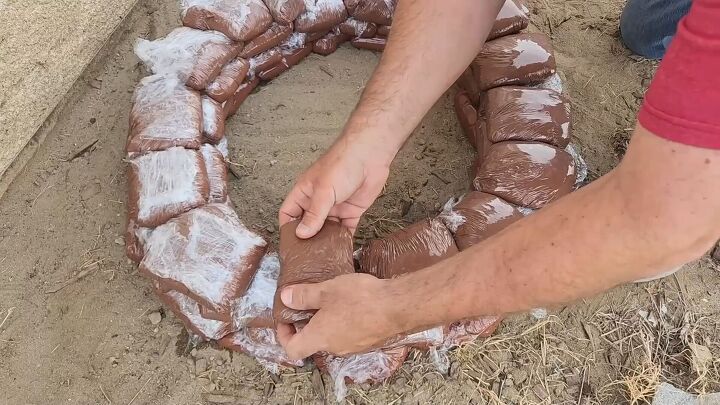
I laid the first layer of pavers all the way around.
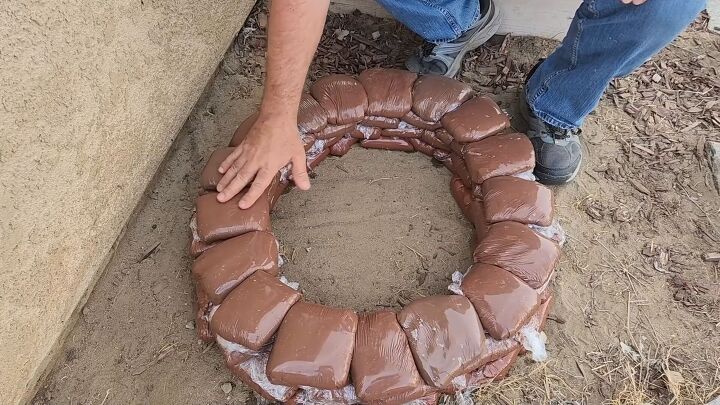
Then, for the second layer, I alternated and placed the pavers on top of the seams.
This helps lock them in place and gives the raised bed a strong foundation.
After arranging the pavers in the circle, I made sure they were facing the way I wanted (with the smooth side up).
6. Letting the Pavers Dry
I let them dry overnight.
Concrete takes time to set, so be patient.
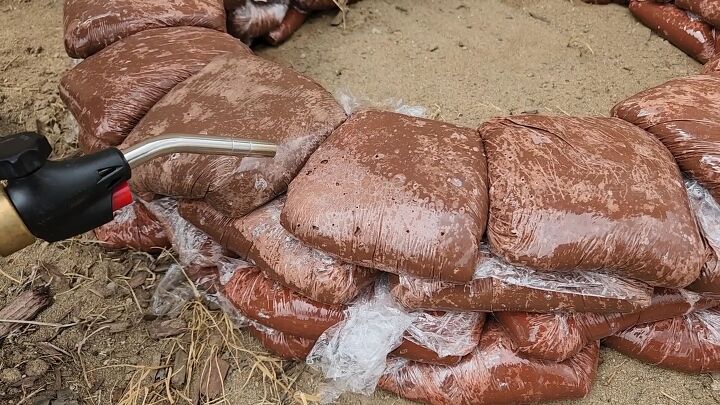
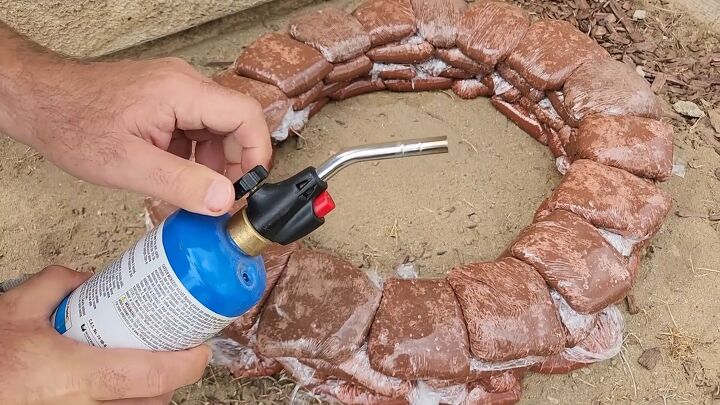
To easily remove the plastic, you can heat a torch and carefully run it over the pavers.
Be very cautious with this method.
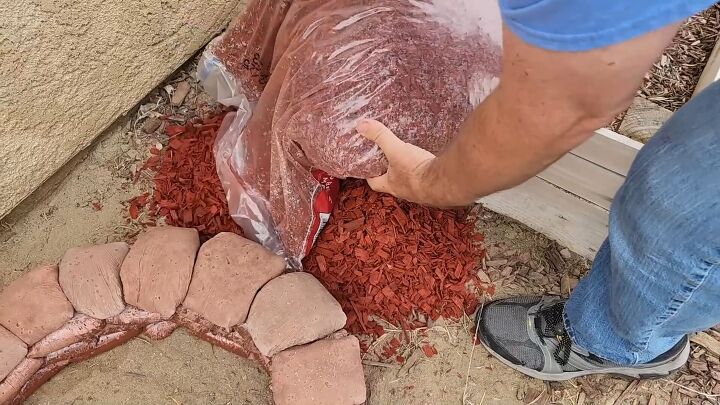
7. Final Touches
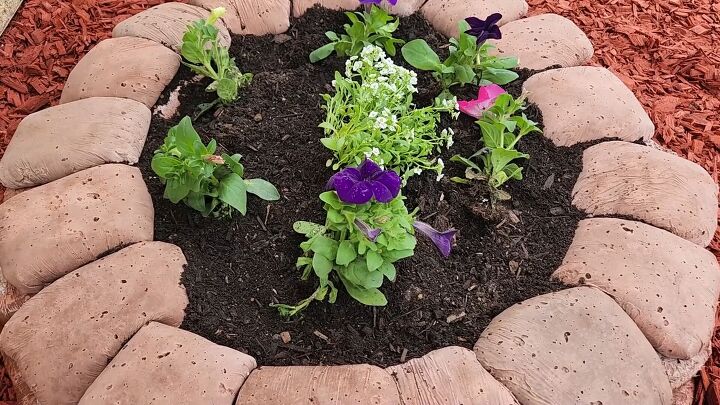
Once the pavers were dry and the plastic was removed, I added some bark dust around the base to give it a nice, finished look.
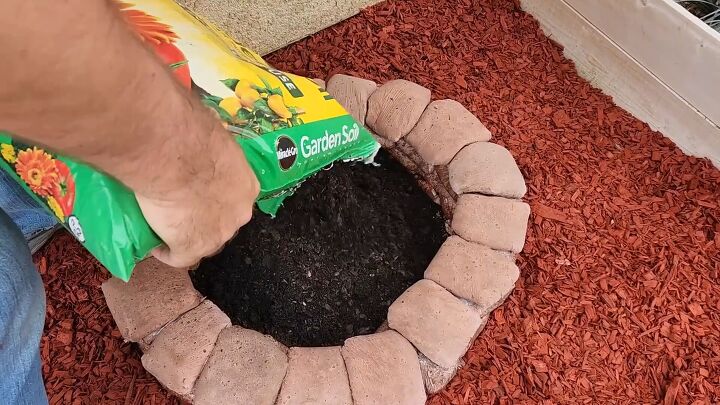
Then, I filled the center of the garden bed with potting soil and smoothed it out. It was finally time to add my favorite flowers!
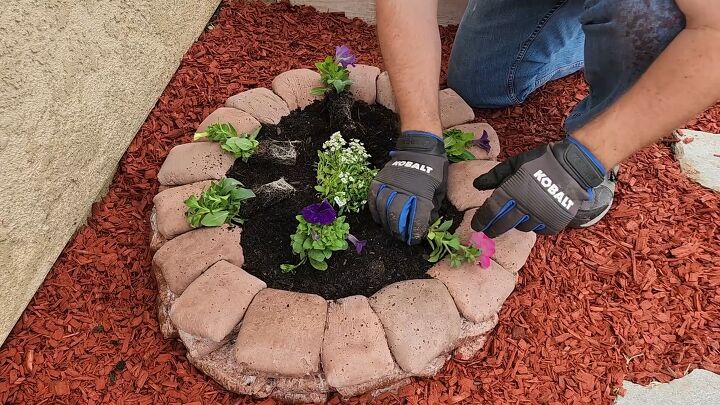
I carefully planted them, making sure their roots were well covered with soil. I took my time and made sure the flowers were spaced out nicely for a full, vibrant garden.
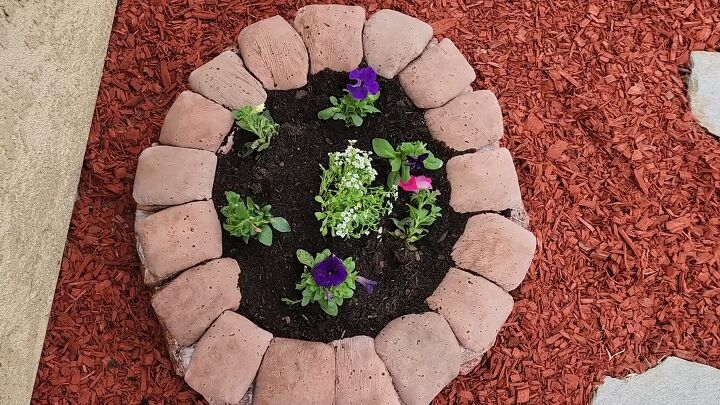
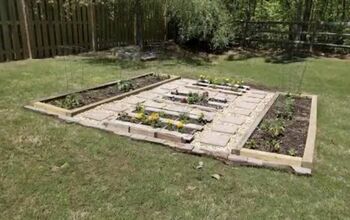
Raised Circular Garden Beds: An Affordable Way to Beautify Your Garden
And there you have it! My homemade concrete pavers for a circular garden bed are now in place and looking amazing.
Not only did I save money by making my own pavers, but I also created a space I’m proud of. I hope this guide inspires you to make your own garden bed or pavers—it's easier than you think!
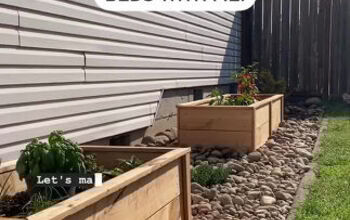
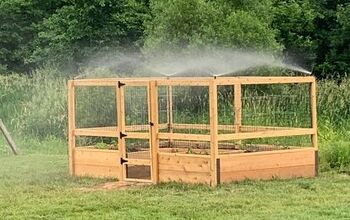
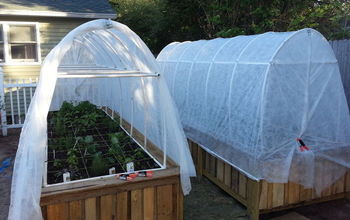
More DIY Raised Garden Beds
Ready to make your own concrete pavers? Share your experience with us in the comments below.
What colors or designs would you choose for your pavers? I’d love to hear all about your ideas!
Comments
Join the conversation
-
Burning the plastic is a huge NO for me. I would rather buy bricks or mold the concrete or clay by hand of if I had time.
-
Clever!


Frequently asked questions
Have a question about this project?
Could you let the pavers dry, remove the plastic wrap, and then stack them?
What is a "spoodle"?