


How to Make an IKEA LINNMON Desk a Standing Desk With Two Wood Crates

Years ago, I used wood crates to make a standing craft table from an IKEA LINNMON Desk. It worked well but over time, I wanted something new and fresh. Well, here it is and I am so stinking excited. I absolutely loved how this turned out. You can use it as either a standing desk or a standing craft table. It could even be an awesome buffet bar. I hope you enjoy this IKEA Hack idea. I tell you, the table top and the legs were in such rough shape... it is truly amazing what a little paint can do...
Hometalk Recommends!
Want to save?
Get your 30-day free trial of Amazon Prime today before Prime Day deals hit on July 8-11th!
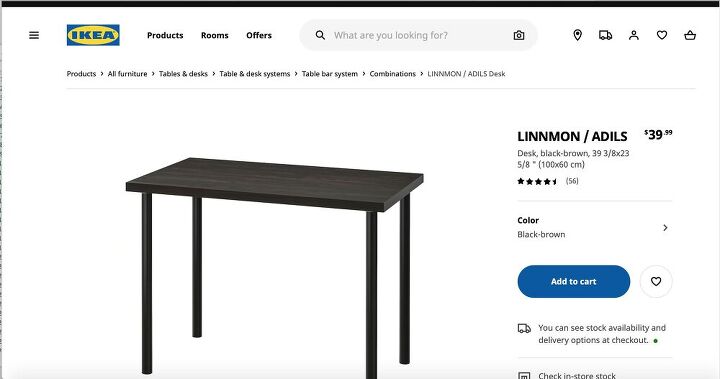
I started with an IKEA desk similar to this one. Mine is the extended table top version.
I also used two crates.
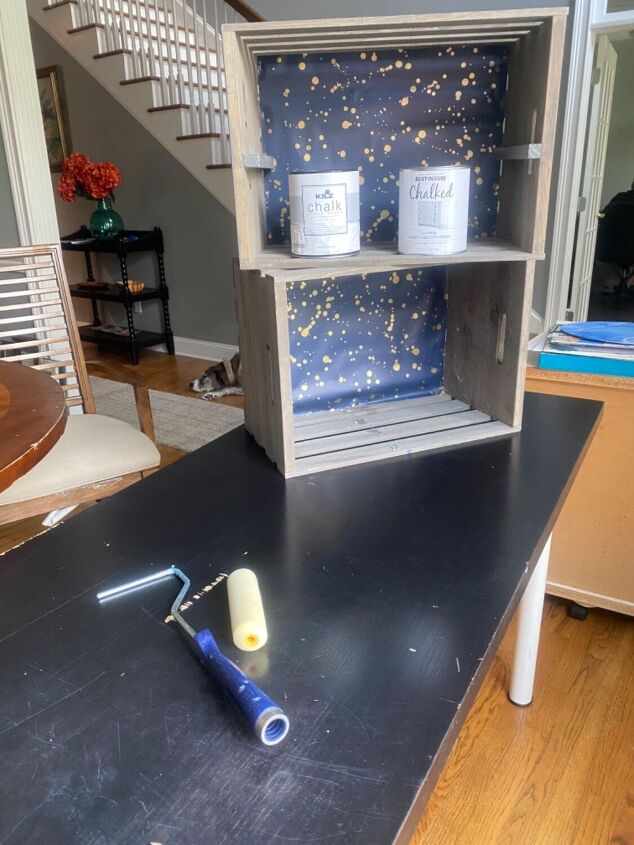
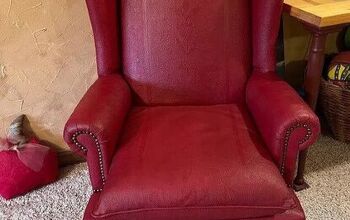
The top of my desk was in poor condition so I painted it. You can see this table has been well used. I really wasn't sure at this point how it was going to look in the end. It was in rough shape.
But first I decided to do all the prep work of making it a standing desk. I knew it would be be flipped this way and that and the paint would likely be scratched. Trust me it was so hard not to paint it first.
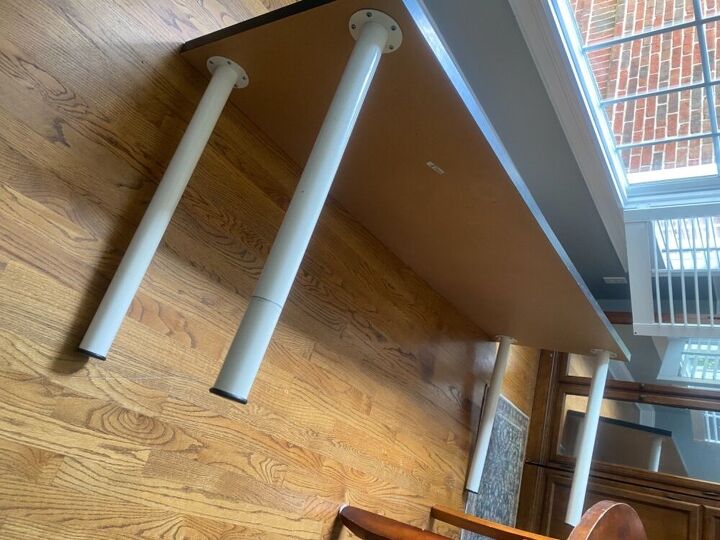
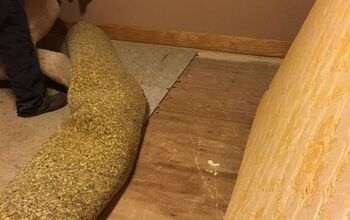
I removed the legs.
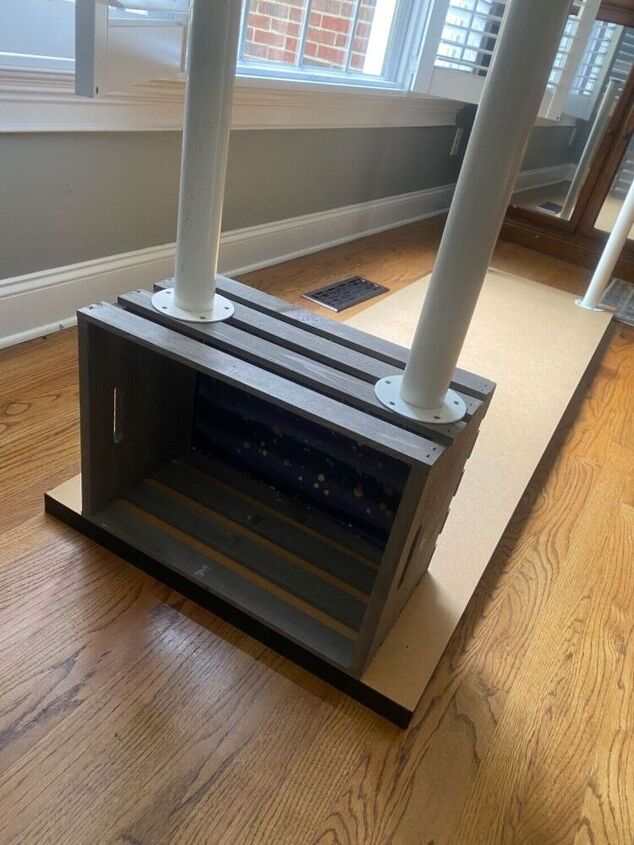
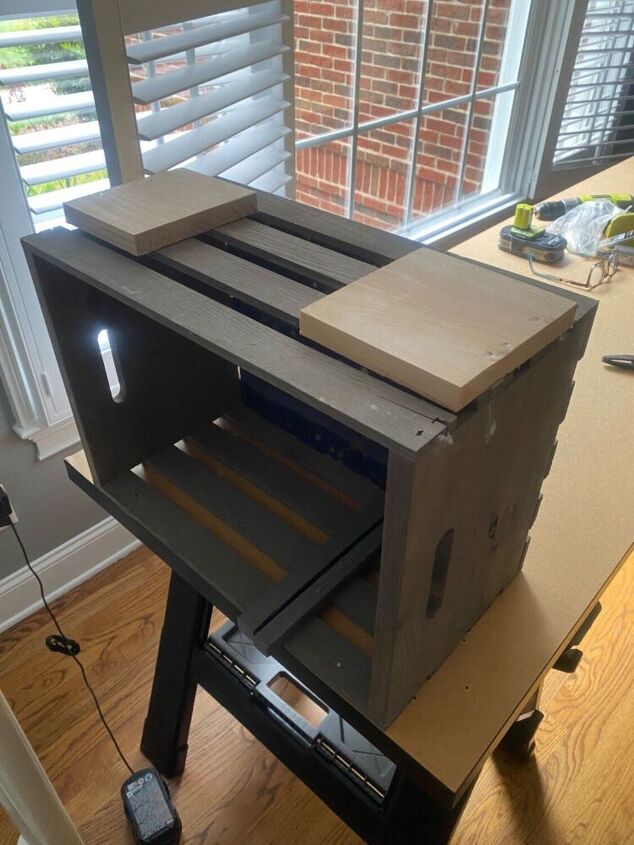
I placed a crate and the legs into position and confirmed that this should work.
I attached the crate to the desk top with heavy duty adhesive.
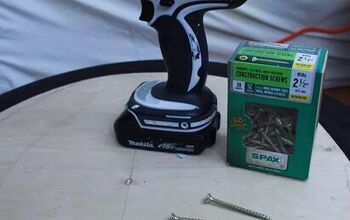
I wanted to clamp it while it dried but my clamps wouldn’t open wide enough. I used a weight at first but later used just a couple wood screws to hold it in place while it dried.
I added a couple of pieces of scrap wood to attach the legs to the crate. I used the same heavy duty adhesive used in the previous step.

My legs looked their age, so I gave them a fresh coat of gold spray paint.
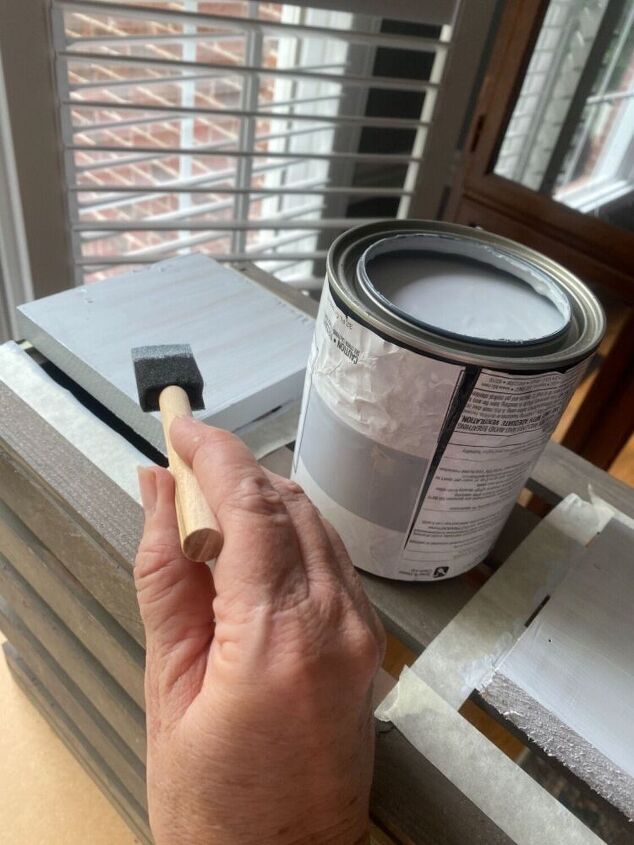
I painted the scrap wood so it would be less noticeable.
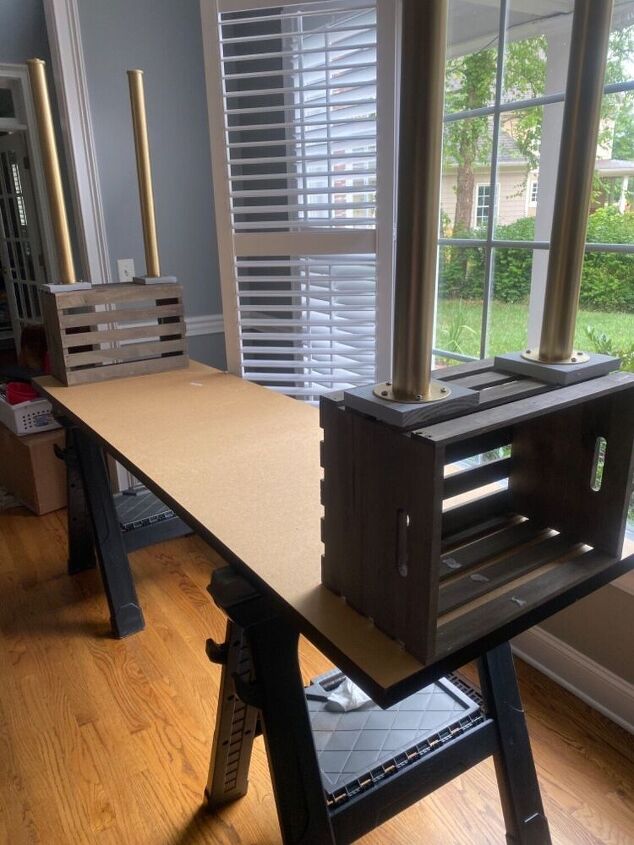
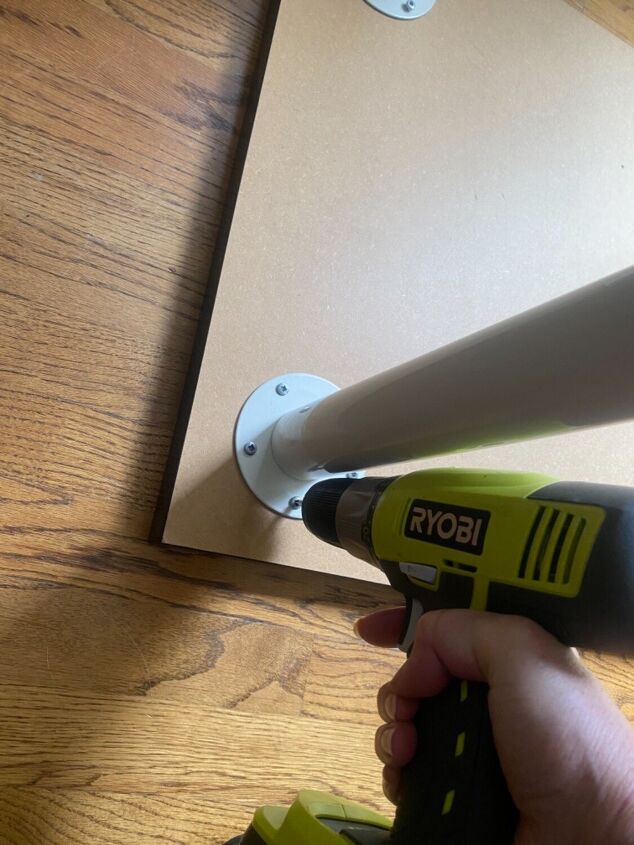
I let the adhesive dry overnight and attached the legs.
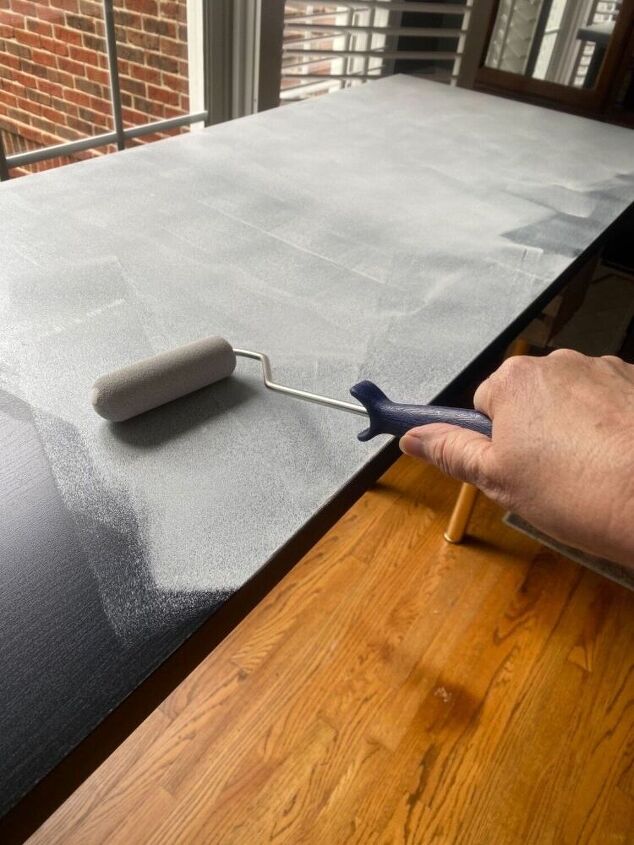
Finally, I flipped it over and painted the top. I used a chalk paint and I did sand the top lightly first. It took many coats to cover this black. I probably should have used a primer first.
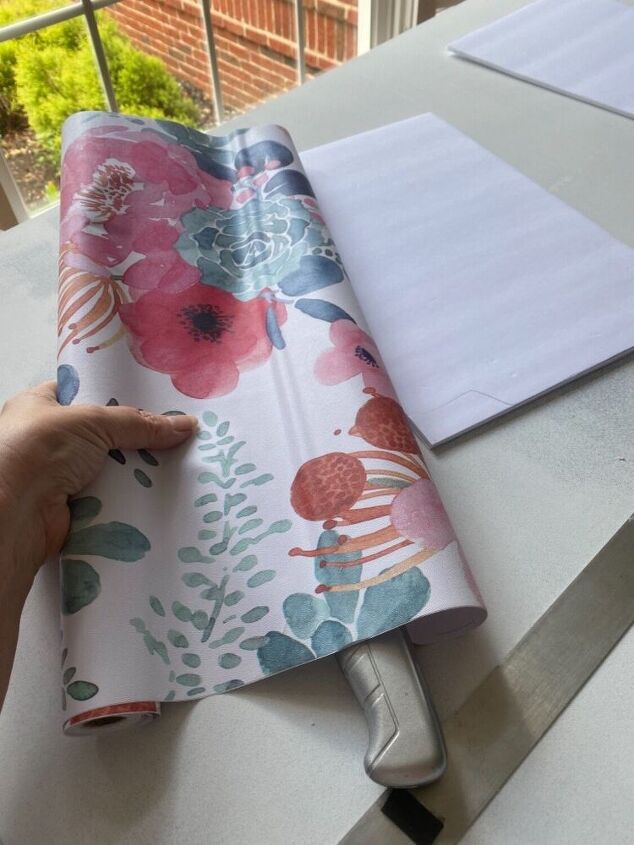
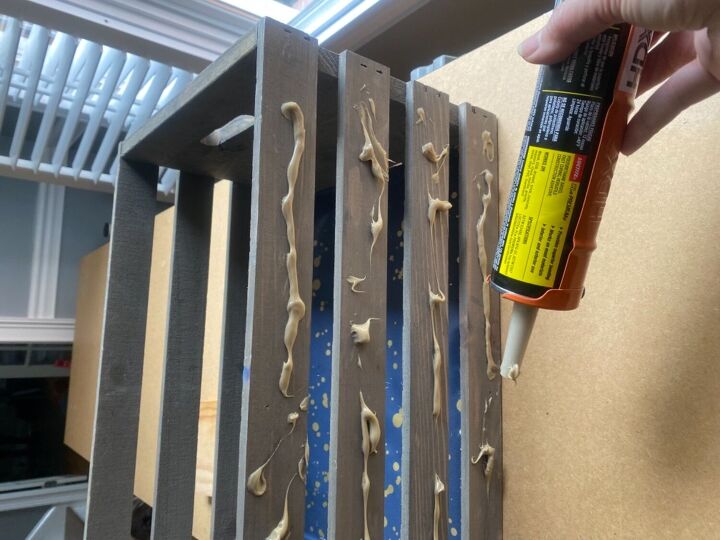
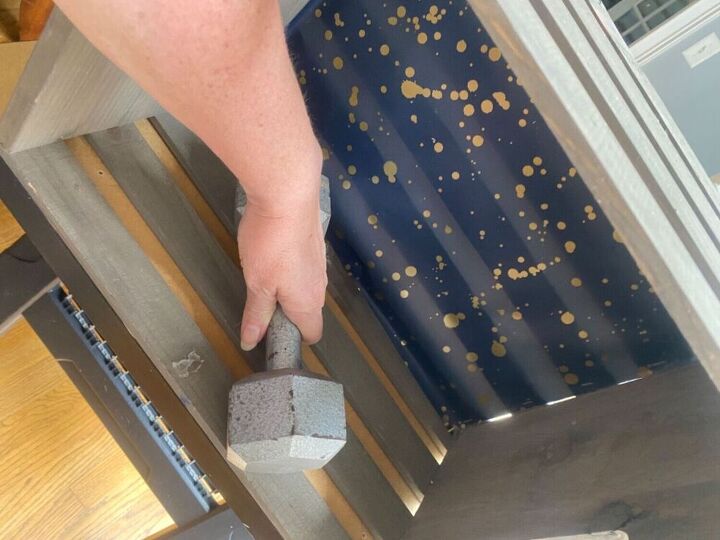
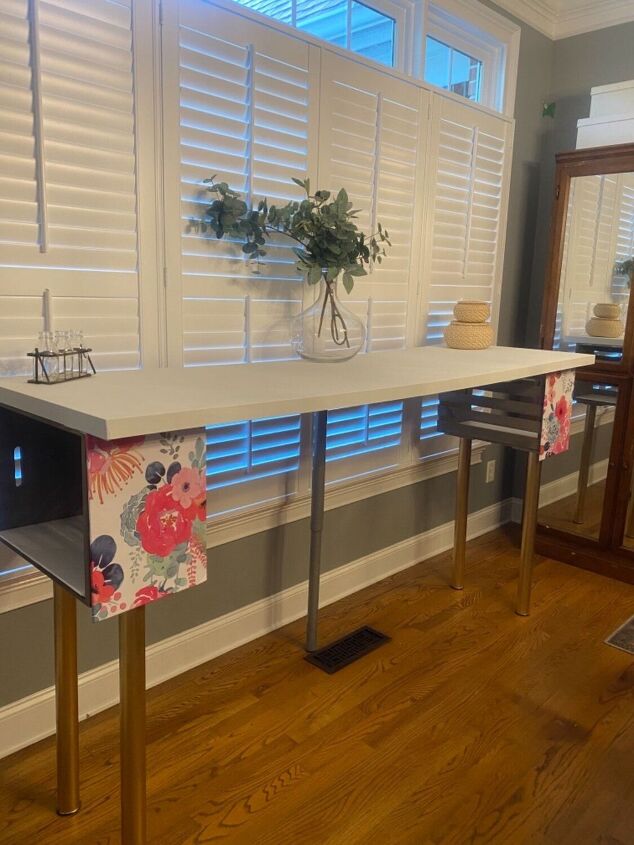
Next, I put some peel n stick wallpaper on foam core board to make the crates pretty.
So pretty!
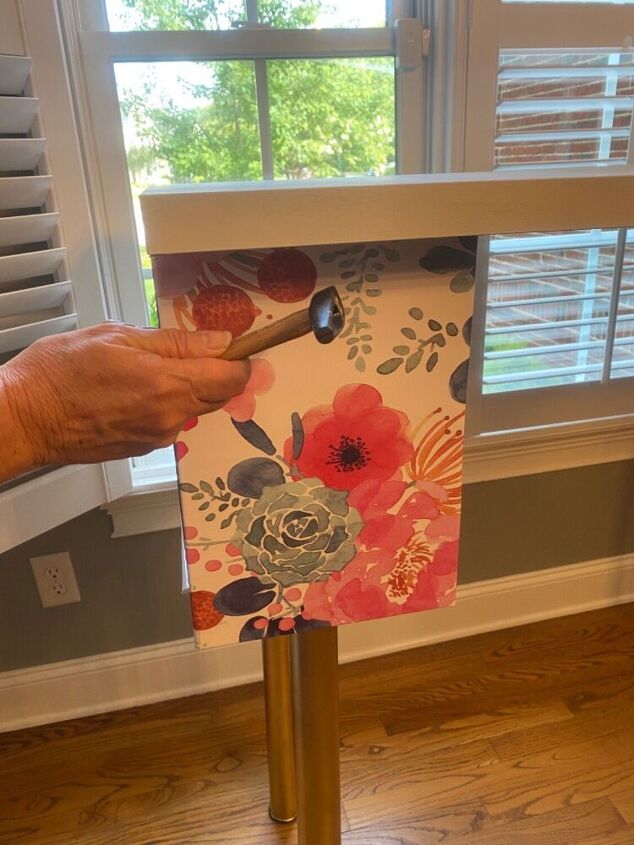
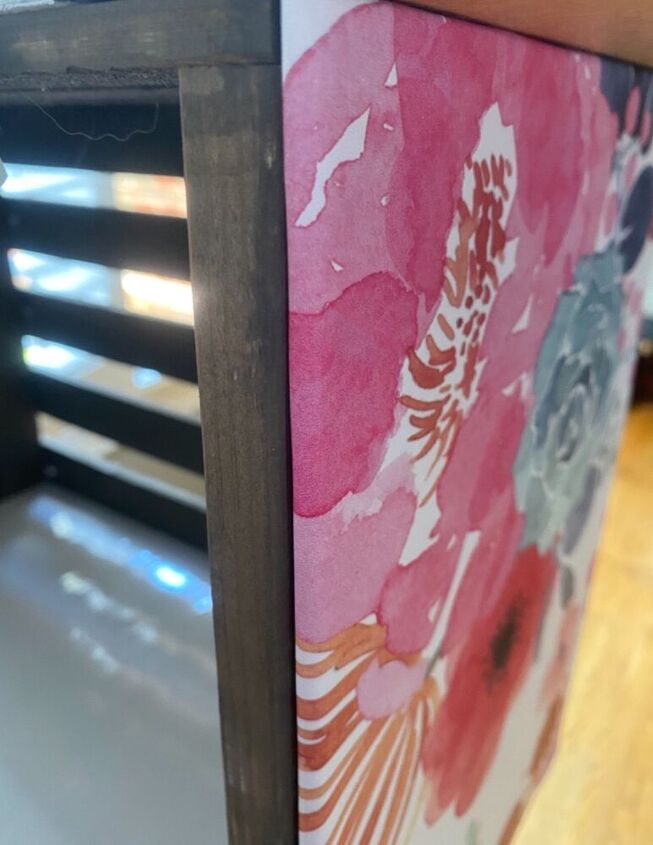
I attached it with small nails but you could use command strips.
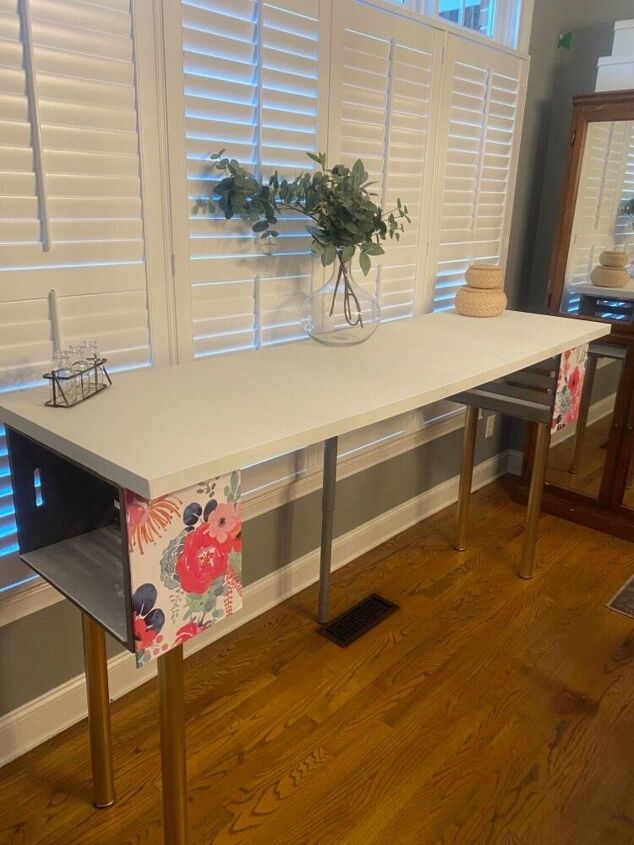
I absolutely loved how it turned out. I was really nervous about the wallpaper choice. I was afraid it would be too much and I stressed over which pattern and I love it now.
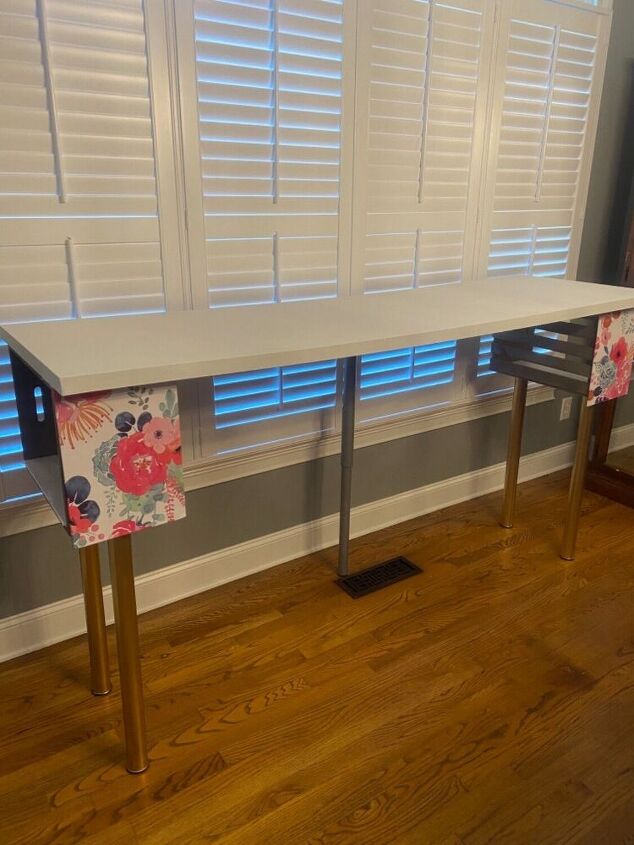
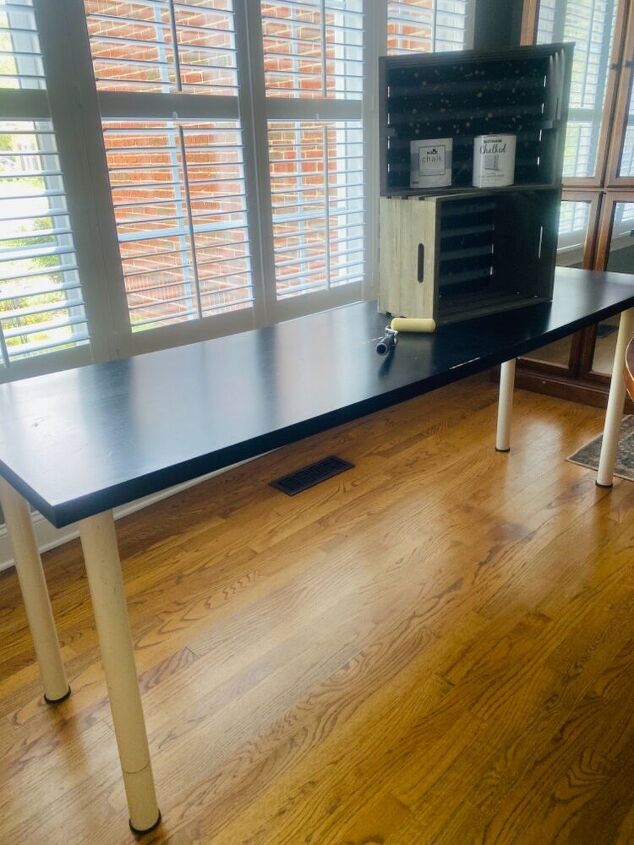
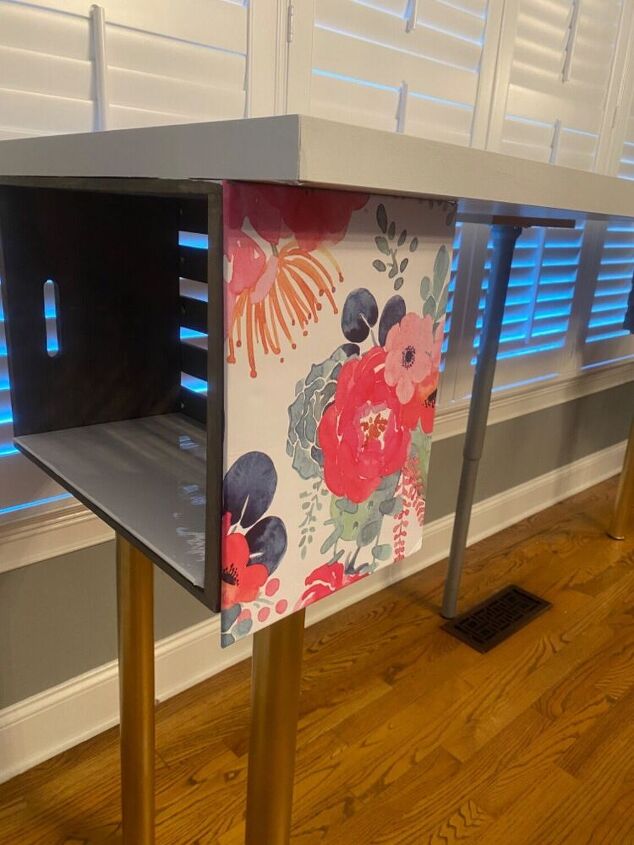
Because my table is so long, I added a fifth leg in the back for support.
I could not be happier!
It really adds something special to my dining room office. It is perfect and it ended up being so much more than I was expecting.
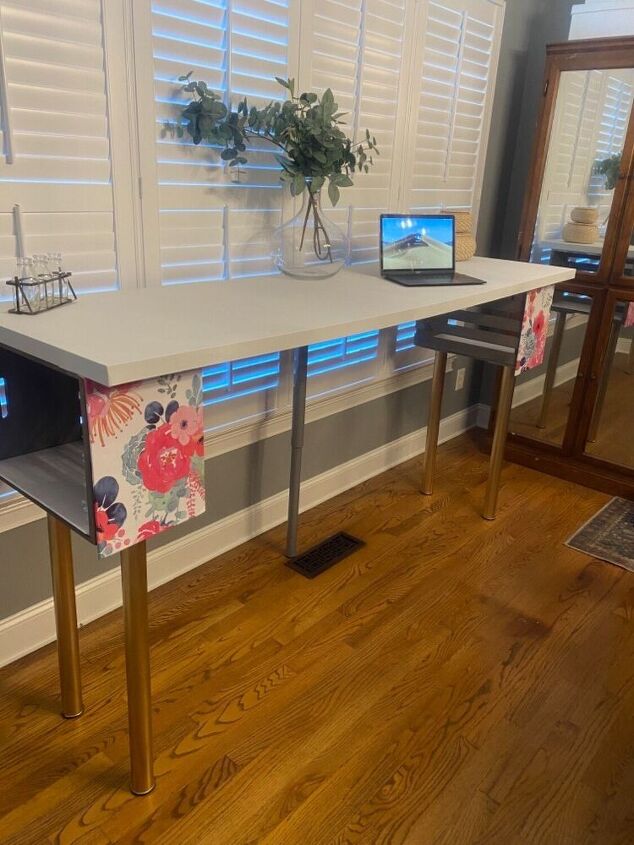
I love being able to stand and work on my laptop or stand and create crafts comfortably. This is such an easy project, I hope that you will give it a try and I would love to know how it turns out for you.
Resources for this project:
See all materials


Comments
Join the conversation
-
would it not have been cheaper just to buy a shelf, legs and the boxes? i build stuff so that would be my way. but good for you looks good
-
This is a good idea. Love the idea of using the wallpaper.


Frequently asked questions
Have a question about this project?
I'm curious about why you didn't put the opening of the crates on the inside for easy storage.
Love how this turned out, it looks great in your space but I am wondering how you open the shutters? Perhaps you never want them open? I would want to be able to let in all that light but that's just me.
Nice idea, a bit curious though. How did you paint without any drop cloth or something to protect the floors. I'd be afraid of dripping or spilling, on the beautiful wood floors.