DIY Textured Dresser

Have you seen the textured furniture at places like Home Goods or TJ Maxx? Don't get me wrong, they are cute, but the price is high for something that is often not made of real wood!
Follow these steps and I'll show you how to texturize your own piece of furniture. I promise, you will be surprised how easy it is!
Best fast dry spackle!
STEP ONE:
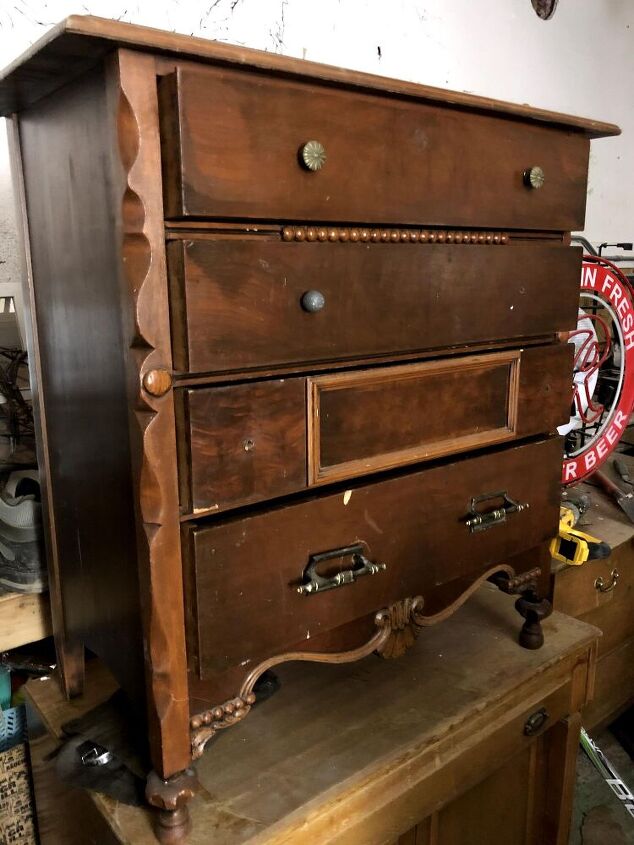
Find that piece that needs some TCL and added dimension.
This solid dresser is the perfect piece for DIY texture. The drawers are flat which makes the surface easy to work with.
STEP TWO:
First, I removed all of the hardware.
Then, I did a light hand sanding on the entire dresser including the drawers. I used a 120 sanding block that you can find at Lowe's or any local hardware store.
After sanding I wiped everything down to get the dust off then I removed the dresser drawers and picked out my stencil.
STEP THREE:
I used "Fast and Light Lightweight Spackling". I applied this over my stencil with an old butter knife, because I did not want this texture to be smooth, I really wanted it to have a lot of dimension. (Check my other textured tutorial on how to get a smooth textured finish).
So, I basically plopped the spackling on the stencil and moved it around until I had the desired depth of the spackling.
- Do not worry about any imperfections, the paint does a wonder job at hiding those!
I continued to do this with all of the drawers.
- I did not wash my stencil between drawers. I waited until the end and it was fine. (In case you are wondering if residue will transfer from one drawer to the next. There was a bit of that here and there, but nothing that the paint would not cover, and again you cannot tell in the end.)
- I also did not worry about the holes of the knobs. I spackled where the stencil was and simply pushed the knobs through the spackling once it had dried. This worked well and did not crack the surrounding spackling.
STEP FOUR:
Here is an in process photo. During this step you can see the small imperfections, but do not get discouraged as they will be unnoticeable once you have painted you piece! If you wanted, you could go through with a wet fine point paint brush and clean it up, but again I think that is a waist of time.
After I was finished putting the spackling on I washed my tools and let the drawers dry overnight.
Then I painted!
STEP FIVE:
PAINT! Yay, my favorite part.
I started by going across the length of each drawer, then I went back and did up and down strokes to ensure that paint got into the tiny crevasses. I did this for each drawer; length first then up and down.
STEP SIX:
Once I had paint on each drawer I let them dry for two days because I wanted to be sure that the paint this not rehydrate the spackling.
During this time I painted the body of the dresser using the same color of paint. I did two coats of paint on the body. After two days I pushed my knobs through.
THE CLOSE UP.
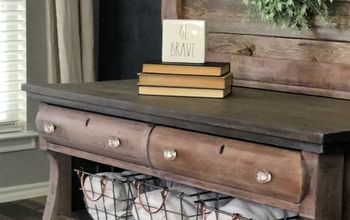
I love how this textured piece came out and definitely plan on using the technique on other pieces.
FINISHED.
You'll notice that I do not have the bottom drawer pulls on yet, because they are on backorder due to Covid, but once they are here I will install them just like I did the others.
I hope you give this technique a try!
Enjoyed the project?
Resources for this project:
See all materialsComments
Join the conversation
-
 Laurie Cole
on Apr 10, 2024
I'll be giving this a try, it turned out beautiful!
-
-










Frequently asked questions
Have a question about this project?
How do uou clean?
No primer? What sheen paint?
I really like the piece you started with and was unsure I’d still like when finished. But I do like the textured look. I keep windows open as often as weather permits so lots of dust and pollen. Any problems keeping dusted,especially in nooks and crannies?