


How to Do an Outdated Dresser Makeover in a Few Simple Steps
Welcome to my outdated dresser makeover tutorial. I transformed a dull and outdated dresser into a stunning modern farmhouse piece.
With a few simple steps and the right supplies, you can give new life to an old dresser and achieve a stylish look that complements the farmhouse aesthetic. Follow along as I guide you through each stage of this exciting DIY dresser makeover.
Tools and materials
- Outdated dresser
- Sandpaper (150-180 grit)
- Clean cloth or tack cloth
- Shellac primer
- Paint sprayer
- Chalky green paint
- Paintbrush or sponge brush
- Wood stain
- Water-based polyurethane
- New hardware with a modern farmhouse style
- Protective gear (mask, gloves, safety glasses)
Outdated dresser makeover
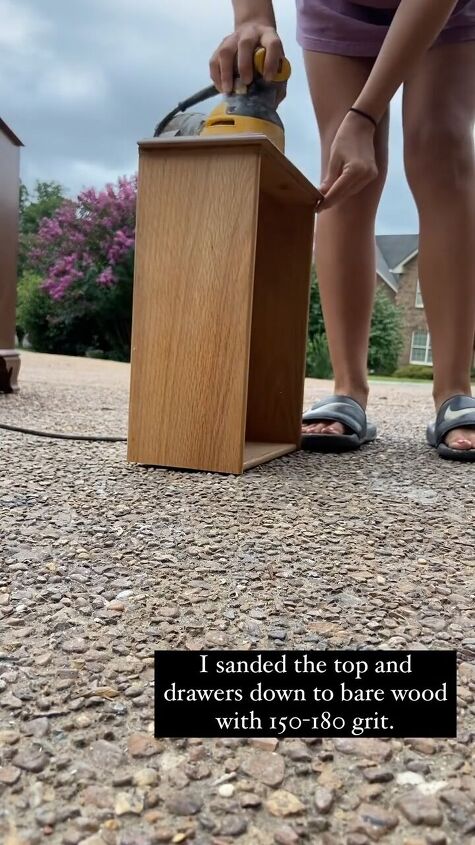
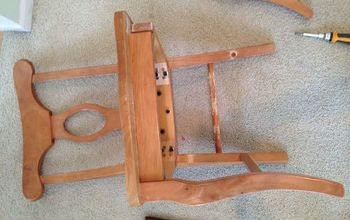
Step 1: Sanding
Begin by sanding the entire dresser and drawers with 150-180 grit sandpaper. This step is crucial to ensure a smooth surface for the paint to adhere to. Take your time and focus on removing the existing finish down to the bare wood.
Step 2: Cleaning
Wipe down the sanded surfaces with a clean cloth or tack cloth to remove any dust or debris. A clean surface will allow for better adhesion of the primer and paint in the following steps
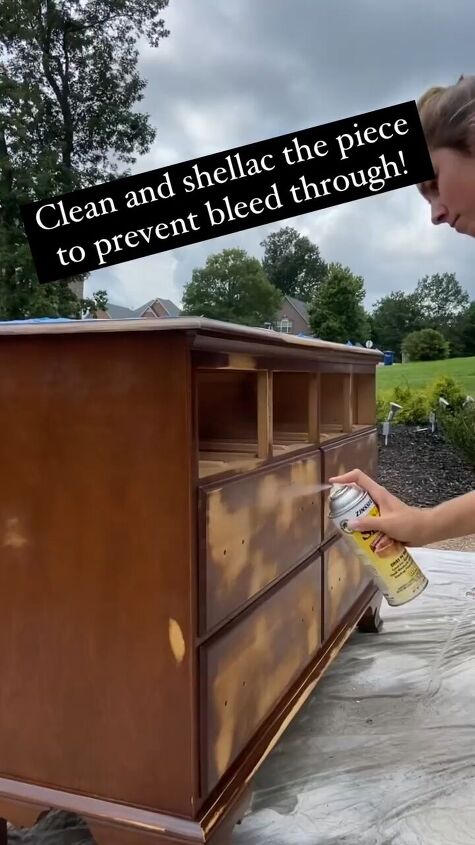
Step 3: Primer Application
Spray the entire dresser with a coat of shellac primer. This will prevent any bleed-through and create a solid base for the paint. Make sure to follow the manufacturer's instructions for proper application and drying times.
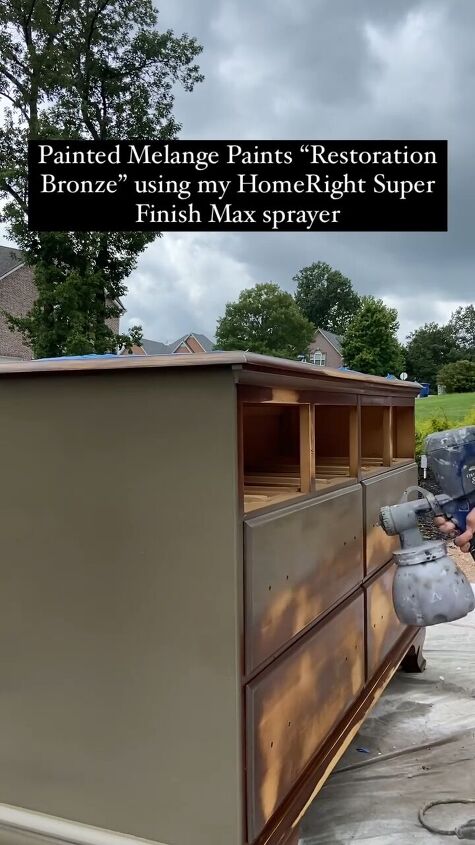
Step 4: Base Coat with Paint Sprayer
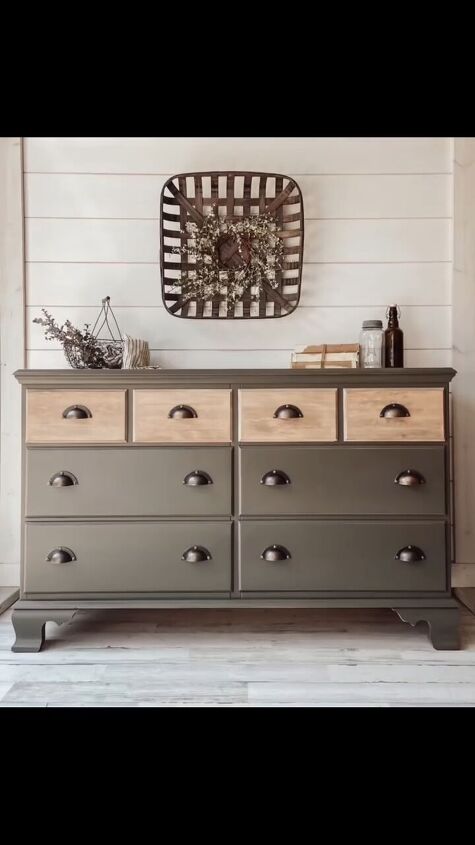
Using a paint sprayer, or a paint brush, apply a layer of the paint color of your choice to the dresser, excluding the top three drawers. I chose a lovely chalky green.
Choose a color that will give the dresser a fresh and modern look. Allow sufficient drying time between coats as per the paint's instructions.
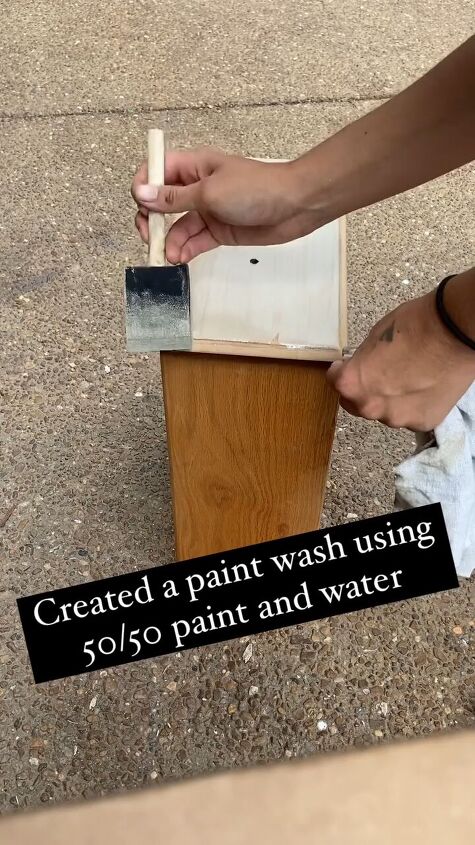
Step 5: Creating a Paint Wash
Mix a 50/50 solution of paint and water to create a paint wash. Use a sponge brush to apply this wash to the top three drawers, creating a unique and textured effect.
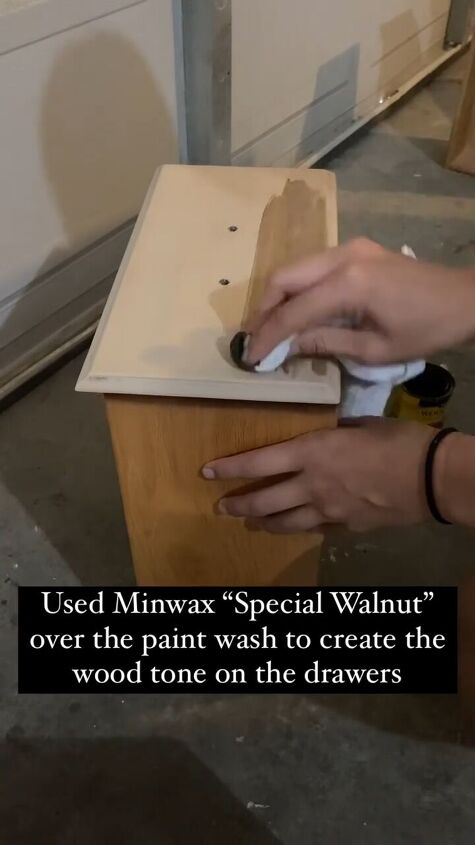
Once dry, go over the wash with wood stain to achieve a beautiful wood tone.
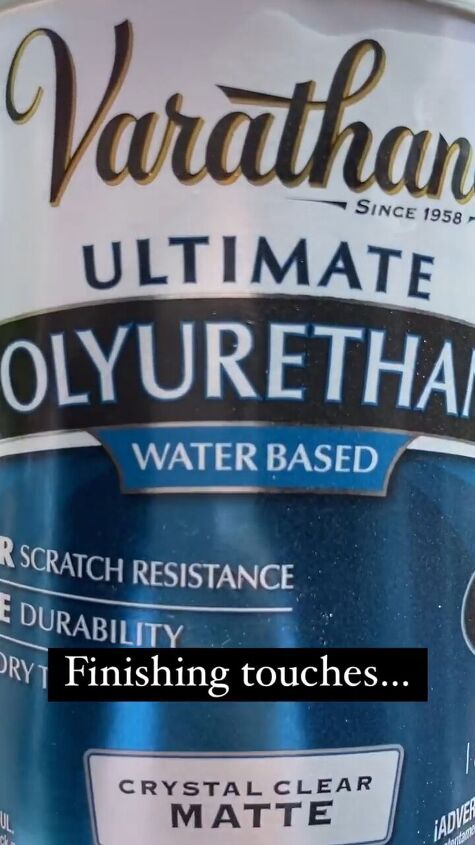
Step 6: Protective Finish
Cover the entire dresser with a water-based polyurethane to protect the painted and stained surfaces. This will also provide durability and a smooth finish. Follow the manufacturer's guidelines for application and drying times.
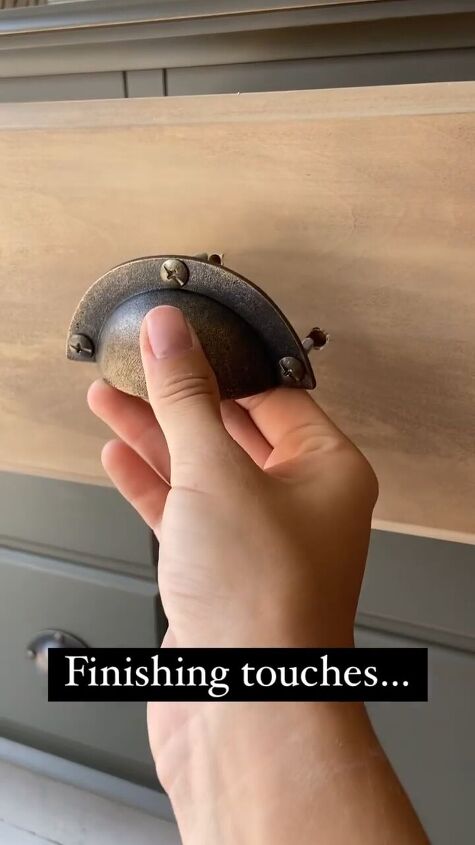
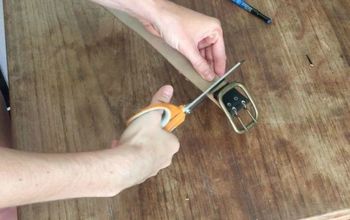
Step 7: Hardware Replacement
Enhance the dresser's modern farmhouse vibe by replacing the existing hardware with handles that match the style. This simple change can make a significant impact on the overall aesthetic.
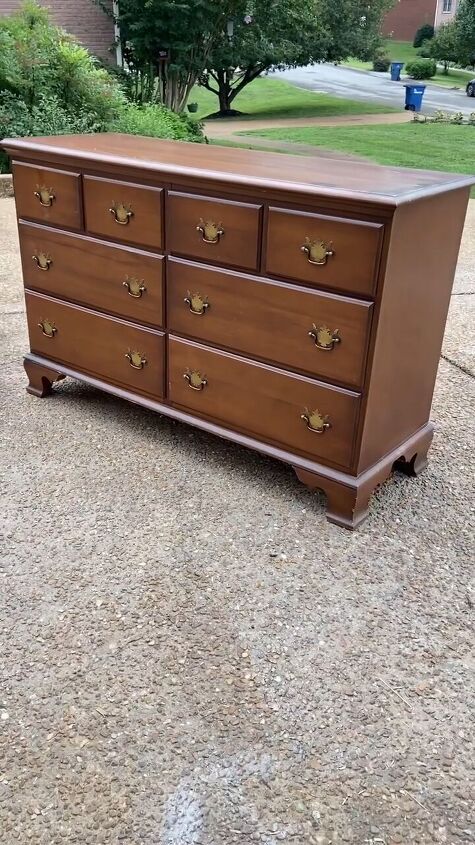
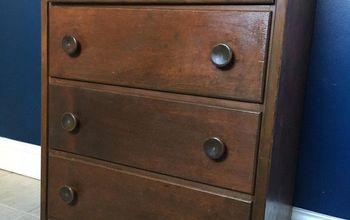
Check out this before and after dresser makeover!
Outdated dresser makeover
I hope you liked these DIY dresser makeover ideas. With a bit of effort and creativity, you've turned a plain and outdated piece into a stylish modern farmhouse gem.
Enjoy your newly transformed dresser, and feel free to experiment with colors and techniques to make it uniquely yours. Happy crafting!
Follow @rhettsrefinishes on Instagram for more DIY ideas.


Frequently asked questions
Have a question about this project?
Love this! The colors are gorgeous. Did you just match up handles with the same screw holes?
The contrast of the four top drawers (and new hardware) absolutely make this stunning piece but I’m not clear how you achieved the light wood effect on the top drawers when you don’t appear to have previously completely stripped them down to bare wood ?