Bottle Top Table

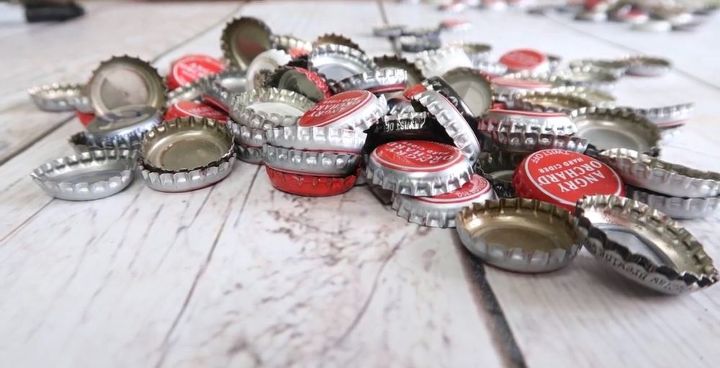
I’ve been collecting bottle tops all summer with the intention of making something. Here’s that something.
It wasn’t just me drinking all the drinks, I did have help.
I started by separating the tops by brand and color just to see how many of each I had.
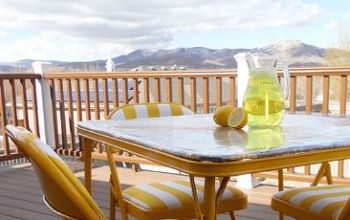
A-This is the table that I’m using. It has some scratches on top but it’s metal and a great outside table.
B-I measured and marked the table top into equal sections.
Before I put the caps on the table, I wanted to figure out a pattern.
A-Using inexpensive wrapping paper, I turn the table on it’s head and traced around the top and cut out the circle.
B-It took a awhile to figure out the pattern but I came up with something that I liked.
Some of the tops were bent when they were taken off the bottle.
A-If the top of the tops were bent, I used a hammer to flatten them
B-If the sides were bent, I used a needle nose plyers to straighten them.
To stick the bottle caps to the table top:
A-I scooped mastic into a small plastic bag
B-and cut the corner off
C-I piped the mastic into the bottle top
D-I began in the middle with my favorite cap
Once all of the tops were on the table and the mastic was dry, I needed to add an edge around the table.
A-Using duct tape, I laid the tape sticky side up
B-and folded down 1/4 of the tape and stuck it to the other side
C-I placed the folded down edge above the table top and using the sticky part to adhere the tape to the table.
To my the grout,
A-I mixed 3 cups of dry grout
B-added 1/2 cup of water
C-and stirred together until I had the consistency of mashed potatoes
A-Using an old wooden spoon, I put the grout on top of the caps making sure I pushed the grout between the bottle caps.
B-I used a sponge and plain water to remove the excess grout
I allowed the grout to dry for 24 hours.
Once the grout was dry,
A-I removed the duct tape
B-and sanded the rough edge
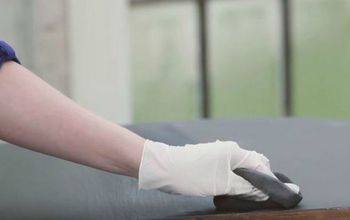
C-then wiped the entire table with a soft cloth and plain water.
I applied mosaic sealer liberally using a sponge brush.
I allowed the sealer to dry for 24 hours.
Table turned out great, it’s weather proof and looks great outside.
Now to start collecting more bottle tops for the next project.
Cheers!
DIY bottle cap ideas
Enjoyed the project?
Resources for this project:
See all materialsComments
Join the conversation
-
 Carol Suzeth Rogers
on Apr 02, 2019
I love it!! 🥰😍 Great Job!!
-
-
 Kim/Louisiana
on May 02, 2019
Super cute!
-










Frequently asked questions
Have a question about this project?
Can resin be used instead of grout?
are all the caps the same size so the top is even? Original top looked sloped (or was it an optical illusion?) nice job👏
Would it hurt to add food coloring or acrylic paint to the gout before mixing to add color to it?