


PAINT Your Bathroom Sink
Yes, you read that correctly! Paint your bathroom sink with a special little product from rustoleum called appliance epoxy. Intended for refreshing your old fridge, it can also be used in the bathroom to freshen your yellowed or funky colored countertop.
Please note that this isn’t a permanent fix and is intended to get you by in a fix while you’re saving up or deciding what you want, but it looks a lot better than it did and is holding up well enough that it will give us a season or two of use until we rip out this bathroom.
This hack only takes a few minutes per each application, the length of time is solely due to paint drying.
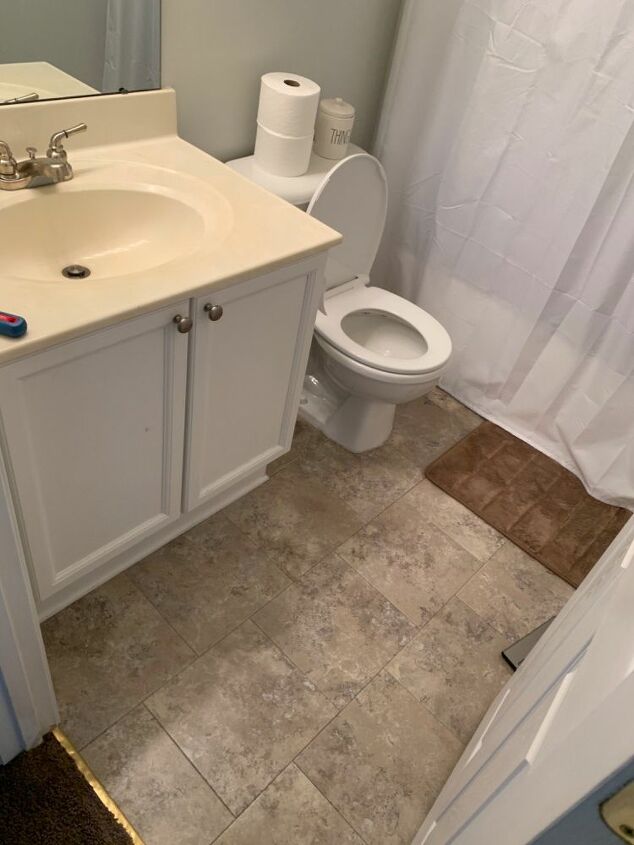
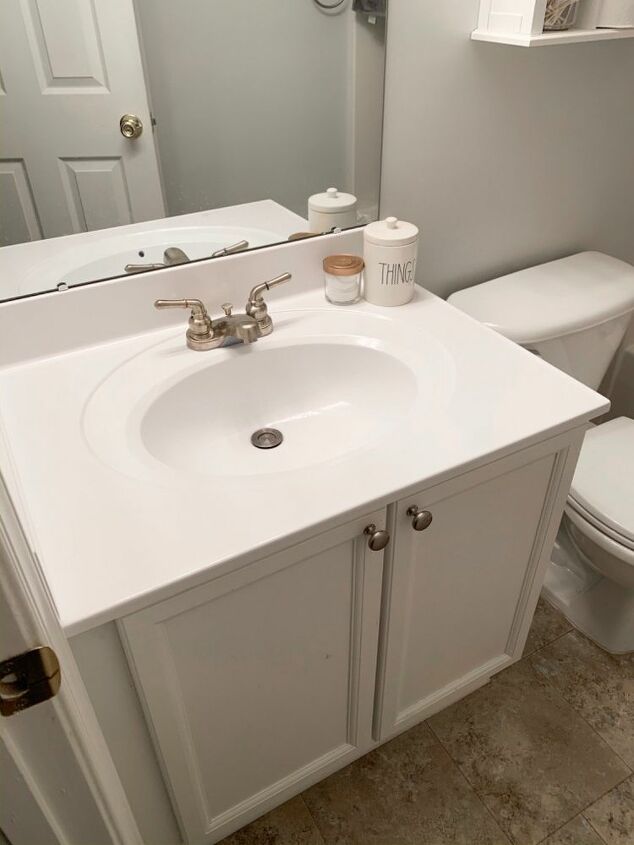
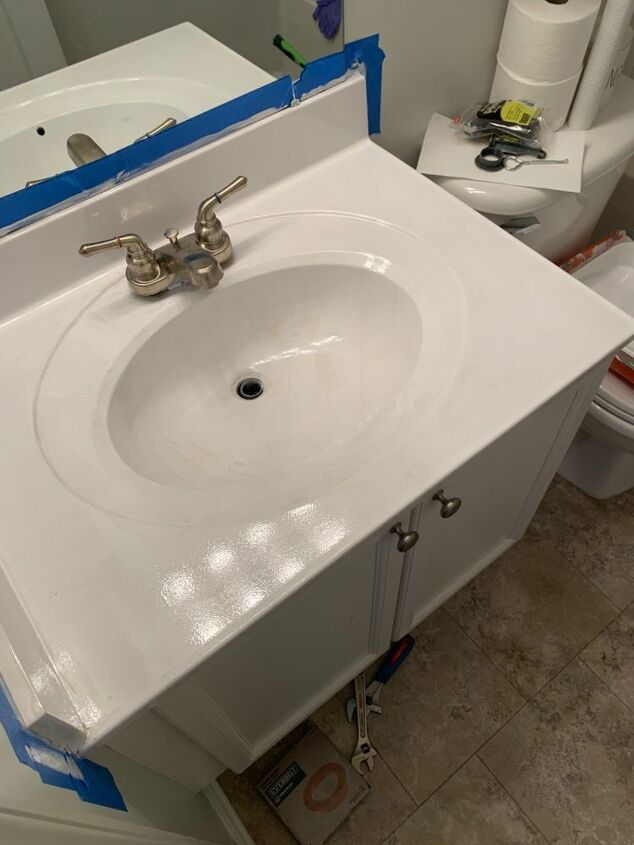
This is how the sink started (sorry I didn’t close the toilet lid!!) but you can see it was crazy yellow, I don’t know if that’s how it came originally, or if it’s yellowed over almost 20 years of use. First things first you’re going to need to remove the sink plug and either remove the taps or lift them enough to be able to paint underneath. I used an old teeth floss carton which fit perfectly to rest the tap on.
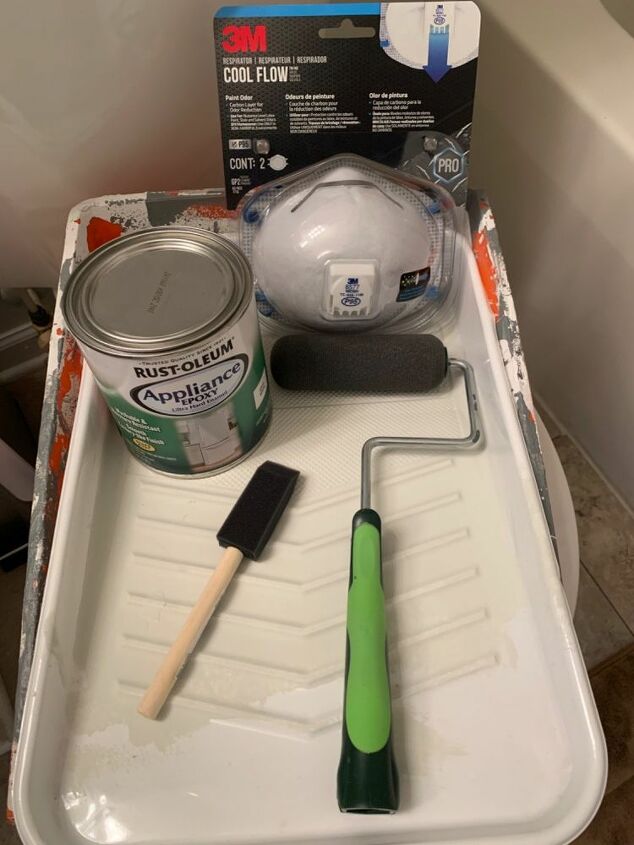
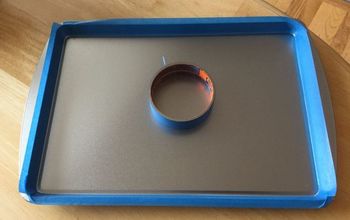
You’re going to need 2 foam brushes, 2 foam rollers, a vapor mask (this stuff smells!) a disposable roller tray, masking tape to tape off edges and of course your epoxy.
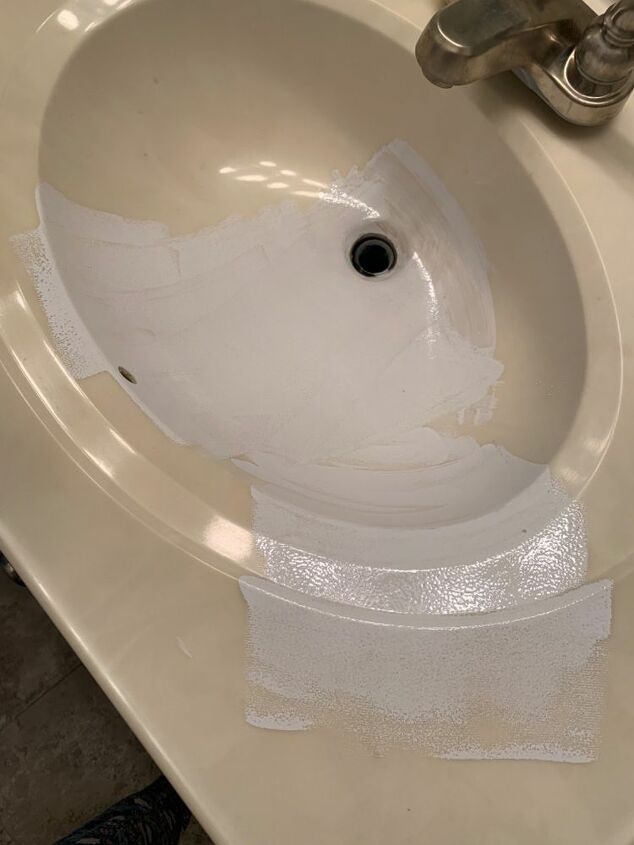
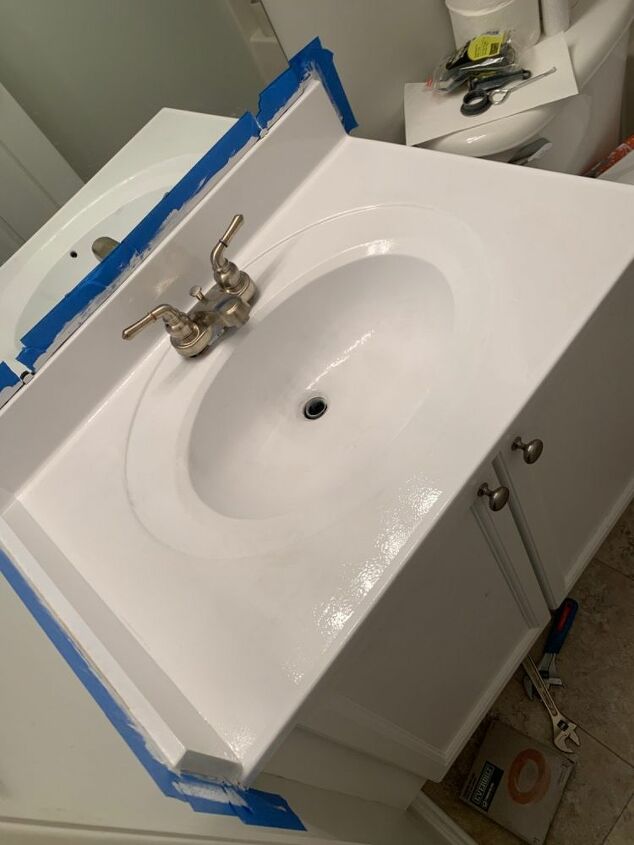
Tape off any edges you need to protect and apply your first coat, using the brush to get into places the roller can’t reach. I will tell you, the first coat looks AWFUL. You’re going to panic and stress out that you’ve made a huge mistake and now you’re going to have to just replace the whole unit, but don’t worry. The product builds, don’t try to make the coat thick, it won’t help in the long run we just have to persevere and layer up.
Make sure to put your roller tray inside a plastic bag and wrap your brush and roller in one too so they don’t dry. I found that recommended drying time between coats was off, and it all depends on the air flow, temperature, moisture etc. So I actually left mine for 1 hour before I applied the second coat. If the first layer is tacky then the second coat will just pull it right back off when you roll it.
After the second coat I actually let it dry for a full 24 hours and then lightly sanded it with a super fine grit before I hit it with a 3rd coat. This epoxy is super runny, which means it’s also thin. I can tell you that it is available as a spray paint too, and I have seen a lot of people have success with that but be aware that the spray paint goes EVERYWHERE, so you would need to plastic cover every single inch of the room and yourself. DO NOT GET THIS STUFF IN YOUR HAIR!
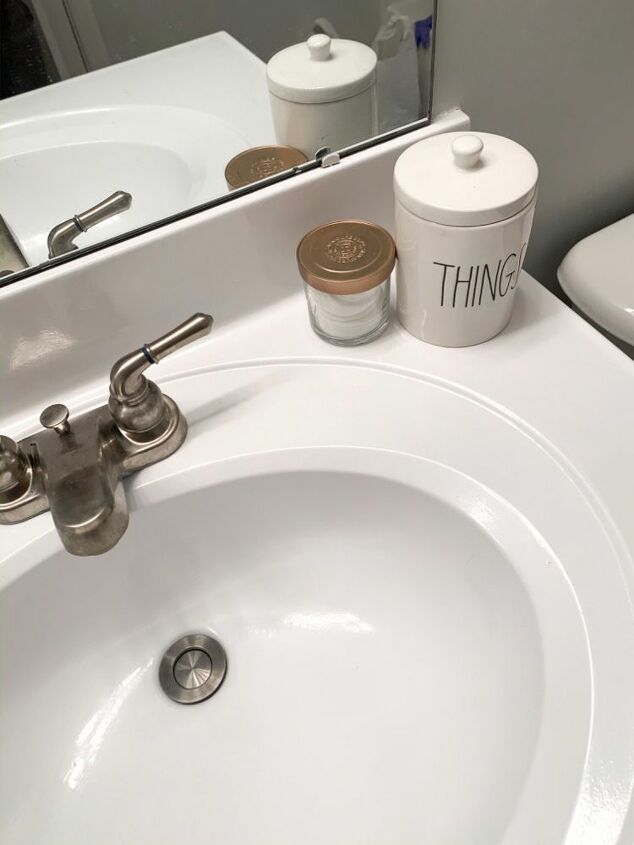
3 coats was fine, but I sanded and put a final 4th coat on 24 hours later because I wanted to ensure that this thing is durable enough for guest usage. What I will say is that the spray paint will give you a smoother finish. The canned epoxy dries grainy in texture due to roller use so be aware of that when choosing between spray and roll on. But this cheap hack changed the whole room!

Resources for this project:
See all materials


Comments
Join the conversation
-
Love it!❤️❤️❤️❤️ Gonna do mine and kitchen counter….
-
I love how your canned paint turned out. I was afraid to use a brush roller and try this so I used the Rustoleum Epoxy Spray and although I'm very pleased with the final results, I cannot stress enough just how "invasive" that stuff is!!!
Just writing this in case people out there are thinking of trying the spray paint vs the roll-on...
I wore a respirator mask because the fumes.... OMG!!! Even still, I had a splitting headache the next day.
And I spent more time than I ever imagined tarping off and taping off the area but man, that stuff OVERSPRAYS!!!!! I had covered everything pretty darn well, but even the bottoms of my shoes were sticking to the upside down crappy rugs that I put on the bathroom floor and it was SO tacky and I was just doing a 24" sink.
I had one small area on a corner where the paint crackled for some reason - maybe I got it on too thick, but with the spray paint, you have to wait a whole week before you can re-sand it down and then spray paint it again. Must have something to do with letting the paint really set before you attempt to sand so it doesn't gum up the "good paint". Anyways I was able to fix and blend that area and you wouldn't know the difference, thank God.
Also people - put in the time to painstakingly fix any crack, chip or defect using a two part epoxy and sand, sand, sand, and reepoxy if needed before you even think about using the epoxy paint. NO, the paint will not miraculously fill in the flaws!!! Do ALL of the prep work perfectly before you even think of painting!!!
My bathroom is about 7' x 5' x 3' including the tub, vanity and toilet and I've just spent 27, 8-12 hour nights regrouting, painting old grout, sealing grout and dealing with this POS sink and it's still a crappy old bathroom but it looks 'better'. These are the days I wish I were rich!
Happy projecting to the rest of you!


Frequently asked questions
Have a question about this project?
what should I do if I added another coat too soon and the previous coat bubbled? I only waited about 18 hours vs 24 hours :-(
I have little hairline cracks by the plug. Do you think this would fill them in enough that they wouldn’t be that noticeable?
Looks a lot better. Wonder how it will hold up over time?