How to Make an Easy No Sew Shower Curtain From a Sheet

Every spring I get the urge to freshen up a room or two.
Certainly one of the easiest ways to freshen up the bathroom is with a new shower curtain.
With this in mind, I came across a pretty floral flat sheet that I thought would add cottage style to my main bathroom.
Making a shower curtain is quick and easy.
In fact, I’ll share a no sew version that can be made in less than an hour.
When I first remodeled my bathroom, I had so many comments on my shower curtain.
And at the time I didn’t have any photos of the process.
So, I thought it was time to show you just how easy it is to make.
Supplies to Make a Shower Curtain
Here’s a list of the supplies I used to make my shower curtain:
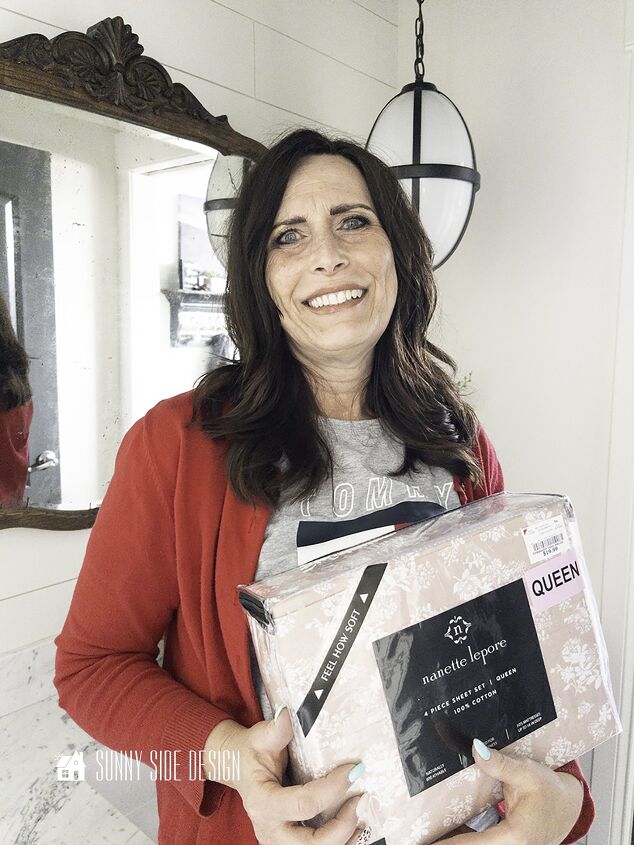
- Flat sheet (I used a queen size, but if you’d like it fuller, use a king)
- Fusible web
- Grommets
- Lace trim (optional)
Of course, if you’d like to sew your shower curtain you can omit the fusible web and grommets.
Prepare Flat Sheet
Generally before I sew anything, I like to wash my fabric.
Then if there is any shrinkage, it won’t ruin my project.
Before I start making the shower curtain, I also pressed the sheet with a steam iron.
Cut Sheet to Length
First you’ll want to determine how long you’d like your shower curtain to be.
I like mine to be fairly long.
In fact, I feel that the longer the shower curtain, the higher the ceiling will feel.
With that in mind, I decided to cut my flat sheet to 88″ long.
This will allow for a 4″ double fold hem, with the finished shower curtain length at 80″.
To keep this as simple as possible, you’ll use the existing top hem and side seams of the sheet.
So there is only one hem to finish.
Make a Shower Curtain with a No Sew Hem
First you’ll want to make a 4″ fold from the cut end of the sheet.
Press with a hot steam iron.
Then fold over another 4″ and press again.
To make a no sew shower curtain, you’ll use a fusible web for the hem.
Place the fusible web in between the 2 layers of the 4″ pressed hem.
Then place a damp press cloth over the hem and press with a hot iron.
Hold the iron over the hem with the fusible web for 10 seconds all along the hem.
Then flip over to the right side of the fabric and repeat the pressing.
This will ensure that the fusible web is secure along the entire hem.
Add Grommets
The top hem of the flat sheet is the perfect place to add the holes for the shower curtain rings.
Generally when I make a shower curtain, I’ll make button holes for the rings to go through.
But to keep this quick and easy, we’ll use grommets instead.
First, you’ll want to determine the spacing for your holes.
You can easily determine this from your shower curtain liner.
I spaced out my holes for the shower curtain 6 1/2″ apart.
Next you want to take one side of the grommet and trace the inside of the hole.
Then take some sharp scissors and trim the hole.
It doesn’t need to be perfect, you just need to be able to fit the end of the grommet through the hole.
Next place the grommet piece that will be on the right side of the shower curtain onto the anvil.
Tip: When you buy a package of grommets, select one with the tools in the package if you don’t already have them.
Then place the right side of the fabric over the grommet.
Next, add the ring with the prongs.
Then place the setter over the hole and tap until the grommet is secured to the fabric.
Repeat until all of the grommets are attached.
Let’s stay connected! Follow us on social media!
Embellish Shower Curtain
Last but not least, I thought it would be fun to embellish my shower curtain with a little lace.
For a queen size flat sheet you’ll need about 3 yards of lace.
Once again, I used the fusible web to secure the lace to the top of the fabric.
When securing the lace with the fusible web, be sure to use a pressing cloth.
You don’t want to get fusible web stuck to your iron.
Hang and Enjoy
Can you believe how easy it is to make a custom shower curtain?
Definitely using a sheet makes the process so much faster.
Are you ready to give this project a try?!
Will you be using the no sew method, or are you a seamstress?
Did you know this same method can be used for drapes?
For more ideas to update your bathroom, take a look at our inexpensive master bathroom remodel.
And don’t miss Steph’s modern coastal bathroom! It’s amazing!
If you have specific ideas you’d like to see on our blog, you can leave us a comment below or drop us an email.
We love hearing from you!
Thanks for spending some time with us today!
We hope you’ve been inspired to try something new for your home.
Let’s stay connected!
Subscribe to our free newsletter so you don’t miss any inspiration for your home.
Please PIN and share with your friends! It helps us grow our following.
If you’re new here, WELCOME! We love having new friends!
We hope you’ll join us again for more ideas for your home.
If you’d like to learn more about us you can do that here.
And as always here at Sunny Side Design
WE HOPE TO BRING YOUR HOME TO THE SUNNY SIDE OF THE STREET!
Be sure to follow us on Pinterest for even more home decor and DIY ideas.
To see what we are working on before it’s on our blog, follow us on Instagram.
You will also find our video tutorials on our YouTube channel.
Enjoyed the project?
Resources for this project:
See all materials
Comments
Join the conversation
-
 Teresa Norwig
on Jun 08, 2023
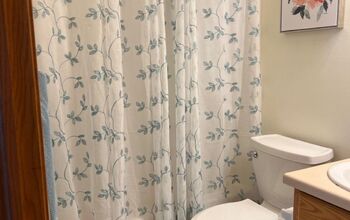
Here they are. Found at a local discount store. As was the art work.
-
 Sunny Side Design
on Jun 08, 2023
Love it 😍
-
-
-















Frequently asked questions
Have a question about this project?
Love it, and I really like the "no sew" way you've shown here! Is that product the no sew formally called "stitch witchery"? I have my mother sewing basket from way back and I found a roll of it. I think it may be too old to use, im not a "seamstress" by any means. So I'm goin to purchase some and thought I'd ask before asking for it at the store?? Thanks for great instructions and a beautiful shower curtain!!
Do you use a liner behind the new shower curtain? Is the liner as tall as the shower curtain? I only have a small shower no tub
What size shower curtain did you use?